
How to remove stains from cloth seats without leaving rings
Blot first, then clean cloth seats with minimal moisture: put cleaner on the towel, work one small section at a time, and dry the fabric and cushion fast so stains do not return as rings. If you soak the seat or scrub a wide halo, soil and water can move outward and leave a darker edge. That low-moisture approach matches the caution in common OEM owner manuals, major cleaner labels, and textile-cleaning guidance: use the least liquid needed, avoid saturation, and keep the fabric from staying damp long enough to wick soil back to the surface.
If you want a cleaner matched to fabric type before you start, see choosing upholstery cleaners for cloth seats. If the spill is coffee specifically, see removing coffee from car seats. And if the seat already feels wet, drying wet car interiors is the right next step.
What you’ll need
- Microfiber towels, clean and preferably white or colorfast
- Vacuum cleaner with an upholstery attachment
- Automotive upholstery cleaner matched to cloth fabric
- Clean water
- Small spray bottle for controlled misting
- Dry, absorbent towel for final blotting
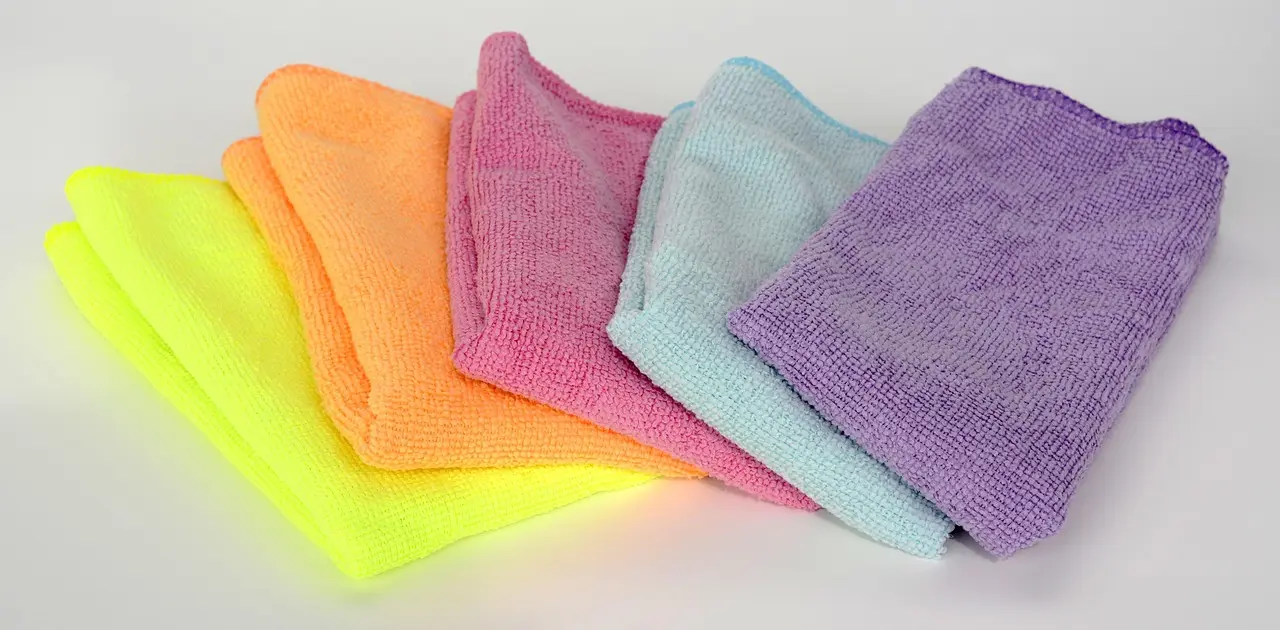
Use a low-moisture workflow. Cloth upholstery is porous, so liquid can move below the visible surface and wick back up as it dries. The goal is to dampen the fibers without soaking the cushion. In practice, a successful pass usually looks slightly damp on the surface, not glossy-wet; the towel should pick up soil without leaving a larger wet footprint behind.
Step-by-step method
- Vacuum the seat first with the upholstery attachment to remove dry debris.
- Patch-test the cleaner on a hidden section, let it dry fully, then check for any color shift, dullness, or stiffness.
- Apply the cleaner to a microfiber towel, not directly across the seat.
- Press and lift from the outside edge of the stain toward the center.
- Use gentle agitation only if the stain needs it; do not scrub hard.
- Blot away lifted residue with a clean towel until the spot stops transferring.
- Recover excess moisture by pressing a dry towel into the area several times.
- Let the seat air dry at room temperature with airflow from an open door, fan, or car HVAC on ambient, then inspect it only after it is fully dry.
Say your coffee spill is about the size of a palm and still damp. Start by blotting the liquid on top, then use a lightly damp microfiber towel with a few cleaner passes from the outer edge inward. If the towel turns brown on each pass, switch to a clean section instead of adding more liquid. In a normal job, several towel transfers are common; the towel should stop picking up visible color as the stain lifts, but the seat should not be re-wet repeatedly just to chase the last trace on the towel.
Suppose the stain is oily, like milk or a creamy drink. Oily residue often needs more blotting of the residue itself, not more solution. Keep the towel damp enough to move soil, but not wet enough to drive the spill deeper into the cushion or seam.
What to do first after spilling coffee on cloth seats
Blot the spill immediately, then vacuum loose grit only if dry debris is already on the seat. Coffee leaves color and dissolved residue, so the first pass should remove what is sitting on top before it spreads into the fibers. Do not flood the spot with water. For a deeper step-by-step on that specific spill, use removing coffee from car seats.
If the spill is fresh
- Press a dry microfiber towel into the spill for a few seconds.
- Lift straight up and repeat with a clean section of towel.
- Use a lightly dampened towel with cleaner on the towel itself, not the seat.
- Blot outward-to-center until transfer slows.
If the spill has already dried
- Vacuum the area first.
- Patch-test the cleaner in a hidden spot.
- Moisten only the stained area, then blot the residue away.
- Stop as soon as the fabric looks evenly damp, not wet.
How wet is too wet?
Too wet is any point where liquid is moving beyond the stained area, dripping from the fabric, saturating the cushion, or leaving the foam cold and damp to the touch for a prolonged period. As a practical rule, the seat should look uniformly damp at most, not shiny or squishy. If pressing with a dry towel pulls up a lot of liquid more than once, you have used too much moisture.
OEM owner manuals commonly warn against over-wetting upholstery and advise following label directions for fabric-safe cleaners. Textile-cleaning guidance from organizations such as IICRC emphasizes controlled moisture, prompt extraction or blotting, and full drying to prevent wick-back and odor. Major cleaner manufacturers also instruct users to avoid saturating the fabric and to test first in an inconspicuous area.
What if the cushion is saturated?
If the cushion is saturated, stop surface cleaning and switch to moisture recovery. Once liquid reaches the foam, repeated topical passes can push contamination deeper and increase drying time. That is the point where the job stops being a simple spot-clean and becomes a drying-and-extraction problem.
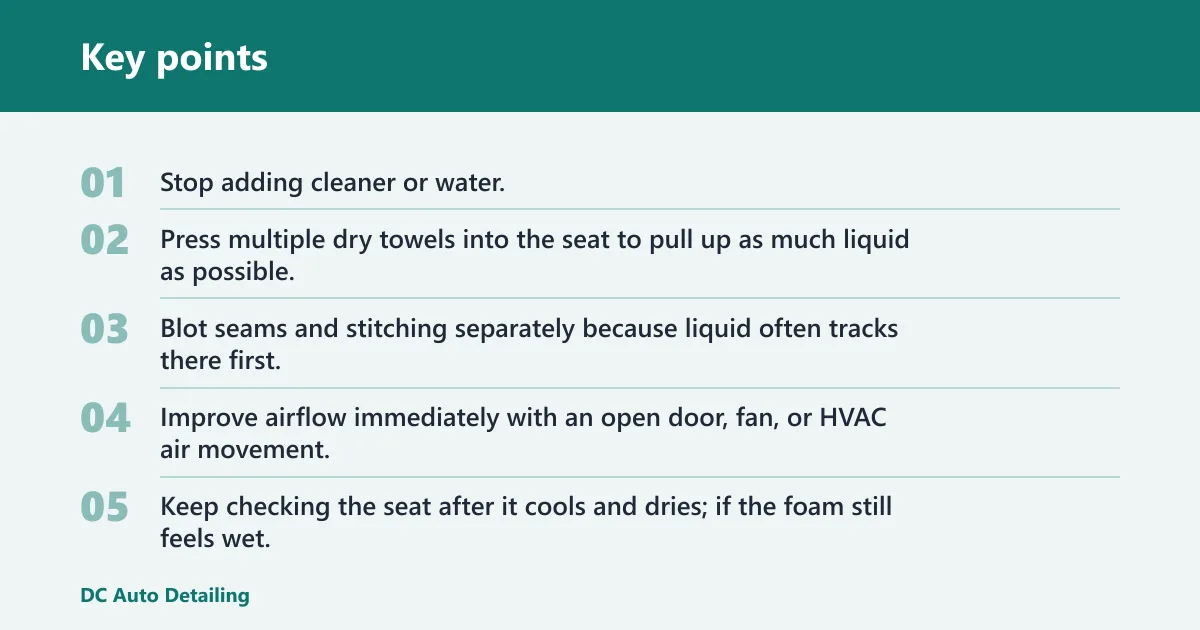
What to do when the cushion is saturated
- Stop adding cleaner or water.
- Press multiple dry towels into the seat to pull up as much liquid as possible.
- Blot seams and stitching separately because liquid often tracks there first.
- Improve airflow immediately with an open door, fan, or HVAC air movement.
- Keep checking the seat after it cools and dries; if the foam still feels wet, do not keep wetting it.
With a saturated cushion, common failure patterns are a ring that returns the next day, a damp patch that remains cool while the rest of the seat dries, or a sour smell that shows up after the visible stain is gone. Those are signs that the foam is still holding liquid below the surface.
What if the stain starts to come back?
A returning mark usually means wick-back from the cushion or residue left in the fabric. If the seat looks clean while damp but a ring appears after drying, the liquid likely traveled below the surface. Stop adding liquid and shift to moisture recovery and full drying.
Escalation ladder
- Blot the area with a dry towel to pull up surface moisture.
- Check seams and stitching for trapped liquid and press them dry separately.
- Repeat one light cleaner pass on the towel only, then blot again.
- Let the seat air dry fully before deciding whether another pass is needed.
A common first-timer mistake is treating a light halo as if it is still dirt. If the outline only appears after the fabric dries, the fix is usually less liquid and more drying time, not a stronger cleaner.
What if the stain has soaked into the cushion?
If the seat feels damp below the surface, the problem is deeper than a top-layer stain. Seams, stitching, and cushion padding can hold liquid and feed a ring later. At that point, repeated surface passes can keep the area wet longer and increase the chance of a return stain.
Signs the spill reached deeper layers
- The fabric darkens again after it seemed clean.
- The area stays cool or damp longer than the surrounding seat.
- Moisture appears along seams or stitched lines.
- An odor remains after the surface has dried.
If that didn’t work, try this next
- Press dry towels into the area to recover excess moisture.
- Gently blot the seam lines separately.
- Leave the seat to air dry with open airflow.
- Stop DIY if the whole area stays saturated.
When does biological contamination require extraction or professional remediation?
If the liquid is not just a drink spill but biological contamination, the threshold changes quickly. Vomit, urine, blood, sewage, mildew growth, or a spill that has sat long enough to create a persistent musty or sour odor should be treated as more than a cosmetic stain. In those cases, odor often comes from contamination in the foam, seams, or backing, not just the visible face fabric.
Stop DIY and move to professional extraction or remediation if any of the following are true: the spill is bodily fluid or sewage, the odor remains after full drying, visible mold or mildew is present, the seat or cushion stayed saturated for an extended period, or the contamination has spread under the upholstery into padding. Textile-cleaning and restoration guidance generally recommends source removal, extraction, and complete drying when contamination is deeper than surface soil. For musty-odor triage after moisture exposure, see eliminating musty car odors.
Why a ring appears after cleaning cloth seats
Ring causes troubleshooting table
| Symptom | Likely cause | What to do next | When to stop DIY |
|---|---|---|---|
| Halo after drying | Liquid traveled farther than the stain and dried at the edge. | Blot the border with a dry microfiber towel, then air dry fully. | Stop if the halo spreads after a second dry-down. |
| Stain reappears | Wick-back from padding or residue left below the surface. | Recover moisture first, then repeat one light pass only. | Stop if the mark returns after full drying. |
| Seat feels damp | Too much cleaner or water reached the cushion. | Press dry towels into the seat and improve airflow. | Stop if the pad still feels wet after extended drying. |
| Odor persists | Moisture or biological contamination remains in padding. | Dry longer and inspect seams for trapped liquid. | Stop if a musty odor remains. |
| Discoloration after over-wetting | Dye or soil migrated with excess moisture. | Do not add more liquid; dry the area and reassess. | Stop if the fabric shade changed. |
| Cleaner left a sticky patch | Residue was not fully blotted away. | Use a clean damp towel once, then blot dry. | Stop if the patch stays tacky after drying. |
| Stain spreads during cleaning | Rubbing pushed soil outward and changed the sheen. | Switch to press-and-lift motions from edge to center. | Stop if the visible area keeps growing. |
| Liquid reached seams or stitching | The spill tracked along stitched channels into the pad. | Blot the seam line, then dry thoroughly with airflow. | Stop if the seam stays wet or smells sour. |
Common mistakes
These problems create the exact ring you are trying to avoid. Keep the seat barely damp, not soaked, and always judge the result after full drying. In real jobs, the most common failure is not the cleaner itself; it is excess liquid, poor extraction of the first pass, or stopping before the foam has fully dried.
- Using too much liquid: limit each addition, then recheck after blotting. If the towel comes away wet, stop adding more cleaner.
- Rubbing the stain: rubbing can spread the stain and alter the surface sheen. Press and lift instead.
- Skipping the patch test: test in a hidden area first for color lift, darkening, stickiness, dullness, or roughness.
- Using heat to dry the seat: avoid direct heat. Air dry at room temperature so moisture does not get trapped and set a ring.
- Judging it too soon: wait until the surface is fully dry before deciding whether the stain is gone.
How long do cloth seats usually take to dry?
Drying time depends on how much liquid reached the fabric and foam, plus airflow and cabin humidity. Light, low-moisture spot cleaning may dry relatively quickly with airflow, while a saturated cushion can take much longer. The reliable rule is not the clock but the feel: the fabric should be dry to the touch, the foam should not feel cool or damp, and no odor should develop as it dries.
Operators commonly use open doors, fans, or HVAC airflow because slow drying is what creates wick-back and odors. If the seat still feels damp the next day, or the smell gets stronger as it dries, that is a sign the cushion needs more aggressive drying or professional extraction.
Frequently asked questions
How do I remove a stain from cloth car seats without leaving a water ring?
Vacuum first, patch-test the cleaner, then apply it to a microfiber towel and blot from the outside edge toward the center. Recover excess moisture with a dry towel and let the seat dry fully at room temperature before judging the result.
What should I do first after spilling coffee on cloth seats?
Blot the coffee immediately with a dry microfiber towel to lift as much liquid as possible before it moves into the fabric. Then use a lightly damp towel with cleaner on the towel itself, not directly on the seat.
Can I use upholstery cleaner on cloth car seats without making the stain spread?
Yes, if you use it sparingly after a patch test. Apply the cleaner to the towel, not the whole seat, and use press-and-lift motions. Heavy rubbing or direct soaking is what most often pushes the stain outward.
How do I stop a stain from coming back after the seat dries?
Keep moisture out of the cushion as much as possible, then dry the seat thoroughly before checking the repair. If the stain returns, treat it as wick-back or residue and do one more low-moisture pass rather than flooding the area again.
Should I use hot water or cold water on cloth car seat stains?
Use the mildest water that helps the cleaner work, usually cool or room-temperature water for a controlled pass. Avoid hot water on cloth seats because excess heat can make drying less predictable and can worsen moisture problems in padding and seams.
When is the seat too wet to keep cleaning?
It is too wet once the spill area is larger than the original stain, the towel keeps pulling up visible liquid, or the seat starts to feel damp below the fabric surface. At that point, stop cleaning and switch to blotting and drying.
What should I do if the cushion is already saturated?
Stop applying more cleaner, press dry towels into the foam, dry the seams separately, and increase airflow immediately. If the pad remains wet, starts to smell, or darkens again after drying, the seat likely needs extraction or professional attention.
When should biological contamination be professionally remediated?
If the spill is vomit, urine, blood, sewage, or another biological source, or if the seat develops mold-like or musty odor after drying, stop DIY and escalate. Deep contamination in the pad or backing usually needs extraction and controlled drying, not repeated surface cleaning.
When should I stop DIY cleaning and get professional help?
Stop if a large area is saturated, the odor remains after drying, or the seat keeps darkening again from below. Persistent biological or musty odor is a strong sign that the contamination is deeper than the surface and needs professional treatment.
Sources
- Vehicle owner’s manuals from major OEMs, including guidance to avoid soaking upholstery, use fabric-safe cleaners, and follow label instructions.
- IICRC-style textile-cleaning principles for controlled moisture, soil suspension, prompt removal, and thorough drying to reduce wick-back and odor issues.
- Major upholstery-cleaner manufacturer labels and usage instructions, including patch testing, limited application, and avoiding saturation.
- Restoration and sanitation guidance for biological contamination, mold, and musty odors, which emphasizes source removal, extraction, and complete drying when contamination is deeper than surface soil.