How to remove deep scratches from car paint at home
Use the nail test: if a scratch catches a fingernail or still shows white or gray after washing, it is usually past clear coat, so home polishing can improve it but not erase it. But residue, paint transfer, or scuffing can also leave light-colored marks without base-coat damage. Fixing the wrong layer can waste time and burn through clear coat, turning a repair into repaint money. This guide shows how to identify scratch depth first, then choose the least aggressive home method that can safely improve the finish. For related help, see our touch-up paint guide, clear coat repair, and wet sanding guide.
How deep is the scratch?
Check the scratch under bright LED light at an angle before you touch the paint. That angle helps reveal haze, shadows, and refraction. If your nail glides across it, the damage is often limited to clear coat. If a fingernail catches, the scratch likely reaches deeper and may need touch-up paint or a professional.
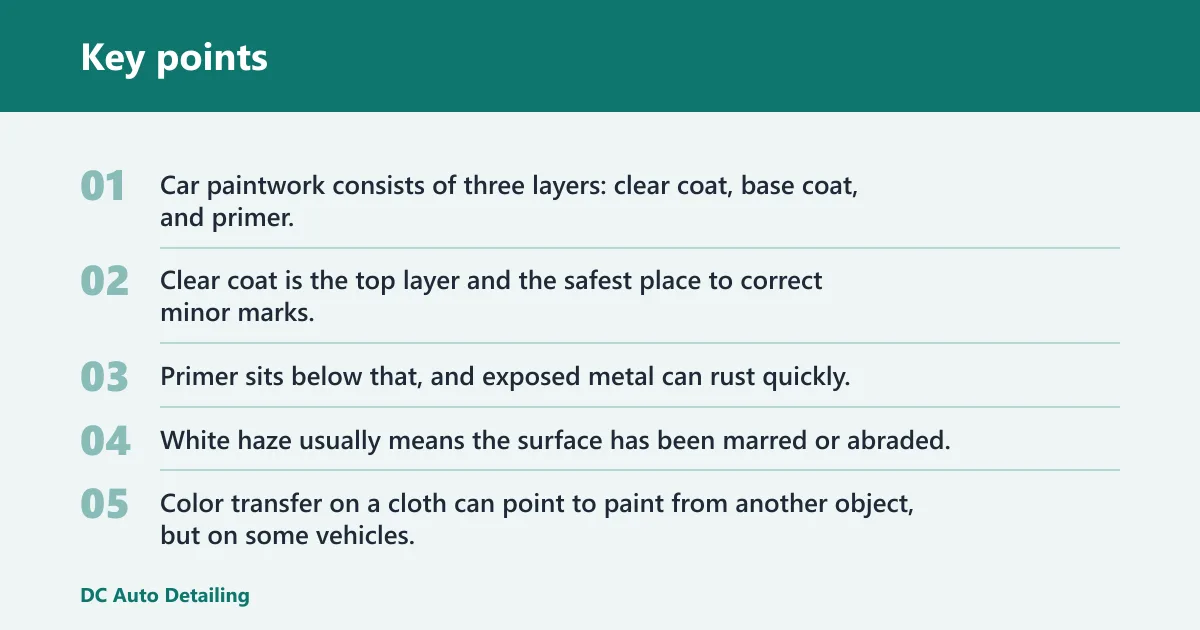
Car paintwork consists of three layers: clear coat, base coat, and primer. Clear coat is the top layer and the safest place to correct minor marks, but it is thin enough that over-buffing can burn through it. Base coat holds the color. Primer sits below that, and exposed metal can rust quickly, so it should be sealed or professionally repaired as soon as possible.
What the visual clues mean
White haze usually means the surface has been marred or abraded, not necessarily cut through. Color transfer on a cloth can point to paint from another object, but on some vehicles, especially older single-stage paint, some color transfer can be normal. Dull patches after correction often mean you have thinned the clear coat too far or left micro-marring behind.
Say your black door shows a 4-inch line that disappears under bright light but leaves a gray smear on a microfiber cloth. That is often a clear-coat problem. Suppose the same line still looks white after washing and the nail catches at one point. That is a stronger sign that polishing alone will not fix it.
How paint-layer diagnosis works
Paint-layer diagnosis starts with touch, then sight, then residue. The fingernail test helps separate surface-level marring from deeper damage, while bright-angle inspection shows whether the line is just in the clear coat or has reached base coat. The clear coat repair approach is the safest path for minor defects; deeper damage shifts toward touch-up or professional refinishing.
What you’ll need
- Car wash soap and water
- Clean microfiber cloths for drying and wipe-off
- Scratch remover for minor clear-coat damage
- Rubbing compound for deeper clear-coat correction
- Finishing polish to restore gloss after compound or sanding
- Optional dual-action polisher and polishing pads
- Painter’s tape for trim and panel edges
- Touch-up paint for base-coat damage
- Wet-sanding paper only if you already know the scratch is confined above primer
How to prep the panel
Wash and dry the damaged area first. Grit trapped in the scratch can turn a simple correction into new marring, and a microfiber cloth reduces the chance of dragging grit across the paint. Work on cool paint in good light. Tape nearby trim and sharp edges so you do not catch them with an abrasive pad or cloth.
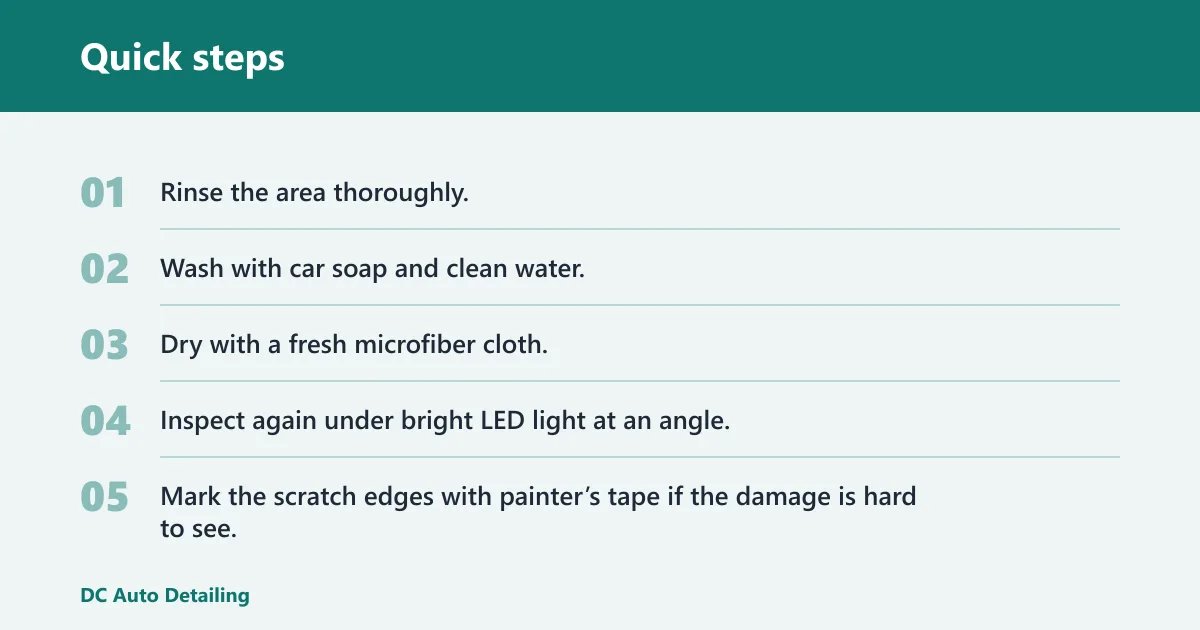
- Rinse the area thoroughly.
- Wash with car soap and clean water.
- Dry with a fresh microfiber cloth.
- Inspect again under bright LED light at an angle.
- Mark the scratch edges with painter’s tape if the damage is hard to see.
| Scratch signal | Likely layer | Safest DIY action | Stop point | Path | Fingernail catch? | Color transfer? | White haze? | Primer visible? | Metal visible? | Recommended tool | DIY / touch-up / pro |
|---|---|---|---|---|---|---|---|---|---|---|---|
| Nail does not catch; no color loss | Clear coat | Scratch remover first | Stop when the line fades and gloss returns | DIY | No | No | Maybe faint | No | No | Scratch remover or finishing polish | DIY |
| Light white haze; faint line remains | Clear coat | Scratch remover, then rubbing compound if needed | Stop if the panel turns dull or thin-looking | DIY with caution | Usually no | No | Yes | No | No | Scratch remover, then compound and polish | DIY |
| Nail catches; no primer visible yet | Base coat or deep clear coat | Touch-up paint after cleaning, then light leveling only if safe | Stop before sanding or heavy compounding | Touch up | Yes | Maybe | Often yes | No | No | Touch-up paint and applicator | Touch up |
| Primer visible | Primer exposed | Touch-up paint only for cosmetic fill | Stop polishing and stop sanding | Touch up or pro | Yes | Maybe | Often yes | Yes | No | Touch-up paint; consider body shop refinishing | Touch up or pro |
| Bare metal visible | Metal exposed | Rust prevention and repainting | Stop all abrasive correction | Pro | Yes | No | May be present | No | Yes | Professional refinishing and corrosion protection | Pro |
How should you repair a clear-coat scratch?
If the scratch stays in clear coat, start with the least aggressive product. Scratch remover is a super-fine abrasive liquid or paste and is often enough for minor damage. Rubbing compound cuts more than polish, so treat it as the next step, not the first. Use a finishing polish after compound to remove haze and restore gloss. For machine work, see the DA polisher basics page.
- Apply a small amount of scratch remover, around the size of a 10p coin.
- Move the applicator in tight overlapping circles with light pressure.
- Buff off excess with a clean microfiber cloth before it dries if the label calls for wipe-off.
- Reinspect under LED light at an angle.
- If the mark is still visible but unchanged, switch to rubbing compound on the same area.
- Finish with polish to reduce haze and micro-marring.
A dual-action polisher is commonly considered the safer beginner machine option because it builds less heat than a rotary. A DA polisher may also be needed with polishing pads for controlled correction. Keep the pad flat and move slowly. Excess pressure or repeated passes can thin clear coat fast.
What if the scratch reaches base coat or primer?
Once the color layer is damaged, polishing becomes a limited fix. Base coat is the color layer under the clear coat, and damage there often needs touch-up paint if you want the scratch to disappear visually. Many touch-up systems also require primer on any bare spot and clear coat over the color for proper sealing and appearance. If primer is exposed, the damage is deeper than polishing alone can fix. Exposed primer or metal requires refinishing because the panel has moved beyond safe cosmetic correction.
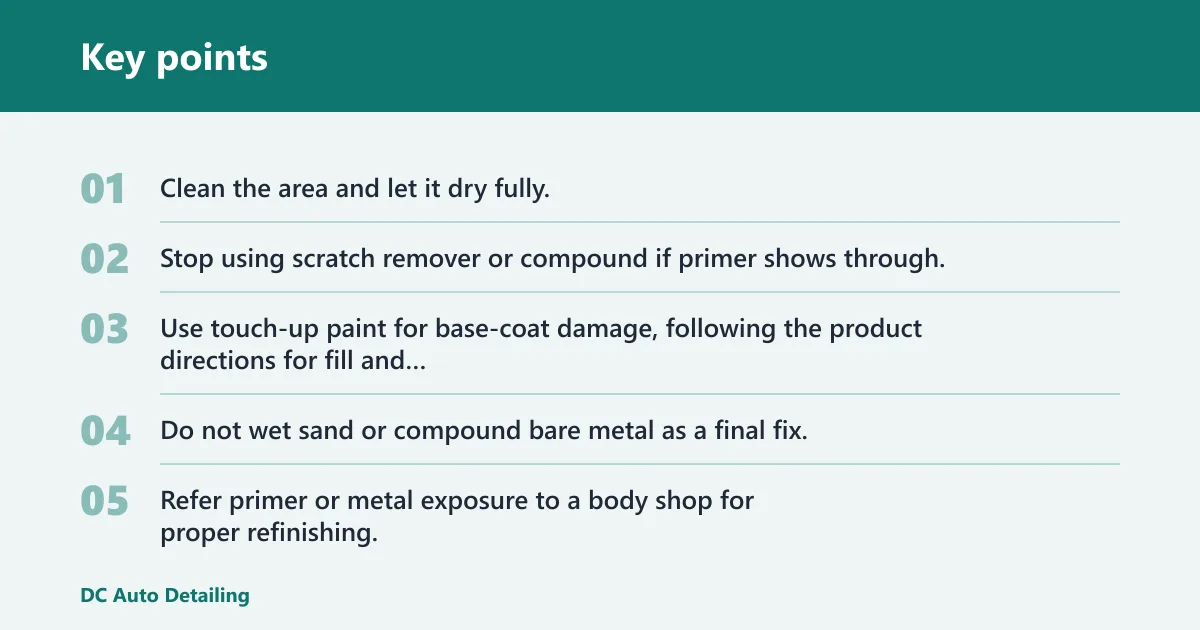
- Clean the area and let it dry fully.
- Stop using scratch remover or compound if primer shows through.
- Use touch-up paint for base-coat damage, following the product directions for fill and cure time.
- Do not wet sand or compound bare metal as a final fix.
- Refer primer or metal exposure to a body shop for proper refinishing.
Can a deep car scratch be polished out or does it need touch-up paint? If the scratch is only in clear coat, polishing may reduce or erase it. If it reaches base coat, touch-up paint is usually the realistic home fix. If primer or metal shows, a cosmetic fill can help, but full correction belongs with repainting. If you want cost context, see the SMART repair cost and body shop cost pages.
What grit sandpaper is safe for scratch repair on car paint?
Wet sanding is generally an advanced correction method, not a beginner starting point. It should be lubricated and followed by compound and polish. The safest approach is to use very fine wet-sanding paper only when the defect is confirmed to be above primer, with a backing pad to keep the paper flat, care around edges and body lines, and the least aggressive grit that can level the defect. 3M and Meguiar’s both point DIY users toward very fine wet-sanding papers for paint leveling. Wet sanding is still aggressive enough to create burn-through if you keep going too long. For a deeper walkthrough, use our wet sanding guide.
- Use wet sanding only after confirming the scratch is above primer.
- Keep the paper lubricated at all times.
- Make a few light passes, then wipe and inspect.
- Stop as soon as the scratch edge softens.
- Follow immediately with rubbing compound, then finishing polish.
If that did not work, do not jump to heavier grit. Heavier sanding increases the risk of dull patches, edge burn-through, and exposed base coat. At that point, a pro is the safer move.
Common mistakes
Most bad repairs come from using too much cut too soon. Check depth first. Then match the product to the layer.
- Using compound before checking whether the scratch reaches primer or metal
- Dry sanding or skipping lubrication during wet sanding
- Chasing gloss after the clear coat has already thinned
- Keeping pressure high after the panel starts to haze
- Ignoring color transfer on the cloth or a sudden dull patch
- Leaving residue on trim edges, where it is harder to remove cleanly
When should you stop DIY and go to a body shop?
Stop when the scratch catches a fingernail, primer shows, or the cloth changes colour during correction. Those signs point beyond a simple clear-coat repair. Industry repair guidance from body-shop and refinishing sources treats exposed primer or metal as a refinish job, not a polishing job. That is the right call when the damage reaches primer, steel, or a panel edge.
- Inspect under bright LED light at an angle.
- Stop polishing if the scratch stays visible after a light pass and the paint starts to dull.
- Stop sanding if the mark becomes wider, hazier, or patchy.
- Book a body shop or SMART repair for primer, metal, or large damaged areas.
Protect the area afterward with wax or sealant once the repair is complete. That does not fix a deep scratch, but it helps the corrected finish stay clean and easier to inspect later.
Frequently asked questions
What removes paint scratch from a car
For minor clear-coat marks, start with a scratch remover or a fine finishing polish on a microfiber cloth. If the scratch catches a fingernail or shows primer, those products will not remove it. At that point, touch-up paint or a body shop is the correct path.
How do I tell if a scratch is too deep to fix at home?
If a fingernail catches, if white or gray remains after washing, or if primer shows, it is too deep for polishing alone. Clear-coat marks are the home-repair zone. Once the damage reaches color layer or below, the safe limit changes fast.
Can a deep car scratch be polished out or does it need touch-up paint?
Polishing only removes or reduces damage in clear coat. If the scratch reaches base coat, touch-up paint is the better match. Primer or metal exposure usually needs professional repair because sanding and compound are no longer a final fix.
Should I use rubbing compound, polish, or scratch remover first?
Use scratch remover first on minor clear-coat marks. Move to rubbing compound only if the mark remains after a light pass. Finish with polishing to remove haze and restore gloss. Starting with compound can remove more clear coat than needed.
How do I stop making the scratch hazy while fixing it?
Keep the pad or cloth clean, use light pressure, and stop as soon as the surface starts to look dull. Haze usually comes from overworking the area or using too much cut. A finishing polish after compound usually clears that look if the clear coat is still intact.
Sources
- 3M, paint finishing and sanding guidance: https://www.3m.com/3M/en_US/p/c/auto-repair-systems/sanding-pads-discs/fine-abrasives/
- Meguiar’s, paint correction and sanding resources: https://www.meguiars.com/automotive/
- Axalta, refinishing and corrosion protection background: https://www.axalta.com/us/en_US.html