How to use scratch remover without making the spot hazy
Start with the least aggressive product that can plausibly fix the defect, then finish with a finer polish or a softer pad if the spot turns cloudy; if haze remains after one careful pass, stop and step down, not up. Haze can leave a visible patch, waste clear coat, and turn a light scratch into a larger repair. This guide shows how to identify the defect, choose the next safest step, and remove cloudy residue before reaching for a stronger abrasive.
Why the spot looks hazy after scratch remover
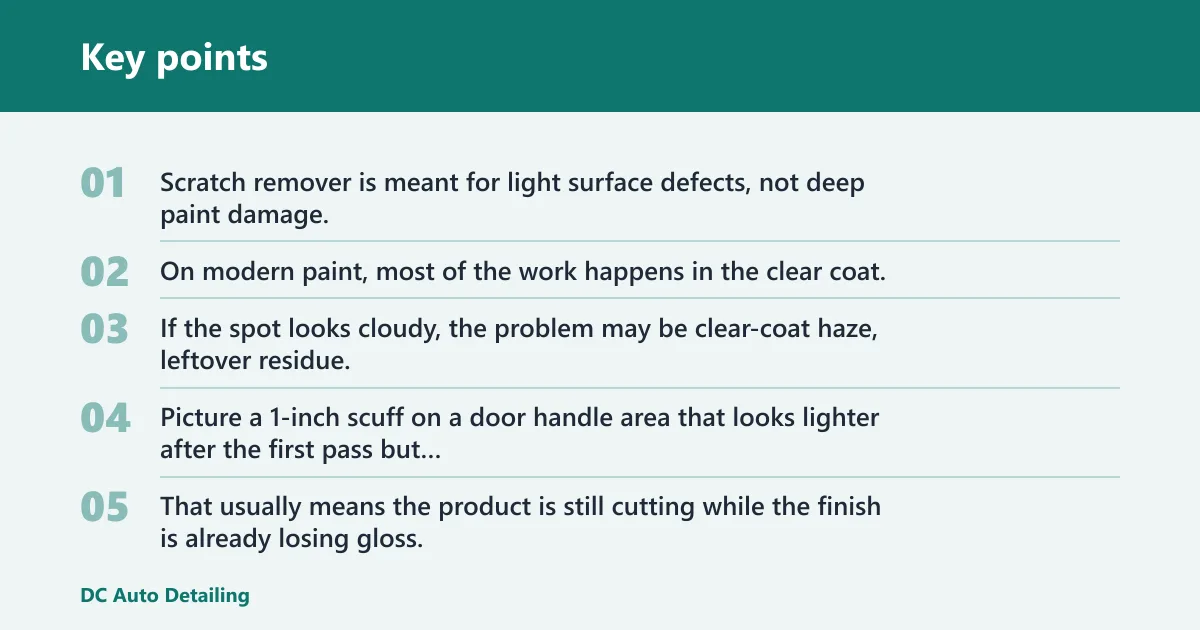
Scratch remover is meant for light surface defects, not deep paint damage. On modern paint, most of the work happens in the clear coat, the transparent top layer that can be dulled by too much abrasion or by using the wrong product on the wrong defect. If the spot looks cloudy, the problem may be clear-coat haze, leftover residue, sanding marks, or over-polishing.
| Symptom | Likely cause | What to try next | When to stop |
|---|---|---|---|
| Gray or cloudy patch where the scratch was | Clear-coat haze from too much abrasion or too many passes | Wipe clean, then refine with a polish and a softer pad | Stop if gloss returns and the defect is no longer visible in direct light |
| Smear that moves when you wipe it | Residue left on the panel from product, dust, or excess carrier oils | Clean the area with a fresh microfiber towel and inspect again under strong light | Stop if the smear disappears and the paint looks even |
| Fine parallel lines after correction | Sanding marks or heavy abrasion that scratch remover cannot finish | Use a polish if the marks are light; use rubbing compound only if the surface was sanded or the marks are heavier | Stop if the lines remain after one refining step; deeper correction is changing the paint |
| Dull spot around a chip or through the color layer | Damage is beyond scratch remover | Use touch-up paint matched to the paint code or verified by VIN | Stop using scratch remover; it is the wrong repair path |
| Cloudiness that gets larger with each pass | Too much pressure, too many passes, or the product is too aggressive for the finish | Stop, clean the area, and switch to a finer polish | Stop immediately if the clear coat starts to look thin, dry, or dull |
Picture a 1-inch scuff on a door handle area that looks lighter after the first pass but turns milky after a second pass with the same pad. That usually means the product is still cutting while the finish is already losing gloss. The fix is not more pressure. It is less aggression and a cleaner finish step.
A common first-timer mistake is mistaking residue for damage. If the haze wipes away and the panel looks normal in direct light, the finish did not fail. If the haze stays put, the correction step was too strong, too long, or aimed at the wrong defect.
Scratch remover decision table
This table is a quick diagnosis aid, not a one-size-fits-all repair recipe. Use the least aggressive option that fits the defect, and stop as soon as the surface regains gloss.
| Symptom | Likely cause | What to try next | When to stop |
|---|---|---|---|
| Light scratch, no color loss | Clear-coat defect | Scratch remover on a small test spot, then inspect in direct light | Stop if the scratch softens and the finish stays clear |
| Cloudy spot after correction | Clear-coat haze or over-polishing | Switch to polish and a clean pad | Stop if gloss returns; do not keep cutting the same spot |
| Smear that looks oily or dusty | Residue smear | Wipe the area clean, then recheck before adding more product | Stop if the mark was only residue |
| Fine lines remain after product work | Sanding marks or heavier abrasion | Use rubbing compound if the finish needs more cut, then refine with polish | Stop if the surface starts to dull instead of improving |
| Chip, missing paint, or exposed base layer | Damage is deeper than the clear coat | Use touch-up paint matched to the paint code or confirmed by VIN | Stop using scratch remover on that area |
Should you start with scratch remover, compound, or polish?
Use the least aggressive product that can plausibly solve the defect. Scratch remover is for light surface marks in the clear coat. Polish is the finer finishing step. Rubbing compound is more aggressive than polish and is better suited to heavier defects or post-sanding refinement, but it can leave haze that needs a follow-up polish.
Match the tool to the defect
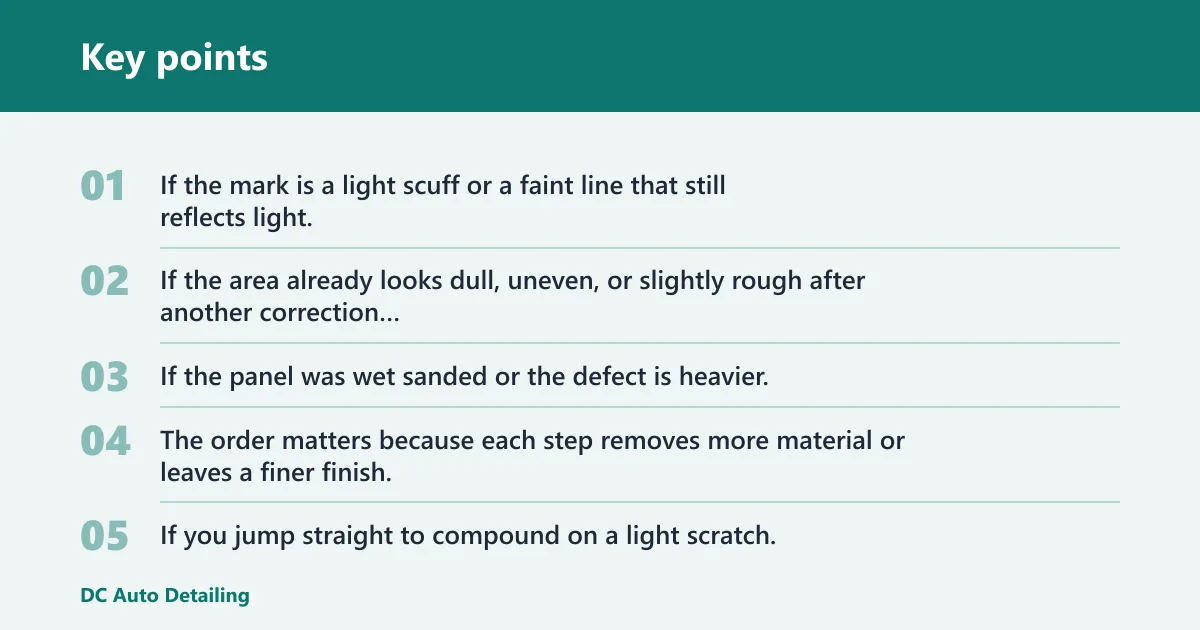
If the mark is a light scuff or a faint line that still reflects light, scratch remover is the right starting point. If the area already looks dull, uneven, or slightly rough after another correction attempt, polish is often the safer next move. If the panel was wet sanded or the defect is heavier, rubbing compound may be needed first, then polish to restore gloss.
The order matters because each step removes more material or leaves a finer finish. If you jump straight to compound on a light scratch, you may fix the defect and create haze you then have to remove. That trades one small problem for two.
Why compound is more aggressive than polish
Rubbing compound cuts more than polish. That makes it useful after sanding or on heavier defects, but it also means it can leave micro-marring or cloudiness that a finishing polish must remove. By hand on modern thin clear coat, use rubbing compound only as a last resort, because it can remove material quickly and leave haze that is hard to correct. Polish is designed to refine the surface after abrasion and bring back clarity.
Scratch remover sits between those two in many product lines, but product type varies by abrasiveness and finish. Some formulas cut more like a light compound, while others are closer to a finishing polish. Check the label and the manufacturer’s listing for your model or product type before starting.
When scratch remover is the wrong first step
Scratch remover is the wrong first step when the paint is chipped, when the defect reaches through the clear coat and color layer, or when a previous attempt has already dulled the spot. It is also the wrong tool if the panel shows sanding marks that need refinement or if residue is the only thing making the area look bad.
Suppose a hood edge has a small chip with visible missing color. More scratch remover will not rebuild the finish. That area needs touch-up paint matched to the paint code.
How do you prep the panel so haze is less likely?
Wash and decontaminate the panel before correction so grit does not create more haze. The surface should be free of dirt before repair work begins, and waxes or coatings should be removed before applying fresh paint or any correction product that must contact the clear coat directly. Clean paint is easier to read in direct light.
Wash and dry before correction
The repair workflow starts by washing with mild warm soapy water. That removes loose dirt that can drag across the clear coat and add fresh marring while you work. Do not use strong household detergents, which can strip protection or affect fresh touch-up work. Dry the panel completely so you can see the defect clearly, not a film of water spots or streaks.
Do not skip this just because the scratch looks small. A tiny abrasive particle can turn a light defect into a wider hazy patch if it gets trapped under the applicator.
Remove bonded contamination before any abrasive step
After washing, inspect for bonded contamination such as road film, tar specks, or roughness that the wash missed. If the panel still feels gritty, remove that contamination before using scratch remover. Otherwise, the product can drag debris across the finish and create new haze.
Clean paint also helps you tell residue from real damage. If the panel is dirty, you can end up polishing a film instead of the scratch itself.
Inspect the paint in strong light
Look at the panel in direct light or a strong inspection light before you start. Direct light shows whether the defect is a surface mark, a smear, or a deeper chip. It also makes it easier to catch haze before you move to a larger area.
Use a small test spot first. If the spot improves cleanly, continue in short sections. If it dulls, stop there and change direction before the whole panel looks cloudy.
How should you apply scratch remover on clear coat?
Apply scratch remover to a small test spot first, using a thin layer and light pressure. On clear coat, the goal is to clear the defect without dulling the surrounding finish. If the spot starts to lose gloss during the pass, stop and reassess instead of repeating the same motion.
Work in a small test spot first
Choose a section small enough to inspect easily in direct light. That helps you see whether the product is fixing the scratch or just moving residue around. A test spot also limits the risk of turning a whole door or hood hazy before you know how the product behaves on that paint.
Different formulas cut differently. The same hand pressure can feel harmless with one product and too aggressive with another, so the first pass should always be a controlled test.
Use thin product application and light pressure
Use only enough product to keep the pad or applicator working evenly. Thick application can leave more residue and make the finish harder to wipe clean. Light pressure is safer because clear coat can be thinned or dulled by aggressive abrasion.
Work a short section, then wipe and inspect. If the scratch softens and the finish still looks clear, that is progress. If the surface starts looking dry, chalky, or hazy, you have gone past the point where scratch remover is helping.
Stop before the surface turns dull
Stop as soon as the gloss starts to drop. More passes are not always better. Haze often appears when the correction step keeps cutting after the defect is already improved.
How long should you wait between polishing passes to avoid haze? Wait only as long as needed to wipe the area clean and inspect it under direct light. There is no fixed time that fits every product, because working time varies by formula and brand. If the panel is still clear after the wipe, do not chase it with another aggressive pass.
What to do if the spot turns cloudy mid-pass
If the spot turns cloudy mid-pass, stop, wipe away residue, and inspect the finish before doing anything else. Cloudiness can be leftover product, but it can also be clear-coat haze from too much abrasion. A quick wipe tells you which problem you are actually seeing.
Wipe residue and recheck the finish
Use a clean microfiber towel to remove remaining product from the area. Then inspect it in direct light from more than one angle. If the cloudiness wipes away, the fix may be as simple as a cleaner finish step or better product removal.
If the cloudiness remains, do not keep rubbing the same spot with the same abrasive. That usually makes the finish worse.
Refine with polish after a light abrasive step
If the scratch remover left a dull edge but the defect itself is improved, move to polish. Polish is the finer finishing step and is often what restores gloss after scratch remover or compound. Use a clean pad so you are not grinding old residue back into the paint.
Rubbing compound can help after sanding or for heavier defects, but it may require refining to remove haze. That is why it belongs before polish, not after.
Stop if the defect is deeper than the clear coat
If the spot still looks damaged after a careful pass, the issue may be deeper than the clear coat. Scratch remover cannot rebuild missing paint. At that point, more abrasion only risks thinning the clear coat further and widening the repair area.
Do not turn a chip repair into a paint correction project. If the color layer is missing, switch to touch-up paint and match it to the paint code.
When should you switch to touch-up paint instead?
Switch to touch-up paint when the damage is a chip, a deep scratch, or any defect that has gone through the clear coat and into the color layer or primer. Scratch remover can improve shallow surface defects, but it cannot replace missing material. Touch-up paint is the right path for rebuild, not polishing.
Signs the damage is past scratch remover
Use a different repair path if you can catch a fingernail in a gap, see a distinct missing spot of color, or notice bare-looking edges around the defect. A scratch that catches a nail is not automatically untouchable, but it often needs more than scratch remover can safely do.
Very small chips are often better handled with a paint pen. For a better color match, use the vehicle’s paint code, which is often found on the driver’s door or door jamb sticker. If the car has been repainted, confirm the shade with the vendor rather than relying on the VIN.
Why chips need a different repair path
Chips need fill, not just cut and polish. Fresh paint may need clearcoat after the color layer, and the repair may need leveling later if the fill sits proud of the surrounding panel. That is a different workflow from scratch remover, which is meant to clear and refine existing clear coat.
The repair can still be improved at home. Car paint chip repair can be done with reasonable competence at home, but the result depends on matching the color correctly and following the product instructions carefully.
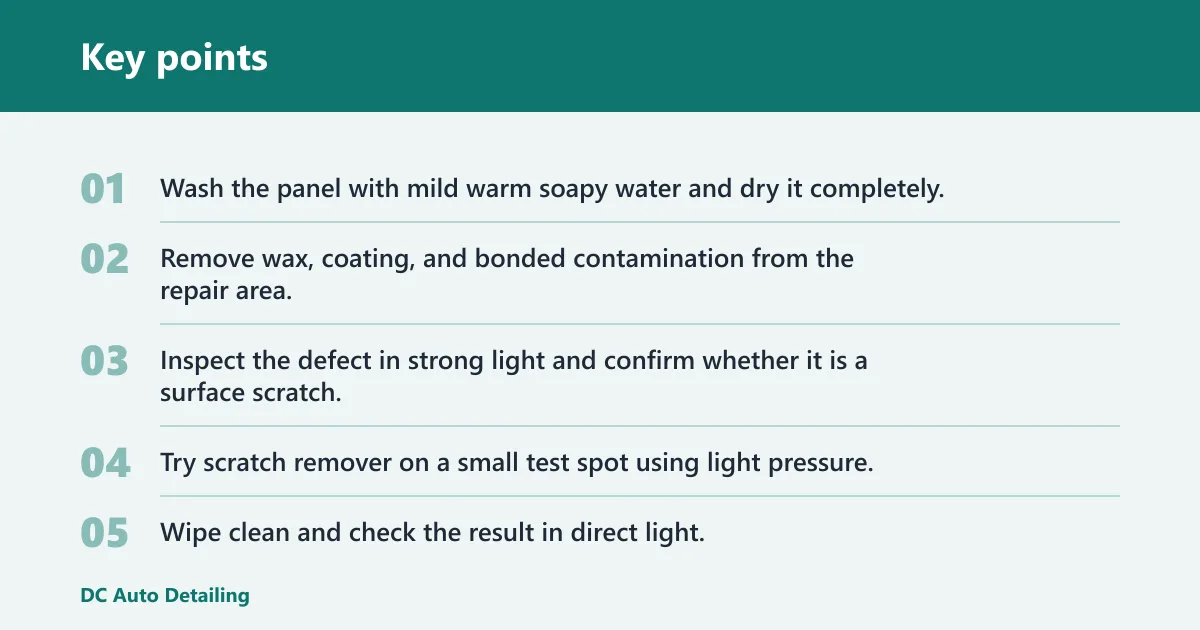
- Wash the panel with mild warm soapy water and dry it completely.
- Remove wax, coating, and bonded contamination from the repair area.
- Inspect the defect in strong light and confirm whether it is a surface scratch, residue smear, haze, or a chip.
- Try scratch remover on a small test spot using light pressure.
- Wipe clean and check the result in direct light.
- If the spot stays cloudy, switch to polish; if the mark is deeper, step up only as needed to rubbing compound.
- If the defect is a chip or exposed color layer, stop and use touch-up paint matched to the paint code.
Frequently asked questions
How do I use scratch remover without making the paint look hazy?
Start with a clean panel, use a small test spot, and apply the least aggressive amount of product that can clear the defect. Wipe residue often and inspect in direct light. If gloss drops or the spot turns milky, stop and move to a finer polish instead of repeating the same pass.
Why did scratch remover leave a cloudy or dull spot?
A cloudy or dull spot usually means too much abrasion, too many passes, the wrong product for the defect, or residue left behind. It can also mean the clear coat has been dulled by over-polishing. Clean the area first, then refine with a polish if the paint is still intact.
Should I use scratch remover, rubbing compound, or polish first?
Use scratch remover first for light clear-coat defects, polish first if the area is already dull from a previous attempt, and rubbing compound only when the defect is heavier or comes after sanding. Compound cuts more aggressively than polish, so it is more likely to need a finishing step afterward.
Can scratch remover damage clear coat if I use too much?
Yes. Clear coat is the transparent top layer, and aggressive abrasion can thin or dull it. Too much pressure, too many passes, or a product that cuts harder than expected can turn a small scratch into a hazy patch. Stop when the gloss begins to drop, not after it disappears.
Do I need to wash or decontaminate the panel before using scratch remover?
Yes. The panel should be free of dirt before repair work begins, and the workflow starts with washing in mild warm soapy water. Waxes and coatings should also be removed before applying fresh paint or correction materials. Clean paint helps prevent fresh haze and makes the defect easier to read.
How long should I wait between polishing passes to avoid haze?
Wait only long enough to wipe the area clean and inspect the finish. There is no universal pause that fits every product, because working time varies by formula and brand. If the paint still looks clear after wiping, do not keep adding passes. If it looks dull, stop and refine.
How do I know if the scratch is only in the clear coat?
If the mark is a light surface line that changes little with washing and does not show missing color, it is more likely in the clear coat. If you can see a chip, color loss, or a gap that still looks damaged after a careful pass, the defect is deeper. Scratch remover is for the first case, not the second.
What should I do if scratch remover does not work on my car?
Stop before you create more haze. Clean the area, inspect the defect in strong light, and decide whether it needs polish, compound, or touch-up paint instead. If the area is chipped or the color layer is missing, match the repair paint to the paint code.