How to clean a car dashboard at home without streaks
Clean a dashboard at home without streaks by using a low-moisture microfiber towel, a pH-safe interior cleaner, and a second dry towel. Wipe in small sections, then check for residue before you move on. If you overapply product or use the wrong towel, you get haze, lint, and greasy film that can make the dash look worse than before. This guide shows how to identify vinyl, plastic, or leather first, then clean, dry, and inspect the surface so you fix cloudy results the first time.
What you’ll need
- Two clean microfiber towels: one for cleaning and one for drying; they should be non-linting for interior surfaces.
- A pH-balanced interior cleaner labeled compatible with vinyl, plastic, or leather as needed.
- An ammonia-free formula, especially if the dash sits near tinted glass, screens, or interior plastics.
- A detail brush for vents, seams, and trim edges.
- An optional UV protectant that is compatible with the surface and designed for interior use.
- A hidden spot test area with a little product for a patch check before full use.
What are you cleaning first?
Start by identifying the surface before you touch the spray bottle. Vinyl, plastic, leather, and soft-touch trim do not respond the same way, and screen borders, piano-black trim, and gauge-cluster edges need a lighter touch than broad textured panels.
Choose the cleaner by the label, not by the finish you want. A pH-balanced interior cleaner marked safe for the specific material is the safer starting point than a household spray, and ammonia-free is the better choice around plastics and tinted glass.
Surface check
- Look across the dash in bright indirect light.
- Mark the material zones: vinyl, plastic, leather, soft-touch, screen border, and glossy trim.
- Set aside any product that is not labeled for that exact surface.
- Do a hidden spot test on a low-visibility area before full cleaning.
Dry dust before you spray
Remove loose grit before any liquid touches the dash. If dust stays in seams and vents, it turns into streaks once it mixes with cleaner and gets dragged across the surface.
Use a clean microfiber towel and a vacuum attachment if needed. Keep one towel for loose dust and another for the wet stage, because a dirty towel starts spreading debris again as soon as it loads up.
Prep sequence
- Vacuum seams, vents, and the top edge of the dash.
- Wipe the broad surfaces with a dry microfiber towel.
- Fold the towel into quarters so you have eight clean faces to use.
- Flip to a clean side when the working face starts to look gray.
- Retire the towel once it begins to drag grit instead of picking it up.
Which cleaner should you use?
Use a pH-balanced interior cleaner made for automotive interiors, and avoid ammonia-based cleaners on the dashboard. Ammonia can leave haze or cause damage on plastics and nearby tinted glass, so it is the wrong default for this job.
Test a hidden spot first. Wait long enough to see whether the area turns cloudy, sticky, or discolored, and stop if it does.
Label cues to look
- “pH-balanced interior cleaner” for automotive use.
- “Ammonia-free” for safer use around plastics and tinted glass.
- “Compatible with vinyl,” “compatible with leather,” or “compatible with plastic.”
- Residue-minimizing or low-residue language when the label gives that option.
How do you clean without streaks?
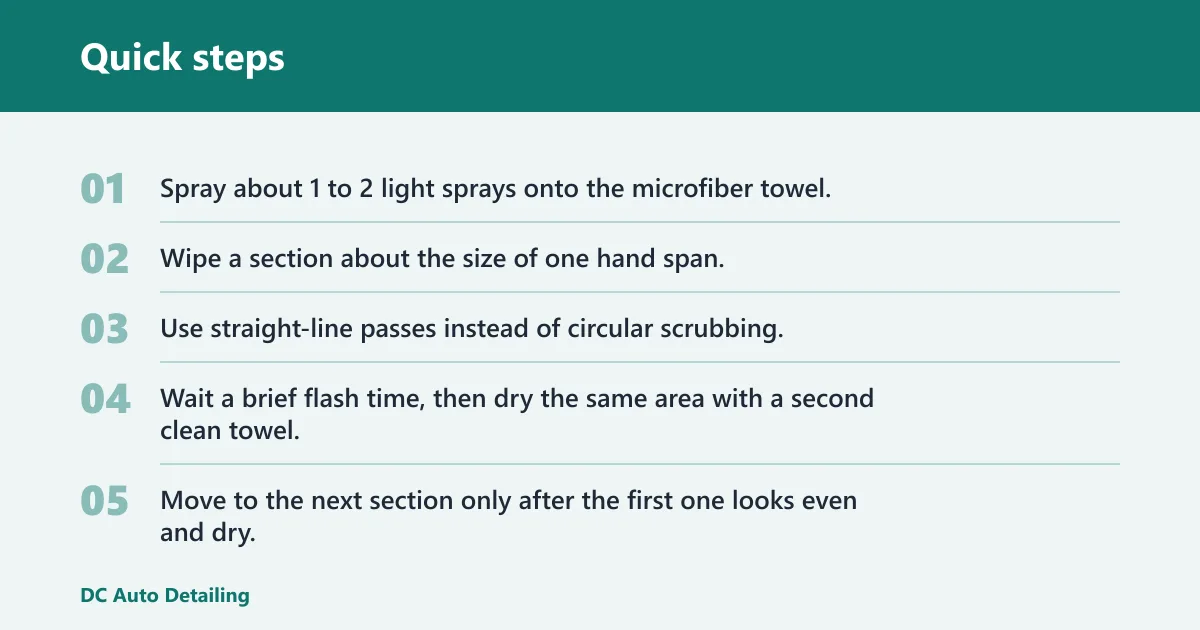
Spray the towel, not the dashboard, then clean a palm-sized area. Use straight-line passes, stop before the product dries on its own, and wipe with a second dry towel right after the cleaner has had a brief flash time.
That order matters. Too much product, too much dwell, or a hot surface usually leaves the film behind, especially on textured plastic and around screen borders.
Step-by-step wipe method
- Spray about 1 to 2 light sprays onto the microfiber towel.
- Wipe a section about the size of one hand span.
- Use straight-line passes instead of circular scrubbing.
- Wait a brief flash time, then dry the same area with a second clean towel.
- Move to the next section only after the first one looks even and dry.
Working before the car heats up helps prevent streaks. If the dash is warm or parked in direct sun, the cleaner can dry too fast and leave a cloudy edge.
Say your dash has a 12-inch band of soft-touch plastic above the glovebox. If you cover that whole band before drying, the first section may flash dry unevenly while the last section is still wet, which is a common setup for streak lines.
Dashboard streak diagnosis table
Use this table to match the symptom to the likely cause and the exact fix. Check the surface again after each repair so you do not stack new residue on top of old residue.
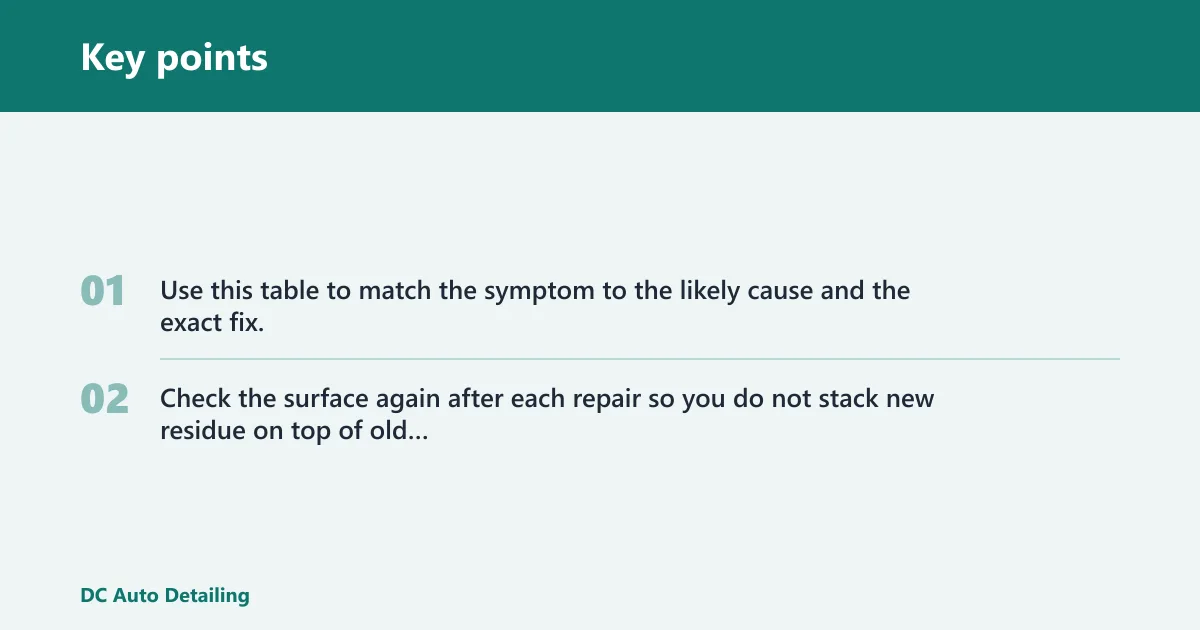
| Symptom | Likely cause | Exact fix |
|---|---|---|
| Streaks after drying | Too much product or no dry towel pass | Re-wipe with a clean microfiber towel, then buff with a second dry towel using straight passes |
| Cloudy haze | Cleaner dried on the surface or the product left residue | Reduce the spray to 1 light spray on the towel and wipe a smaller section before drying |
| Greasy shine | Protectant or dressing applied too heavily | Remove the film with a lightly dampened microfiber towel, then finish with only a thin compatible layer if needed |
| Lint transfer | Dirty towel, low-quality towel, or overused towel face | Switch to a clean non-linting microfiber towel, fold it into quarters, and flip to a fresh side |
| Smearing around vents | Liquid trapped in slats and seams | Use a detail brush to lift residue, then dry the area with a towel wrapped around the brush tip |
| Patchy dull spots | Uneven cleaning on textured plastic or soft-touch trim | Re-clean the patch with a towel-loaded section only, then dry immediately |
| Sticky feel after wiping | Cleaner or dressing left on the surface too long | Wipe again with a clean dry towel, then recheck after a minute |
| Haze near screen edges | Wrong cleaner for the zone or overspray migration | Use a towel-only application with an ammonia-free interior cleaner and keep liquid off the border |
How do you clean vents and seams?
Use a detail brush to lift residue from vents, seams, and trim edges, then catch what the brush loosens with a microfiber towel. Keep liquid out of switches and screen borders, because those zones hold product longer and show smears faster.
Wrap a microfiber towel around the brush for tight edges when the bristles alone are not enough. That gives you reach without flooding the crack.
Tight-area method
- Use short brush strokes to loosen dust in the vent slats.
- Wipe the brush tip into a towel after a few passes.
- Wrap a towel around the brush handle for narrow seams.
- Finish with a dry towel edge to remove any remaining film.
How do I clean vinyl versus leather dashboards?
Vinyl and leather need different finishing steps. Vinyl usually gets a thin UV protectant if the product is compatible, while leather should be left clean first and then finished with conditioner after cleaning.
For vinyl, keep the finish matte or low-gloss unless the product is designed otherwise. For leather, avoid soaking the surface and avoid dressing that makes the panel look greasy or slick.
Material-by-material finish
- Vinyl: Clean with a pH-balanced interior cleaner, dry fully, then apply a thin UV protectant if compatible.
- Leather: Clean with a leather-compatible pH-balanced interior cleaner, dry fully, then follow with conditioner after cleaning.
- Plastic: Clean with an ammonia-free interior cleaner and keep the application light to prevent haze.
Picture a leather dash insert next to a plastic gauge surround. If you treat both the same way, the leather may look dry while the plastic picks up a shiny film. Separate towels and separate finishing products keep that from happening.
Common mistakes
Most streak problems come from using too much product, cleaning a hot dashboard, or mixing dirty and clean towels. The fix is simple: keep the dash out of direct sun, use a towel-first application, and stop as soon as the surface looks even.
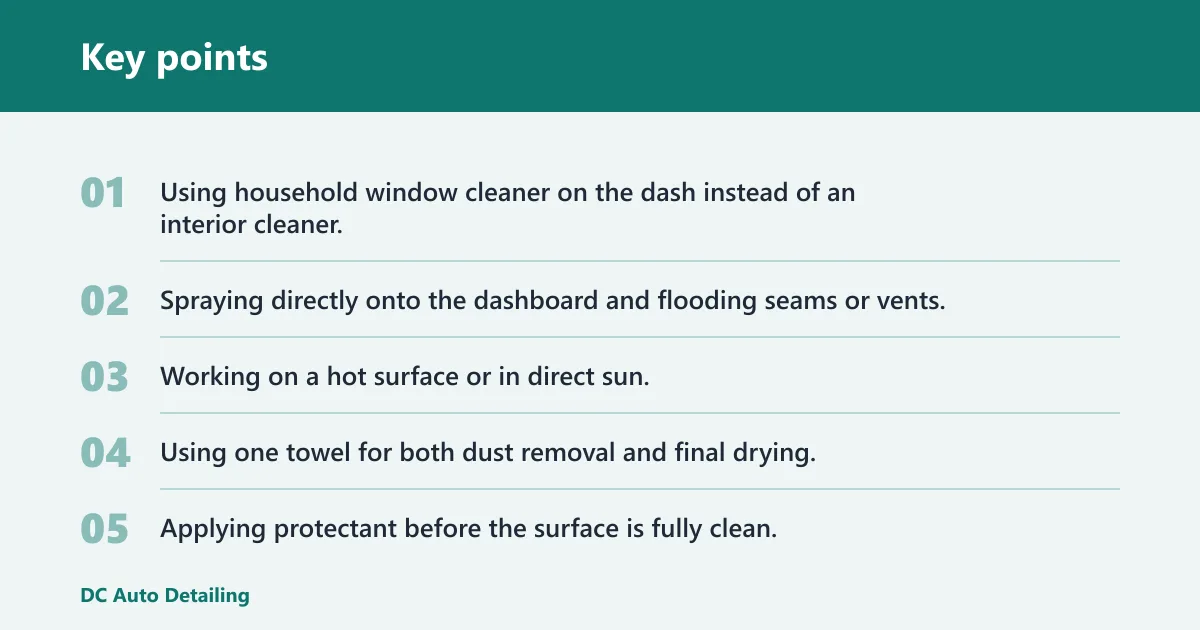
- Using household window cleaner on the dash instead of an interior cleaner.
- Spraying directly onto the dashboard and flooding seams or vents.
- Working on a hot surface or in direct sun.
- Using one towel for both dust removal and final drying.
- Applying protectant before the surface is fully clean.
- Chasing shine instead of a matte, even finish.
If that didn’t work, try this next
- Wipe the area again with a clean dry microfiber towel.
- If haze remains, apply one light spray of pH-balanced cleaner to the towel and re-clean only the affected section.
- If the streak is around a vent or seam, use a detail brush first, then dry the edge again.
- If the dashboard still looks greasy, remove the dressing residue and stop using a heavy protectant layer.
Should I use a protectant after cleaning the dashboard?
Use a protectant only if it is compatible with the material and only after the dash is fully clean and dry. On vinyl, a thin UV protectant can help limit sun-related damage; on leather, use conditioner after cleaning instead of a shiny dressing.
Apply the product lightly. One thin layer is often enough for most interior plastics and vinyl, and extra product is a common reason dashboards start to look wet instead of clean.
Residue check
- Look across the dash from the driver seat and from the passenger side.
- Check for streaks in reflected light near the windshield.
- Run a dry microfiber towel over any dull or shiny patch.
- Repeat the clean-and-dry pass if the towel picks up film.
A common first-timer mistake is stopping after the first wipe because the dash looks clean in flat light. The residue check catches cloudy patches that only show up when the surface reflects the windshield or side glass.
Frequently asked questions
How do I clean a car dashboard at home without streaks?
Use a pH-balanced interior cleaner on a microfiber towel, wipe one small section at a time, and dry each area with a second clean towel before the product dries on its own. Spray the towel, not the dash, and check for residue in reflected light at the end.
What should I use to clean car dashboard plastic?
Use an ammonia-free, pH-balanced interior cleaner labeled for plastic or interior trim. Apply it to a microfiber towel, not the plastic itself, then dry the area right away so the surface does not turn cloudy or greasy.
Can I spray cleaner directly on the dashboard?
Skip direct spraying. Apply about 1 to 2 light sprays to the towel instead, then wipe the dashboard in small sections. That keeps liquid out of vents, seams, and switches and lowers the chance of streaks.
What causes a dashboard to look cloudy after cleaning?
Cloudiness usually comes from residue, overapplication, or cleaner drying before you wipe it off. Re-clean the area with less product, shorten the section size, and finish with a dry microfiber towel so the film does not set.
Can I use household window cleaner on my dashboard?
Do not use household window cleaner as the default dash cleaner. Many formulas are not made for interior plastics or leather, and ammonia-based products are a poor fit near tinted glass and trim. Use a labeled automotive interior cleaner instead.
How do I stop microfiber towels from leaving lint on the dash?
Use clean, non-linting microfiber towels and keep separate towels for cleaning and drying. Fold each towel into quarters, flip to a fresh side often, and retire it once it starts dragging debris instead of picking it up.
What is the best way to clean dashboard vents and seams?
Use a detail brush to loosen dust, then wipe the area with a microfiber towel wrapped around the brush or pressed into the seam. Keep liquid light so it does not pool in slats, buttons, or screen borders.
How do I avoid greasy shine on the dashboard?
Use less product, dry the surface completely, and choose a finish designed for matte or low-gloss interiors. If the dash already looks slick, remove the leftover film with a clean dry microfiber towel before adding anything else.