What to use to clean dashboard plastic Safely
Use a pH-neutral interior cleaner on hard dashboard plastic, or a water-based all-purpose interior cleaner for light soil. Then finish with a matte or satin protectant. Avoid solvent-heavy dressings and strong cleaners on soft-touch or coated surfaces. The wrong product can fade color, leave glare, or leave sticky residue that pulls in dust. This guide shows which cleaner matches each dashboard finish and the exact safe method to clean it without streaking.
Dashboard cleaning basics
Dashboard plastic fails in a few predictable ways: dust, oily handprints, greasy film from old dressing, and sun damage that makes surfaces look chalky or dry. The first two need cleaning only. The last two need cleaner plus UV protection, and heavily faded or sticky plastic may need replacement rather than another wipe-down.
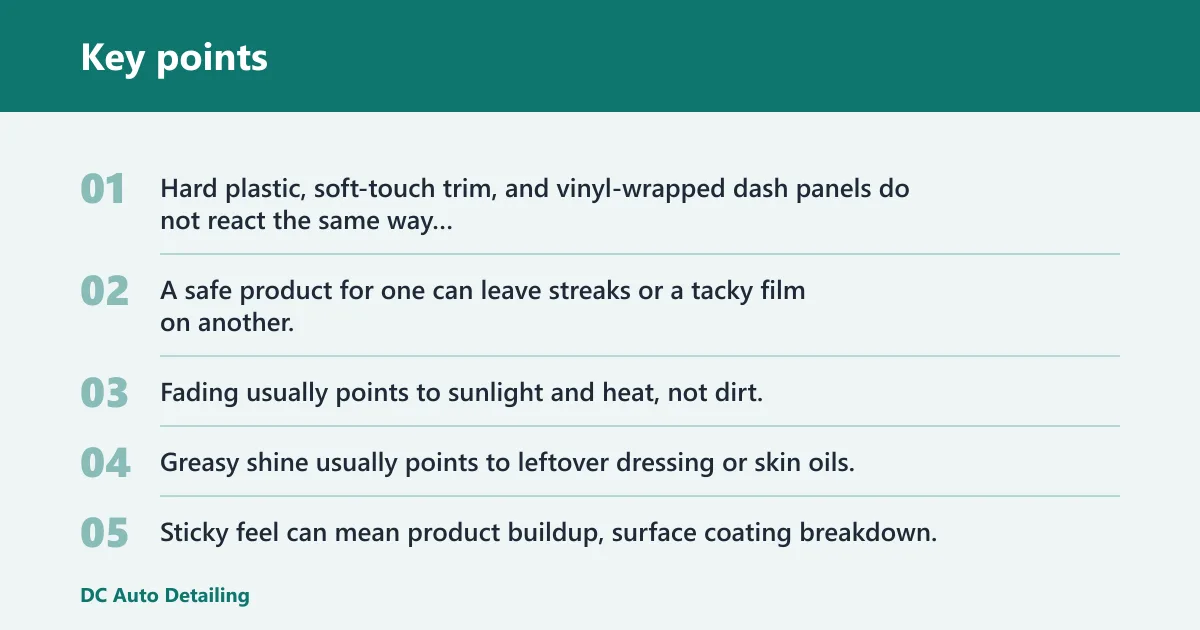
Material matters. Hard plastic, soft-touch trim, and vinyl-wrapped dash panels do not react the same way to the same product. A safe product for one can leave streaks or a tacky film on another, especially if it is a solvent-heavy dressing or an all-purpose cleaner used too wet.
What fading, grease, and residue usually mean
Fading usually points to sunlight and heat, not dirt. Greasy shine usually points to leftover dressing or skin oils. Sticky feel can mean product buildup, surface coating breakdown, or damage from repeated harsh cleaning. If the surface feels gummy even after a proper wipe, the issue may be chemical damage rather than simple grime.
Say your dash looks darker where your hands rest but pale and chalky near the windshield. That pattern usually means sunlight exposure and material wear, not just dirt. Cleaning can remove the film on top, but it will not restore missing color by itself.
How dashboard material changes product choice
Hard plastic generally handles a pH-neutral interior cleaner well. Soft-touch trim often needs a gentler hand because aggressive cleaners can leave patchy sheen. Vinyl-wrapped panels usually tolerate a water-based interior protectant after cleaning, but heavy scrubbing can still scuff the finish. Touchscreens and piano-black trim should be treated as separate surfaces, not as part of the dash panel.
What finish you should aim
Matte or satin is the safer finish for most dashboards because it cuts windshield glare and stays closer to a factory look. High-gloss products can look wet at first, then create reflection problems in bright sun or at night. Older solvent-based products are also more likely to leave an oily, high-gloss film.
What you’ll need
- Microfiber cloths, including one for application and one for dry buffing
- pH-neutral interior cleaner for plastic and vinyl
- Water-based protectant with UV protection
- Clean dry towel for the final wipe
- Soft detailing brush or dry microfiber for vents and seams
- Optional: a product labeled safe for dashboards, trim, and screens when you need one bottle for mixed interior surfaces
What should you use on dashboard plastic?
Start with a pH-neutral interior cleaner for plastic and vinyl, then add a water-based protectant if the dash gets sun. That combination lowers the risk of drying and cracking from harsh cleaners and avoids the oily residue common with solvent-based dressings. If glare matters, choose a matte or satin result rather than a glossy film.
Choose the label language first
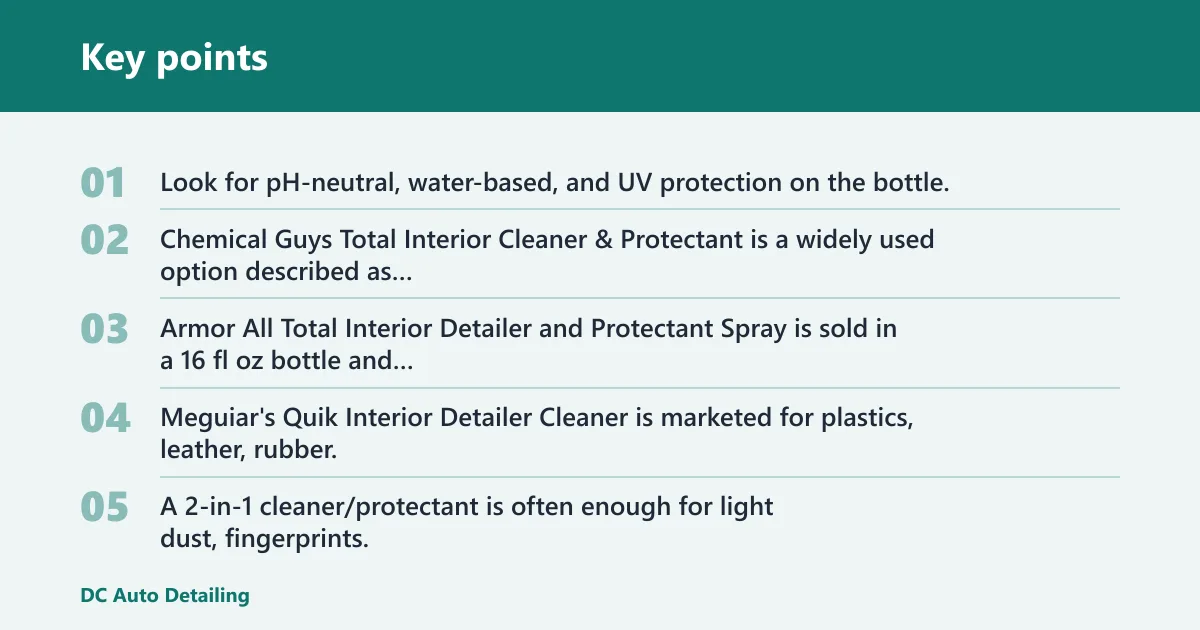
Look for pH-neutral, water-based, and UV protection on the bottle. Those terms matter more than “shine” claims. Chemical Guys Total Interior Cleaner & Protectant is a widely used option described as safe for nearly all interior surfaces and as adding UV protection in the same step. Armor All Total Interior Detailer and Protectant Spray is sold in a 16 fl oz bottle and is marketed for dashboards and trim. Meguiar’s Quik Interior Detailer Cleaner is marketed for plastics, leather, rubber, and dashboards, and it is sold in a 16 fl oz spray bottle.
Use product type to match the job
A 2-in-1 cleaner/protectant is often enough for light dust, fingerprints, and routine upkeep. Separate cleaner plus protectant works better when the dash has greasy buildup, heavy sun exposure, or a finish that needs a very controlled final look. If the goal is only to clean and the dash gets little sun, the protectant step can be light. If the dash sits under a windshield all day, the UV step matters more.
Dashboard plastic decision table
| Material type | Contamination level | Desired finish | Safest product category | Application method | Follow-up protection |
|---|---|---|---|---|---|
| Bare hard plastic | Light dust, fingerprints, or light grime | Matte or satin | pH-neutral interior cleaner; 2-in-1 cleaner/protectant is acceptable | Spray onto microfiber cloth, then wipe in short passes | Light water-based protectant with UV protection if the dash sees regular sun |
| Soft-touch trim | Oily buildup or streaks | Low sheen, factory-like | Gentle water-based interior cleaner; avoid oily dressings | Apply to cloth, use minimal product, and buff dry | Thin UV protectant only after residue is gone |
| Vinyl-wrapped dash | Heavier contamination and sun exposure | Matte or satin | Interior cleaner plus separate water-based protectant | Work one section at a time, keeping liquid off seams | Reapply UV protection on the exposed upper surface |
| Any dashboard with glare concern | Clean surface, but reflection is the goal | Matte or satin | Non-greasy interior cleaner and a matte protectant | Buff until even, not shiny | Skip glossy dressings; reapply light UV protection as needed |
How do you clean dashboard plastic safely?
Turn the car off, let the interior cool, dust the surface, and apply cleaner to the microfiber cloth instead of the dash. Use short, controlled passes and keep product away from vents, screens, and switchgear. Finish with a dry buff so the surface looks even, not slick.
- Turn the car off and let the dashboard cool.
- Dust the surface first so grit does not drag across the finish.
- Spray the cleaner onto the microfiber cloth, not directly on the dashboard.
- Wipe in short passes, starting with the upper dash and working down.
- Use a dry cloth to remove residue from seams, buttons, and edges.
- Apply protectant to the cloth only where UV protection is needed, then buff until the finish looks uniform.
- Recheck the dash in angled light and add another pass only if a greasy spot remains.
Picture a dash with about a 6-inch patch of sticky film near the center vent. One wet pass usually smears that film across a wider area. A dry microfiber follow-up after each section keeps the residue localized and makes the final finish easier to control.
Common mistakes
Household cleaners are the fastest way to create trouble. Many contain solvents or strong degreasers that can dull plastic or leave a film. Direct spraying is another common mistake because overspray lands in vents, on gauge lenses, and around infotainment bezels.
Glossy dressings cause the most visible complaint. They reflect into the windshield and can make the dash look greasy even when it is clean. Skipping UV protection is the slow-burn mistake; the surface may look fine today and still dry out under repeated sun exposure.
- Using household cleaner on plastic or screens: switch to an automotive interior cleaner marked pH-neutral and screen-safe.
- Soaking the dash or spraying into seams: put product on the cloth, then wipe.
- Leaving greasy residue: use a dry microfiber pass and stop before the panel looks wet.
- Choosing a glossy finish: switch to matte or satin if windshield glare is a concern.
- Skipping UV protection on sunny dashboards: use a water-based protectant after cleaning.
Should you use a cleaner, protectant, or both?
Use a 2-in-1 cleaner/protectant when the dash is only dusty or lightly soiled and you want a quick, low-glare finish. Use separate products when the dash is greasy, heavily sun-exposed, or already uneven in sheen. That split gives you more control over cleaning strength and the final finish.
When a 2-in-1 product is enough
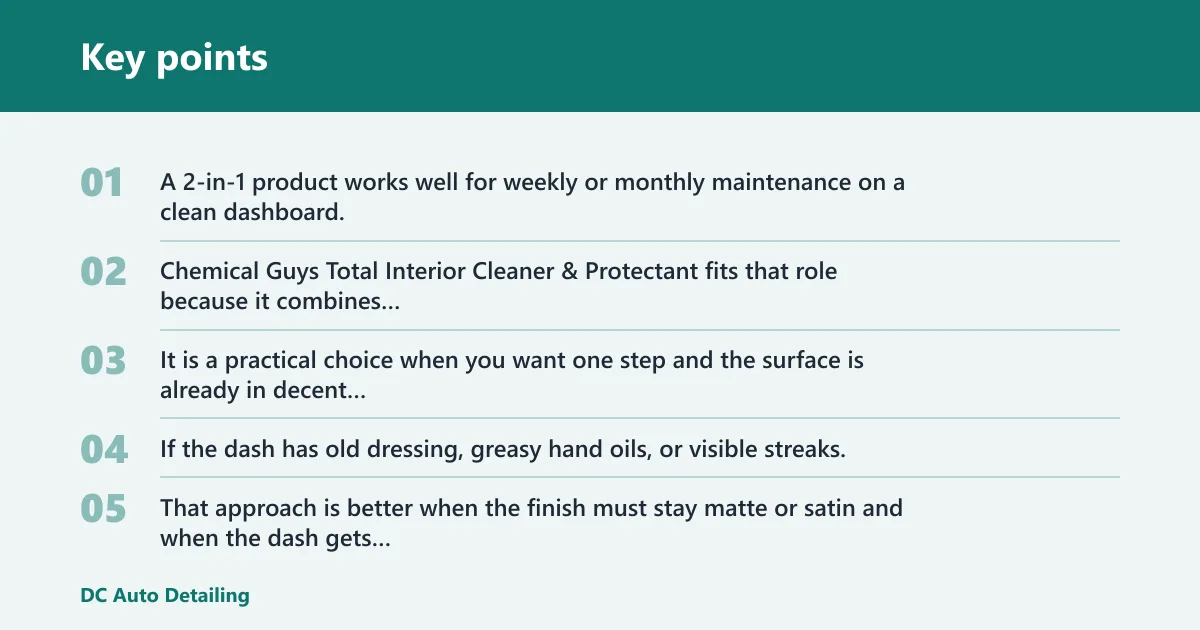
A 2-in-1 product works well for weekly or monthly maintenance on a clean dashboard. Chemical Guys Total Interior Cleaner & Protectant fits that role because it combines cleaning with UV protection. It is a practical choice when you want one step and the surface is already in decent shape.
When separate cleaner and protectant are better
If the dash has old dressing, greasy hand oils, or visible streaks, clean first with a pH-neutral interior cleaner, then apply a water-based protectant in a second step. That approach is better when the finish must stay matte or satin and when the dash gets strong sun through the windshield.
How often to reapply based on sun exposure
A reasonable re-cleaning and re-protecting interval is roughly one to two months for most vehicles. High-exposure dashboards may need attention closer to the one-month side. Garaged or lightly used interiors can often go longer if the surface still looks clean and dry to the touch.
For a dashboard that sits in full sun every day, one light UV-protectant pass after cleaning is usually better than piling on more product later. For a shaded garage vehicle, less frequent application helps avoid buildup and streaking.
What to do if the dashboard is already faded or sticky
Clean the surface first and judge whether the issue is residue or damage. If the stickiness comes off, follow with a thin water-based protectant. If the dash remains tacky, soft, or discolored after a proper wipe, the material may be chemically damaged and cleaner alone will not restore it.
How do you handle screens, lenses, and trim next to the dashboard?
Keep liquid away from the infotainment screen, cluster lens, climate controls, and piano-black trim. Those surfaces show streaks easily and can trap residue in edges. A cleaner labeled safe for nearly all interior surfaces can be convenient, but the application method still matters: apply to the cloth first and keep the wipe nearly dry on sensitive surfaces.
Will a dashboard cleaner damage your infotainment screen? It can, if the product is too wet, too aggressive, or not meant for coated displays. Use only a lightly damp microfiber and never flood the panel. For piano-black trim, dry buffing matters because even a safe product can leave visible haze on that finish.
Frequently asked questions
What can I use to clean car dashboard plastic without fading it?
Use a pH-neutral interior cleaner on hard plastic, then follow with a water-based protectant that includes UV protection. Spray the product onto a microfiber cloth, not the dash. That approach lowers the chance of drying, streaking, and the oily film that can come from older solvent-based dressings.
Can I use a household cleaner on my dashboard?
Skip household all-purpose cleaners. They may be too harsh for soft-touch trim, coated surfaces, and surrounding screens. An automotive interior cleaner marked pH-neutral is the safer choice, especially when the dash has plastic, vinyl, and electronic controls in the same area.
Should I spray dashboard cleaner directly on the plastic?
No. Spray it onto a microfiber cloth first, then wipe the surface in short passes. Direct spraying pushes liquid into seams, vents, switches, and screen edges, which raises the risk of streaks and residue on nearby electronics.
What finish is best for dashboard plastic: matte or glossy?
Matte or satin is the better target for most dashboards. It cuts windshield glare and looks closer to factory trim. Glossy products can leave an oily film and create reflections that are distracting in bright daylight or at night.
How often should I clean and protect my dashboard?
For most vehicles, roughly one to two months is a practical interval. If the dashboard gets strong sun every day, lean toward the shorter end. If the car is garaged or lightly used, clean when dust, fingerprints, or sheen start to build again.
What’s the difference between dashboard cleaner and protectant?
Cleaner removes dirt, oils, and old residue. Protectant adds UV defense and helps control the final look. A 2-in-1 product can do both in one pass, but separate products give better control when the dash is heavily soiled or when you need a specific matte finish.
How do I remove old greasy buildup from dashboard plastic?
Use a pH-neutral interior cleaner with a microfiber cloth and work one section at a time. If the first pass smears, switch to a fresh cloth before adding more product. Keep going until the surface feels clean, then buff dry. If the plastic still feels sticky, the surface may be chemically damaged.
What should I do if my dashboard is already faded or sticky?
Clean it first, then test a small area with a water-based protectant. If the dash stays faded or sticky after normal cleaning, the surface likely needs repair or replacement rather than more dressing. A cleaner cannot restore missing color or reverse plastic breakdown.