
How to use a dual action polisher for the first time
Start with the least aggressive pad and polish that can clear the defect, spread product at speed 1 to 2, then work a 2×2 foot section at speed 4 to 5 with slow, overlapping passes in a crosshatch pattern. Poor technique can leave haze, missed defects, sling, and paint damage on edges. This guide shows the setup, test spot, speed progression, and the common mistakes to avoid.
What does a dual action polisher do, and why is it beginner-friendly?
A dual action polisher oscillates and spins at the same time, which makes it more forgiving than a rotary because the pad does not stay locked into one rotation path. That reduces the risk of a harsh buffing trail when the pad is kept flat and pressure stays light. It is still possible to mar paint on edges or with poor technique.
For a clear comparison of machine behavior and safety tradeoffs, see the dual action polisher vs rotary guide. The main beginner advantage is control: you can correct light to moderate defects without the same learning curve required to manage heat and cut on a rotary.
Common beginner setups often use either a 5-inch or 6-inch backing plate with a matching pad. The plate edge should not touch paint. Pocket Knife Life notes that a 9mm orbit throw is common on beginner DA setups, which is a useful reference point when you compare machines.
What should you do before polishing the car?
Begin with a clean, inspected vehicle and keep the setup simple: matched backing plate, appropriate pad, and the least aggressive product that may work. Check thin, repainted, hot, or previously repaired areas before correction. If a panel already shows peeling, deep damage, or weak clear coat, stop and avoid aggressive polishing there.
Use the same basics every time: wash, dry, inspect, and tape trim before touching paint. Keep the backing plate off the panel edge, and use smaller pads for curves, corners, mirrors, and body lines. That approach lowers the chance of burning paint or catching sharp edges while you learn the machine.
What will you need before you start?
- Dual action polisher with variable speed control
- Backing plate that matches the pad size
- Foam polishing pad; choose a beginner-friendly white or green foam pad when available
- Microfiber pad if you need more cut on heavier defects
- Compound for cutting defects and polish for lighter correction or finishing
- Microfiber towels for wipe-off
- Strong lighting so you can inspect residue and haze
- Clean wash bucket, soap, and drying towels
- Paint depth gauge if available
A foam pad is the safer starting point for most first sessions. Autozcrave classifies foam pads as cutting, polishing, and finishing types. Microfiber pads cut more than foam, which can help on tougher defects, but they may leave less refined finish quality than a foam polishing pad.
How should you set up and inspect the paint first?
Use this order before the pad touches paint. It keeps the first session organized and reduces the chance of chasing defects on damaged areas or overworking one section.
| Step | What to do | Pass / fail check |
|---|---|---|
| 1 | Wash and dry the car, then inspect panel by panel for chips, bird poop staining, lacquer peel, and deep scratches. | Pass if you can identify weak areas before polishing. |
| 2 | Use a paint depth gauge if available on suspect panels or repainted areas. | Pass if you have a reason to avoid aggressive correction on thin paint. |
| 3 | Match the backing plate to the pad size and check that the plate edge will not contact paint. | Pass if the pad sits centered and balanced. |
| 4 | Prime the foam pad with about 8 large pea drops before the first pass. | Pass if the face is evenly conditioned, not soaked. |
| 5 | Set the first test section at about 2×2 feet. | Pass if the section is small enough to inspect after each pass. |
| 6 | Set the machine to speed 1 to 2 for spreading, then prepare to move to a higher working speed. | Pass if the pad spreads product without sling. |
ValetPRO recommends a paint inspection before polishing to spot defects and weak areas, and says a paint depth gauge can help judge remaining paint thickness. That matters most on edges, repainted panels, and areas with visible staining or peeling. For clearer context on remaining scratches after polishing, use your first inspection to decide whether a defect is safe to chase or better left alone.
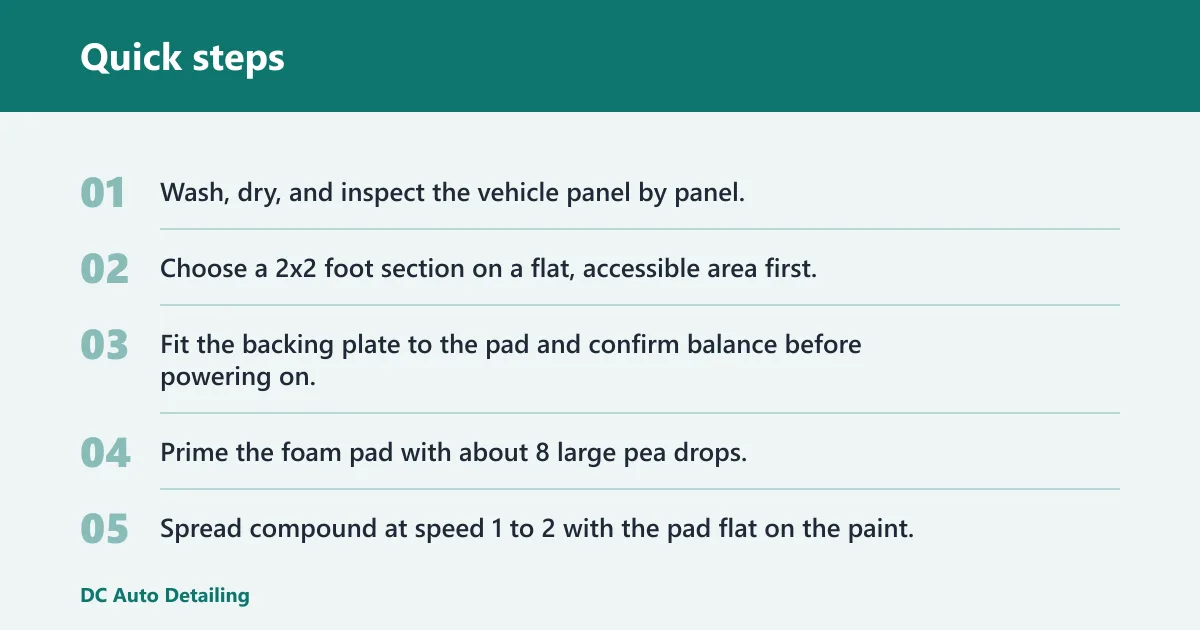
- Wash, dry, and inspect the vehicle panel by panel.
- Choose a 2×2 foot section on a flat, accessible area first.
- Fit the backing plate to the pad and confirm balance before powering on.
- Prime the foam pad with about 8 large pea drops.
- Spread compound at speed 1 to 2 with the pad flat on the paint.
- Increase to speed 4 to 5 for the working passes.
- Move the machine slowly in a crosshatch pattern: up and down, then side to side.
- Use light pressure and let the machine and compound do the work.
- Wipe the area clean and inspect under bright light.
- Add 1 to 2 pea drops only if the pad starts to feel dry, then recheck the same section.
First-session checklist and test-spot log
Use this as a standalone record for the first panel or test spot. Keep the section small, note the pad behavior, and change only one variable at a time. That makes it easier to tell whether the result came from the pad, product, pressure, or speed.
| Section size | Speed | Pressure cue | Passes | Result | Haze | Pad loading | Next action |
|---|---|---|---|---|---|---|---|
| 2×2 ft | 1 to 2, then 4 to 5 | Pad flat, light hand pressure | 1 | Repeat, clean pad, or change pad/product | |||
| 2×2 ft | 1 to 2, then 4 to 5 | Reduce pressure on curves | 2 | Inspect under light and compare before/after | |||
| Smaller edge area | Lower speed only | Backing plate kept off paint edge | 1 | Stop if panel feels hot or finish turns cloudy |
How do you polish your first test spot?
Use one small 2×2 foot test spot, spread product at low speed, then make slow crosshatch passes with light pressure. Increase speed only after the polish is distributed evenly. Stop, wipe, and inspect after each pass so you can decide whether to repeat, switch pads, or change product.
Autozcrave says beginners should work in roughly 2×2 feet sections and use light pressure. That size is small enough to control, but large enough to reveal whether the pad, product, and speed setting are working together.
Picture a hood section with light swirls and one stronger scratch line. Start with the lighter area first. If the finish improves but the deeper mark stays, that tells you the current pad and polish may be too mild for that defect.
What speed range should a beginner use on a DA polisher?
Begin at speed 1 to 2 to spread product without sling. Then move to speed 4 to 5 for the correction pass. Do not jump straight to the highest speed on the first section. The point is controlled cut, not maximum machine speed. Treat that range as a common starting point, then adjust only if the pad stays flat and the finish responds.
Keep the pad flat and move slowly enough that the polish has time to work. If the residue flashes too fast or the pad chatters, you are likely moving too quickly or using too little product. If the paint gets warm, stop and reassess rather than forcing more speed.
How much pressure and edge control should you use?
Use only light pressure. If the pad starts to stall on a curve or near a body line, reduce pressure and tilt less, or change to a smaller or softer pad for that area. The plate should stay away from the paint edge at all times.
Fender lips, mirrors, badges, and sharp body lines are the first places to slow down. Tape trim before polishing, avoid polishing sharp body lines aggressively, and stop on hot, thin, or repaired areas. A common first-timer mistake is leaning into an edge to chase one stubborn mark.
How do you choose pads and product for different paint defects?
Start with foam unless the panel has stronger defects that clearly need more cut. ValetPRO narrows beginner pad choices to a Medium Cut Foam Pad and Maximum Cut Microfibre Pad. The same source recommends white or green foam polishing pads for beginners, which keeps the starting point moderate.
Use compound when the paint has heavier defects and polish when the correction level you need is lighter or when you are refining after a cutting step. If the test spot removes swirls but leaves haze, stop with the more aggressive combo and switch to a finer pad or polish.
Suppose a black sedan has moderate swirls on the hood and light towel marks on the doors. A foam polishing pad with polish may handle the doors well, while the hood may need a compound on a firmer pad. Change only one variable at a time.
Which pad type should you start with?
Use foam first for most beginner sessions because it is easier to control and usually finishes cleaner than more aggressive materials. Microfiber pads generally cut faster, which can help on stronger defects, but they also demand more careful inspection. Choose the smaller pad size for curves and tighter panels.
Think of foam as the default and microfiber as the stronger option. That simple progression matches the idea of starting mild, then stepping up only when the test spot proves the defect needs more cut. If the finish is already close, a finer foam pad is usually the safer move.
| Paint condition | Starter pad | Starter liquid | What to do next |
|---|---|---|---|
| Light swirls | Foam polishing pad | Polish | Repeat only if defects remain and haze is low. |
| Moderate defects | Medium cut foam pad | Compound | Refine with a softer foam pad if finish looks cloudy. |
| Heavier defects | Maximum cut microfiber pad | Compound | Step back to polish once the defect level drops. |
| Delicate finish work | Finishing foam pad | Fine polish | Stop once the surface is clear and residue-free. |
What common mistakes should you avoid?
Too much product clogs the pad and reduces cut. If the face starts loading up, stop, clean the pad, and resume with fewer drops. Too large a section spreads the machine too thin, which makes it harder to judge whether the defect actually changed. Smaller sections give cleaner feedback.
Stalling in corners usually means the pad is too large for the shape, the angle is too steep, or the pressure is too high. On tight areas, switch to a smaller pad or finish those sections by hand. Never keep the backing plate against the edge while trying to force correction.
Do not keep polishing just because the section feels warm or looks shiny. Warmth alone does not mean the defect is gone, and shine can hide haze until you inspect under strong light. If the result is cloudy, step down to a finer pad and polish.
A common first-timer mistake is using a 6-inch pad on a narrow mirror base and expecting it to behave like a 5-inch pad. The same source notes that a 5-inch pad is nimble around mirrors and badges, while a 6-inch pad clears big flat panels faster.
How do you inspect the result after each pass?
Wipe the section clean, then inspect under bright, direct light from different angles. Check for swirl removal, haze, remaining scratches, and pad loading. Stop when the panel looks even, the residue is gone, and the defect level matches the pad and polish you chose.
Use the same inspection point after every test pass. That makes changes easier to judge. If swirl removal improves but haze increases, the current combo is too aggressive or the pad has loaded up. Clean the pad, then retest before changing product.
| Result check | Pass | Fail |
|---|---|---|
| Swirl removal | Most light swirls are reduced or gone in the test spot. | Swirls look unchanged after two careful passes. |
| Haze | Finish is clear under direct light. | Panel looks cloudy or dull after wipe-off. |
| Pad loading | Pad face stays open and evenly coated. | Pad face clumps, cakes, or stops cutting evenly. |
If a panel fails the check, change one thing at a time: clean the pad, reduce product, or move to a different pad type. That approach shows which variable caused the result.
Frequently asked questions
What is a dual action polisher?
A dual action polisher is a machine that oscillates and spins at the same time. That motion is more forgiving than a rotary because the pad does not stay fixed in one rotational path. For beginners, that usually means a lower risk of obvious paint damage when used with light pressure and a flat pad.
How do I start using a dual action polisher for the first time?
Start with a washed, inspected panel, a matched backing plate and pad, and a primed foam pad. Set the machine to speed 1 to 2 to spread product, then work a 2×2 foot section at speed 4 to 5 with slow crosshatch passes. Inspect after each pass before moving on.
What speed should I use on a DA polisher as a beginner?
Use about speed 1 to 2 for spreading product, then move to about speed 4 to 5 for the working pass on the first test spot. That gives you a controlled start and enough pad movement to correct light to moderate defects without racing through the section. Stay in the lower range until the pad is flat and controlled.
How much pressure should I put on a dual action polisher?
Use light pressure. The same source says to let the machine and compound do the work, which means you should guide the tool rather than push hard into the paint. If the pad stalls, back off immediately and reduce pressure before changing speed or pad type.
Do I need to prime a polishing pad before using it?
Yes, especially with a foam pad. The same source says to prime foam pads with about 8 large pea drops before the first pass. That helps the pad work evenly across the face instead of loading one dry spot and leaving others inactive. Add only about 1 to 2 drops later if the pad starts to dry out.
What size area should I polish at one time?
Work roughly 2×2 feet at a time. That size is small enough to inspect properly after each pass and large enough to show whether the pad, product, and speed setting are working. Larger sections make it harder to control pressure, track residue, and read the finish correctly.