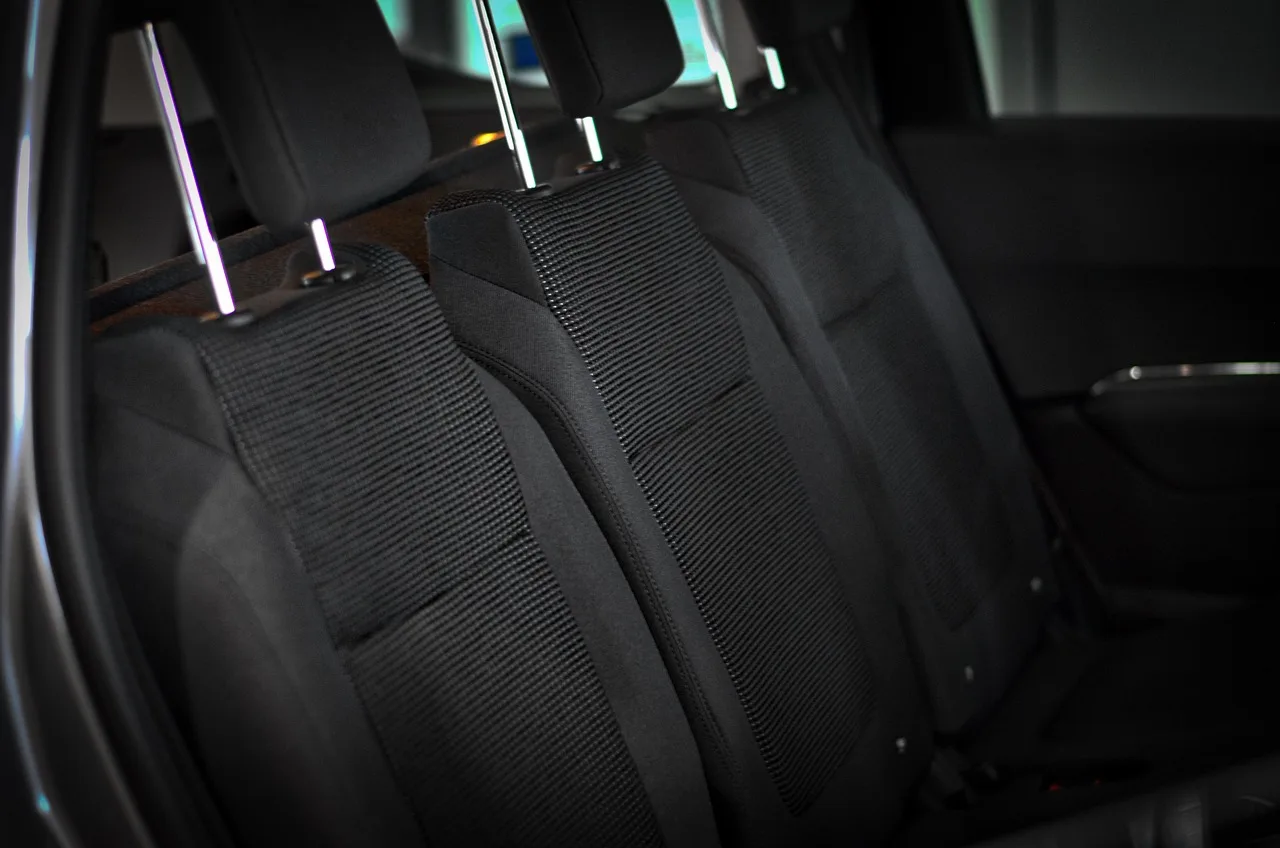
Cloth seats: How to clean, protect, and remove stains
Clean cloth car seats with a low-moisture fabric cleaner, work in small sections, blot rather than scrub, and keep dwell and rinse moisture low enough that the seat often feels nearly dry within about 1 to 2 hours. Too much liquid can wick stains back to the surface, leave odor rings, and wet the foam around heaters, sensors, and trim. This guide maps stain types to the right first response, drying method, and protection habits.
Cloth seats need low-moisture cleaning
Why cloth traps more than the visible stain
Cloth seats hold dry grit in the weave, crumbs in seams, and liquid in the padding below. That matters because the stain on top is often only part of the problem. If loose soil stays in the fabric when water hits it, it turns to mud and spreads.
Most fabric seat stains can be handled at home, but the process matters. Start dry, control moisture, and match the cleaner to the stain instead of treating every spill the same way.
Why over-wetting causes rings, odor, and slow drying
Seat fabric dries faster than the foam beneath it. If the top looks dry while the cushion still holds moisture, dissolved soil can wick back up and leave a ring. That is why a seat can look worse the next morning even though it looked clean right after blotting.
Over-wetting also raises odor and mildew risk. Cloth can stay damp long enough for mold to start in about 24 to 48 hours, so it is a good idea to avoid soaking the cushion and to check the owner’s manual before using stronger chemicals or steam on seats with electronics.
Where electronics change your cleaning limits
Modern seats may contain heaters, occupancy sensors, seat-mounted airbags, and wiring routed under the cushion and near seams. Those areas need less liquid. Avoid flooding stitched seams, side bolsters where airbag components may sit, and any connector area under the seat.
Check the owner’s manual before using stronger chemicals or steam on seats with electronics. If a stain sits beside a seam that houses wiring or an airbag panel, keep cleaning at the surface and use towels to control every pass.
What you’ll need
- Vacuum with upholstery attachment for dry soil removal before any moisture is added; use the crevice tool on seams, piping, seat tracks, and tight corners.
- Clean, lint-free microfiber towels for blotting, rinse-blotting, and drying; switch towels when they stop lifting soil to prevent residue transfer and water rings.
- Soft-bristled brush for gentle agitation; choose a brush with flexible nylon or natural bristles, not stiff scrub bristles, and use short circular motions or light straight strokes so the fabric does not fray or fuzz.
- Fabric cleaner or upholstery cleaner safe for cloth seats; apply a small amount to a hidden spot under the seat skirt or at the back lower edge first.
- Spray bottle for controlled application; a spray bottle helps keep the cleaner distribution light and even.
- Warm water for general rinsing and for mixing a low-residue DIY solution.
- White vinegar for a DIY mix used on some grease residue and odor cases.
- Dish soap in a very small amount for the DIY mix; excess soap leaves residue.
- Baking soda for grease absorption and deodorizing; use it as dry powder or a paste only when the stain type fits.
- Rubbing alcohol for ink stains; spot-test first and apply by blotting, not rubbing.
- Cold water for blood stains and for rinsing certain spot treatments without setting protein stains.
- Optional wet/dry vacuum to pull out rinse moisture on larger cleaned areas.
- Optional fan to speed evaporation and help the fabric and foam dry together.
- Optional seat covers or protectors for daily prevention after cleanup, especially with kids, pets, muddy gear, or off-road use.
Before you start
Test any cleaner in a hidden area for 10 minutes before broad use, such as the rear lower seat edge or fabric tucked near a mounting point. That matters most with rubbing alcohol and stronger upholstery products.
Stage at least three microfiber towels: one for cleaner, one for rinse-blotting, and one for drying. Open doors or windows when safe, and move the vehicle where airflow is available.
How do you clean cloth seats without soaking them?
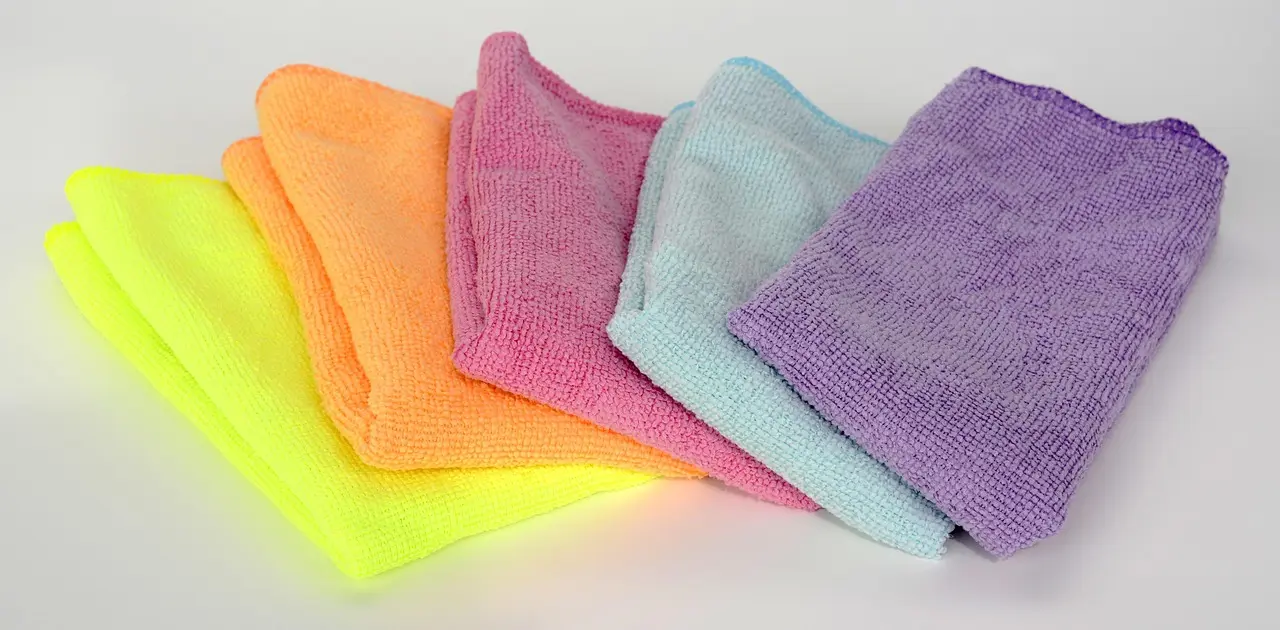
Use a vacuum first, pre-treat stains by type, and clean one small section at a time with light misting instead of direct saturation. Blot with clean microfiber, agitate only as needed with a soft brush, and rinse-blot with very little water so the surface feels nearly dry soon after you finish.
Low-moisture cleaning steps
- Vacuum every panel, seam, and crevice. Run the upholstery tool across the center panels first, then switch to the crevice tool and trace piping, stitched edges, buckle slots, seat tracks, and the gap where the backrest meets the bottom cushion so crumbs and grit do not turn muddy once wet.
- Spot-test the cleaner on a hidden area for 10 minutes. Check for color transfer, fiber distortion, or darkening before moving to visible fabric.
- Pre-treat visible stains by type. Apply the stain-specific first action before any broad cleaning so coffee, grease, ink, or blood does not spread into a larger area.
- Mist a towel or the surface lightly. Use a spray bottle and stop after a light, even mist; if the fabric darkens deeply at once, it is too wet.
- Work a section about 6 by 6 inches. Small sections keep moisture controlled and make it easier to blend the cleaned area beyond the stain edge.
- Agitate gently with a soft-bristled brush. Use a upholstery brush with flagged or flexible bristles, hold the pressure light, and make short circular passes or gentle straight strokes, then stop when soil starts lifting.
- Blot with a clean microfiber towel. Press down firmly, lift straight up, and rotate to a clean side often so soil is removed instead of pushed around.
- Rinse-blot with a barely damp microfiber. Use warm water for general cleaner residue, or cold water if the spot treatment calls for it, and avoid re-wetting the same area heavily.
- Top up only if needed in 1 spray at a time. Add one spray from the bottle, then recheck the towel transfer before adding more; this keeps the foam from getting soaked.
- Dry the area immediately. Pressure-blot with a dry microfiber, then use airflow from open doors, cracked windows when safe, or a fan aimed across the seat.
Cleaner choices that fit the stain
Use a mild fabric or upholstery cleaner for general grime. For some grease residue and odor cases, a common DIY mix is 2 cups warm water, 1 cup vinegar, and 1 tablespoon dish soap in a spray bottle. Keep it light. Too much soap leaves residue that attracts dirt and can form a ring as it dries.
Use cold water first on blood. Use rubbing alcohol by blotting for ink, after spot-testing. Use baking soda before wet cleaning when the stain is oily, because absorption works better than adding water right away.
Two common seat situations
Say your passenger seat has a 3-inch coffee spot with a pale brown edge from yesterday’s spill. If the center is cleaned but the edge is ignored, the ring usually stays visible. Clean slightly beyond the stain outline, then rinse-blot evenly across that whole treated zone.
Picture a muddy boot print on the outer bolster after a rainy game. If that mud is scrubbed while wet, it smears deep into the weave. Let it dry first, vacuum off the grit, then clean the remaining residue with controlled moisture.
Seat stain response matrix
Stain-by-stain quick guide
| Stain type | First action | Safest cleaner | What to avoid | Expected drying time | When to escalate to pro detailing |
|---|---|---|---|---|---|
| Coffee | Blot fast with clean microfiber; do not press deeper into foam | Mild fabric cleaner or light vinegar mix on a towel | Flooding the spot, strong soap residue, hard scrubbing | About 1-3 hours for a light spot with airflow | If a tan ring returns after rinse-blotting or the spill soaked a large seat area |
| Grease or oil | Apply baking soda dry and let it absorb before vacuuming | Baking soda first, then fabric-safe cleaner or light vinegar mix | Adding lots of water immediately, rubbing oily residue wider | About 2-4 hours after cleanup if moisture stayed low | If the spot keeps ghosting back or feels oily after two controlled passes |
| Ink | Spot-test, then blot from edge inward | Rubbing alcohol on microfiber or cotton pad | Rubbing, spreading the mark, strong solvent on untested fabric | About 1-2 hours | If dye transfer keeps bleeding or the fabric color lifts with the ink |
| Blood | Blot with cold water first | Cold water, then mild fabric cleaner if residue remains | Heat, hot water, steam, aggressive brushing | About 1-3 hours | If the stain is old, dark, and bonded into the fibers |
| Mud | Let it dry, then vacuum and brush off loose debris | Mild fabric cleaner with light rinse-blotting | Cleaning while wet, grinding grit into fabric | About 1-3 hours | If grit has packed deep into seams or odor remains after drying |
| Food | Lift solids first, then blot residue | Mild fabric cleaner; vinegar mix only if residue is greasy or odorous | Smearing sauces, heavy soap, colored towels that can bleed | About 1-3 hours for a spot; longer for larger areas | If sugar or dairy odor returns after drying or the spill reached deep foam |
| Odor without a visible stain | Vacuum thoroughly and identify the source area first | Light vinegar mix on towel, baking soda for dry deodorizing | Masking sprays, soaking the seat, closing the car while damp | Several hours because odor work often covers a broader area | If odor returns after full drying or there is suspected mold in the foam |
What is the best way to remove common cloth-seat stains?
The best method depends on the stain. Coffee needs quick blotting and a low-residue rinse. Grease needs dry absorption before cleaner. Ink needs spot-tested rubbing alcohol by blotting. Blood needs cold water first. Mud should dry before removal. Odor cases need source control and faster drying, not heavier spraying.
Coffee and soda
Blot immediately with a clean microfiber towel. Then use a mild fabric cleaner or a lightly applied vinegar mix on a towel, not a soaked seat. Agitate only if the stain has dried.
Rinse-blot with a barely damp towel and extend the cleaning a little beyond the visible edge. Sugary drinks leave sticky residue, so this step matters. Finish with a dry towel and airflow to prevent tan rings.
Grease and oil
Start dry. Cover the spot with baking soda and let it sit for several hours or overnight; 8 hours is a common dwell time for oily residue. Vacuum it up, then clean what remains with a cloth-safe upholstery cleaner or a light vinegar mix.
Do not add lots of water at the start. Water alone does little for grease and only pushes oil deeper. A common first-timer mistake is spraying a shiny 2-inch fry-grease spot until the whole seat patch is wet. The stain then spreads wider and takes much longer to dry.
Ink and dye transfer
Spot-test rubbing alcohol first. Then blot from the outer edge toward the center with a towel or pad dampened, not dripping, with alcohol. Switch to a fresh part of the towel often.
Do not rub. Ink spreads fast and can move into clean fibers. If the seat’s own dye transfers to the towel during the test, stop and escalate.
Blood, mud, food, and odor
Use cold water first on blood because heat can set protein stains. For mud, let it dry, then vacuum and brush away debris before any liquid touches it. For food, lift solids first, then treat the remaining film by stain type: sugary, greasy, or protein-based.
For odor without a clear stain, vacuum thoroughly first and find the likely source area. Use baking soda as a dry deodorizer or a light vinegar mix on a towel, then dry the seat fast. If odor returns after full drying, the foam may still be contaminated.
How do you avoid water rings after cleaning cloth seats?
Clean slightly beyond the stain edge, keep moisture even across the whole treated area, and remove cleaner residue before it dries. Switch to fresh microfiber often, pressure-blot instead of scrubbing, and use airflow right away so the surface fabric and the cushion underneath dry at a similar pace.
Ring prevention sequence
First, vacuum. Dry soil left in the weave will show up as a ring once moisture lifts it. Next, clean past the visible border by a small margin so the transition blends into the surrounding fabric instead of ending in a sharp wet line.
Then blot out both soil and cleaner. Dirty towels put residue back into the fabric, so keep several clean, lint-free microfibers ready. Finish with a barely damp rinse towel, followed by a dry towel and moving air.
Why towel order matters
Microfiber towels do three jobs here: they blot the stain, remove rinse residue, and pull surface moisture back out. Using one towel for all three steps often causes streaks. Keep one for cleaner, one for rinse-blotting, and one dry towel for final extraction by hand pressure.
Can you steam clean cloth car seats safely?
Steam can help on heavy soil that has not responded to low-moisture cleaning, but it is not the first move for routine stains. Keep the head moving, limit passes, and avoid seams or areas with heaters, airbags, sensors, or unknown wiring where heat and moisture can enter components.
When steam makes sense
Reserve steam for broad grime, old traffic marks, or stubborn residue after vacuuming and low-moisture cleaning. Keep the steam head moving constantly. Minimal passes are safer than repeated slow passes in one spot.
When to skip steam
Skip it on heated seats, seats with side airbag seams, and any seat with sensitive occupancy electronics unless the owner’s manual clearly allows it. Also skip steam on blood stains at the start because heat can set them.
If steam is used at all, treat it as a surface method. Do not flood the foam. If heavy contamination clearly sits deeper than the fabric face, professional extraction is usually the safer next step.
How long do cloth seats take to dry, and how do you stop mildew?
Light spot cleaning usually dries in roughly 1-3 hours with good airflow, while broader cleaning can take several hours longer depending on humidity, fabric thickness, foam saturation, and ventilation. Mildew prevention comes from removing moisture fast, not from adding fragrance or closing the car while the seat still feels cool and damp.
Drying setup that works faster
Blot first, then blot again with a dry towel. If available, use a wet/dry vacuum for larger cleaned areas to pull moisture from the fabric face before it migrates deeper. Open doors or windows when safe, and point a fan across the seat rather than straight down into one wet spot.
Do not leave seats wet overnight in a closed vehicle. Do not reinstall covers onto damp fabric. Broader cleaning can take several hours longer than spot cleaning, especially in humid weather or on thick cushions.
Warning signs moisture is still trapped
If the fabric feels cool, smells sour, or darkens again after you sit on it, moisture may still be in the foam. Recurring odor, a large soaked area, or suspected mold means DIY has reached its limit.
Oh So Spotless gives a 30-minute estimate for cleaning fabric car seats, but drying is a separate timeline and often longer than the cleaning itself.
If that didn’t work
Escalate in this order
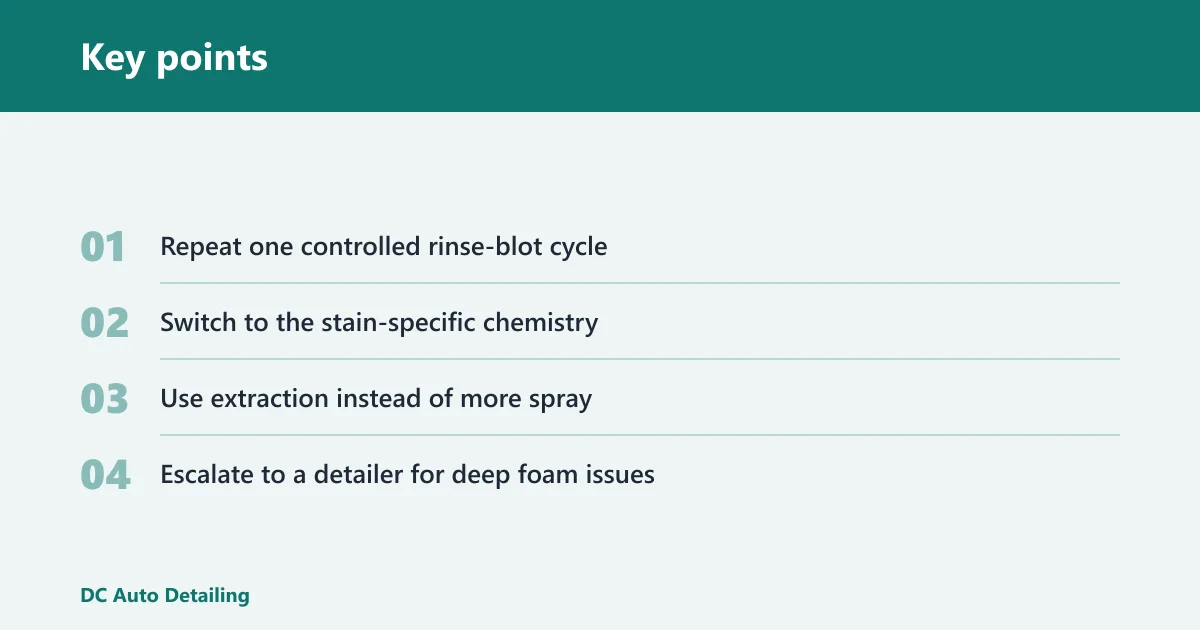
- Repeat one controlled rinse-blot cycle. If the stain lightened but left residue, use one more pass with a barely damp microfiber, then dry again with towels and airflow.
- Switch to the stain-specific chemistry. Move from general fabric cleaner to rubbing alcohol for ink, cold water for blood, or baking soda plus cleaner for grease.
- Use extraction instead of more spray. If the seat feels wetter rather than cleaner, stop adding liquid and use a wet/dry vacuum or towel compression to pull moisture out.
- Escalate to a detailer for deep foam issues. Recurring odor, unknown stains, dye transfer that keeps bleeding, suspected mold, or a large soaked area usually needs extraction equipment and longer drying control.
DIY versus professional cost context
DIY makes sense for fresh spills, light grime, and localized stains because the supply list is simple and most stains are manageable at home. Once the problem shifts from the fabric face to the foam, the time cost rises fast. At that point, paying for extraction or odor treatment is often smarter than buying more products and waiting through repeated drying cycles.
How can you protect cloth seats from future spills and wear?
Protect cloth seats with routine vacuuming, fast spill response, periodic light cleaning, and removable seat covers where use is hard on the fabric. That approach keeps dirt from grinding into the weave, reduces the need for saturation cleaning, and limits the foam-wetting cycles that lead to odor, rings, and wear.
Prevention that actually lowers cleanup risk
Vacuum before dirt builds into the fibers. Lake Forest Car Wash advises vacuuming thoroughly before cleaning cloth seats, and a light maintenance cadence helps reduce the need for aggressive wet cleaning later. Lake Forest Car Wash also recommends cleaning cloth seats every 1-2 weeks.
Seat covers or protectors help most in family vehicles, pet haulers, work trucks, and off-road use because they take the spill first and can be removed for separate cleaning. Pick covers that are easy to remove and wash, and never trap them over damp seats.
Post-clean routine
Keep one microfiber towel in the car for immediate blotting. Respond to spills fast, vacuum regularly, and do light interim cleanups instead of rare saturation cleanings. That reduces residue buildup and keeps drying times short.
Suppose a child tips a juice box on a booster-side seat edge during a 15-minute school run. Quick blotting in the parking lot with a clean towel usually does more good than a heavy full-seat cleanup hours later when sugar has dried into the fabric.
Common mistakes
What goes wrong and how to avoid it
Using too much liquid: This is the biggest cause of rings, odor, and slow drying. Mist lightly, clean a 6 by 6 inch section, and add only 1 spray at a time if more moisture is needed.
Rubbing hard with the wrong brush: A stiff brush can fuzz cloth and spread stains. Use a soft-bristled brush with light pressure and stop once the soil starts lifting.
Using the wrong chemistry: Rubbing alcohol fits ink, not every stain. Cold water fits blood first. Baking soda fits grease absorption. Bleach, ammonia-heavy products, and heavy laundry detergent residues are poor choices for cloth seats.
Skipping the hidden-area test: Test on a tucked-away section for 10 minutes first, especially with alcohol and stronger cleaners.
Cleaning with dirty or colored towels: Dirty towels redeposit soil. Colored towels can bleed. Clean, lint-free microfiber is safer.
Ignoring electronics-sensitive areas: Keep liquid away from heated seat zones, airbag seams, occupancy sensors, and under-seat connectors.
Stopping at “air dry”: Blotting, extraction, ventilation, and fan use matter because damp foam can smell fine at first and then sour later.
Frequently asked questions
What cleaner should you use on cloth car seats?
Use a mild fabric or upholstery cleaner labeled safe for cloth seats for general grime. For some grease residue and odor work, a common DIY mix is 2 cups warm water, 1 cup vinegar, and 1 tablespoon dish soap in a spray bottle. Spot-test any cleaner first.
What is the best way to remove coffee stains from cloth seats?
Blot immediately with a clean microfiber towel, then clean slightly beyond the visible stain edge with a mild fabric cleaner or a lightly applied vinegar mix. Rinse-blot with a barely damp towel to remove sugar and coffee residue, then dry fast with a clean towel and airflow.
How do you get grease or oil out of cloth car seats?
Start with dry absorption, not water. Cover the spot with baking soda, leave it for several hours or overnight, then vacuum it away. Follow with a fabric-safe cleaner or light vinegar mix on a towel, blotting carefully so oily residue lifts without spreading wider.
How do you clean cloth seats without damaging the fabric?
Vacuum first, test the cleaner in a hidden area for 10 minutes, and use a soft-bristled brush with light pressure only when blotting is not enough. Work in small sections, avoid soaking the foam, and keep stronger spot treatments away from untested fabric and sensitive seams.
How long do cloth car seats take to dry after cleaning?
Light spot cleaning usually dries in roughly 1-3 hours with good airflow. Larger cleaned areas can take several hours longer if humidity is high, the fabric is thick, or the foam was over-wet. If the seat still feels cool or smells musty, more drying time or extraction is needed.
How do you stop mold or mildew after cleaning cloth seats?
Remove as much moisture as possible with microfiber towels or extraction, keep doors or windows open when safe, and use a fan to move air across the seat. Do not leave the car closed with damp seats overnight, and do not reinstall seat covers until the fabric is fully dry.