Swirl marks on car paint: Fix and Prevent Them
Most swirl marks are clear-coat scratches that can be corrected with polishing if they catch light but do not catch a fingernail; if your nail catches, expect only partial improvement without touch-up or repainting. Get that call wrong and you can compound paint for no real gain, thin the clear coat, and add fresh marring from the same wash habits that caused the problem. This guide helps you identify true swirl marks, judge severity, choose a safe correction path, and prevent them from returning.
Most defects owners call swirls sit in the clear coat, the top transparent paint layer, not through the full paint system. The right call depends on inspection lighting, defect depth, and whether you are seeing light wash marring, holograms, etching, or a deeper scratch that polishing should not chase.
What are swirl marks really?
Swirl marks are usually micro-scratches in the clear coat that scatter light and make paint look hazy or webbed under sun or a focused LED. They often come out because the damage is usually shallow, but they are different from deeper scratches, water-spot etching, oxidation, or machine-induced holograms.
Where they sit in the paint
On modern paint, the clear coat is the upper transparent layer. Clear coat is often described as typically 2 to 3 mils thick, or 50 to 75 microns. Most swirl marks form in that layer as surface marring rather than full penetration through color coat and primer.
That matters because paint correction works by machine polishing the paintwork on a car and removing a very thin amount of clear coat to level the surrounding surface. If the defect is still within safe clear-coat depth, correction can permanently remove it. If it runs too deep, full removal may not be safe.
Why they look circular even when the scratches are mixed
The “swirl” look is often an optical pattern, not a literal set of circles. Fine scratches from washing, drying, and trapped debris can reflect around a light source and read like spiderwebbing. In direct sun, your eye usually catches the reflection pattern before it reads the scratch direction.
What they are not
Straight scratches usually show a clearer line and often come from a dragged object, a fingernail near a door handle, or trapped debris. Water-spot etching tends to show irregular spot outlines or mineral marks. Oxidation is broader dullness, not a web of fine lines. Sanding marks are more uniform and directional. Holograms and buffer trails come from machine polishing mistakes and often arc with the polisher’s path.
Suppose a dark grey hood looks perfect in shade, then shows curved ghost-like bands under a gas-station canopy LED. That points more to holograms or buffer trails than simple wash swirls, because the pattern follows machine movement and changes sharply with viewing angle.
How are swirl marks different from scratches?
Swirl marks are usually many tiny, circular defects in the clear coat, while scratches are more isolated lines that cut in one direction or across a small area. That difference matters because the fix is often different: light swirls may be corrected with polishing, but deeper scratches can require touch-up paint or professional repair if they reach below the clear coat.
The quickest way to avoid using the wrong method is to inspect the paint in bright, angled light after washing. The swirl marks vs scratches guide explains how to tell them apart, what a fingernail test can and cannot prove, and which paint layer is likely affected so you can choose the right repair path.
Why do swirl marks happen?
Swirl marks happen when dirt or hard particles are dragged across the clear coat during washing, drying, or poor dealer prep. Common triggers are automatic brush tunnels that carry road grit from car to car, wash mitts or sponges loaded with trapped debris, heavy hand pressure during drying, and towels reused after contact with dirty panels or improper laundry. New cars can arrive already marred from transport washing, lot maintenance, or rushed prep.
Automatic brush washes and transferred grit
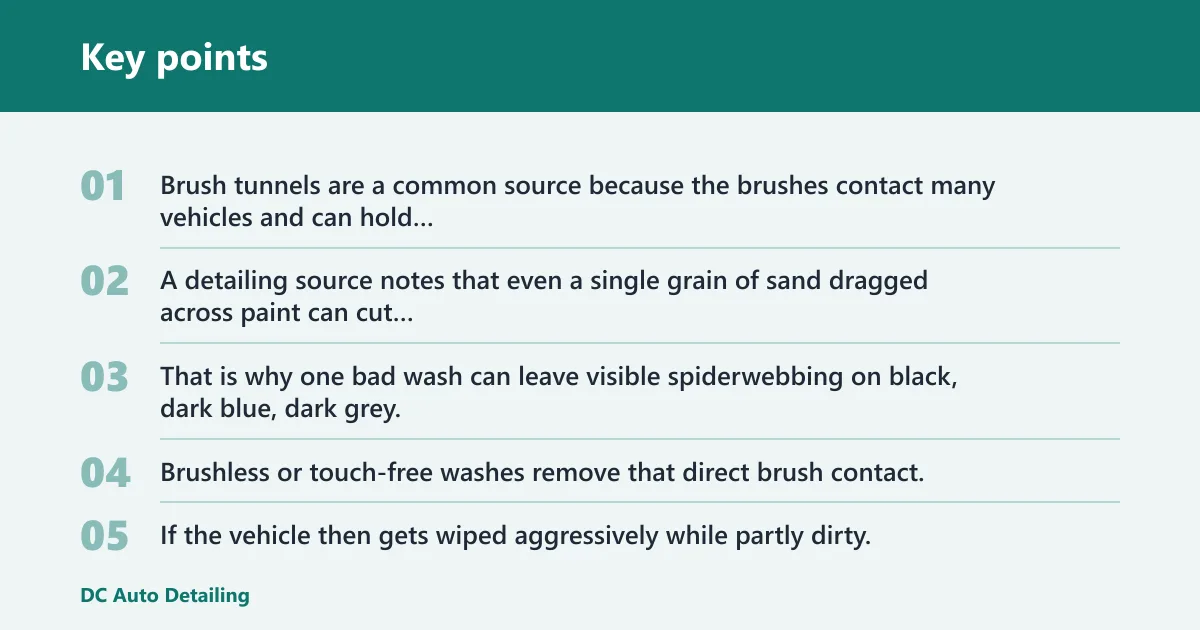
Brush tunnels are a common source because the brushes contact many vehicles and can hold grit from each one. Even a single grain of sand dragged across paint can cut clear coat. That is why one bad wash can leave visible spiderwebbing on black, dark blue, dark grey, or burgundy paint.
Brushless or touch-free washes remove that direct brush contact, but they may still leave traffic film behind. If the vehicle then gets wiped aggressively while partly dirty, the marring simply shifts from the tunnel to the drying stage.
Wash-induced marring from dirty mitts, sponges, and rinse water
A sponge tends to keep contamination at the surface where it can be pushed against paint. A microfiber wash mitt is safer because the fibers can lift particles away from the contact face, but only if you rinse it often. Dirty rinse water and overloaded wash media defeat the point of using microfiber.
The two-bucket wash method addresses that failure point directly by giving grit a place to leave the mitt before the mitt goes back into clean shampoo: one bucket holds shampoo solution, the other is only for rinsing the mitt. In some processes, grit guards add another contamination-control step by helping debris settle lower in the bucket.
Drying damage is often the return path
Many corrected cars get re-marred during drying, not washing. A towel that touched rocker panels yesterday, a household laundry additive, or embedded grit from the trunk floor can put fresh lines into a polished hood in minutes. One detailing source specifically recommends blotting rather than wiping during drying.
Pressure matters more than the pattern of your hand movement. A straight-line pass with a gritty towel will still scratch paint. What matters is a clean, dedicated microfiber drying towel and very light pressure.
Dealer prep, lot washing, and new-car marring
New does not mean defect-free. Dealer prep can include quick washes, drying with general-purpose towels, and fast machine work to improve lot appearance. Transport dust can also be wiped off incorrectly. That is why a new vehicle can show swirls before its first owner wash.
Say your black sedan has 120 miles on it and looks glossy indoors, but direct morning sun reveals circular wash marring across the trunk and roof. That pattern fits prep or lot washing, not age. Correction may still be simple if the defects are shallow.
Why do black cars show them more?
Black paint and other dark colors often show swirl marks more clearly because bright scattered light tends to stand out more against a dark surface than against silver or white. The same level of micro-marring that looks mild on silver can look severe on black, dark blue, dark grey, or burgundy under direct sunlight.
Light reflection is the whole story
Swirls do not need to be deeper on black paint to look worse. Dark paint acts like a darker mirror. Once the clear coat is micro-scratched, the scattered reflection stands out more strongly against the dark background, especially on large flat panels like hoods, trunks, and doors.
High-visibility colors
Black usually shows defects first, but dark blue, dark grey, and burgundy also expose marring quickly. Silver, white, and light beige can hide the same fine defects until a focused LED or low-angle sun makes them visible.
Why this matters before correction
A lightly marred silver daily driver may not need aggressive polishing because the owner rarely sees the defects. A black weekend car often gets inspected under harsher lighting, so the correction target is usually higher. The paint damage may be similar; the visibility is not.
How should you inspect the paint first?
Inspect paint in direct sunlight and under a focused LED from several angles before buying compounds or pads. Good inspection separates true swirls from holograms, etching, oxidation, and deep scratches. If a mark catches a fingernail, has sharp edges, or stays dark from every angle, simple polishing is less likely to remove it safely.
Use the right lighting and viewing angles
Direct sunlight is still one of the best inspection tools because it reveals broad spiderwebbing fast. A focused LED is better for garages, covered parking, and evening checks. Move around the panel. Some defects vanish head-on and only show from the side, while holograms can flare strongly at one angle and disappear at another.
Quick inspection checklist
- Wash and dry the panel as safely as possible before judging the defect.
- Check the paint in direct sunlight if available.
- Use a focused LED on the hood, trunk, and upper doors.
- View each panel straight on, then from low side angles.
- Look for random spiderwebbing versus straight isolated scratches.
- Check whether any mark catches a clean fingernail lightly.
- Separate circular-looking swirls from arced holograms or buffer trails.
- Look for spot-shaped mineral etching that polishing may only partly improve.
- Inspect edges, body lines, and repainted areas more cautiously.
- Decide whether the goal is full removal, safe reduction, or simple masking.
Signs the defect may be too deep for simple polishing
If the scratch catches a fingernail, looks white or sharply edged, or stays visible from nearly every angle, it is often treated as deeper than ordinary wash marring until proven otherwise. Some defects can be improved and still remain visible. That is the right mindset before reaching for a heavy compound.
Severity fix selector table
| Defect look | Likely cause | Safe inspection method | Recommended action | Expected outcome | When to stop polishing |
|---|---|---|---|---|---|
| Light wash marring; faint spiderwebbing only in sun or LED; usually does not catch a fingernail | Routine washing with dirty media, light drying friction, quick wipe-downs | Direct sun plus focused LED from several angles on clean paint | Start with the least aggressive polish and pad; one-step correction is often enough; hand polishing may improve very light areas | Often high removal or full removal if defects are in the upper clear coat | Stop if gloss improves but extra passes bring little change, especially near edges or on unknown repaint work |
| Heavy spiderwebbing; widespread haze and dense circular-looking marring over large panels | Automatic brush car wash use, repeated dirty washing, poor towel practices | Sunlight on hood and trunk, then LED check for density and depth variation | Machine paint correction; often better suited to a one-step with moderate cut or a two-step if the finish is both dull and heavily marred | Strong improvement is common; full perfection depends on depth and clear-coat safety | Stop when remaining marks appear deeper than the surrounding marring or when added cut would trade safe film build for a small visual gain |
| Holograms or buffer trails; arc-shaped, oily-looking bands that shift sharply with angle | Poor finishing polish technique, mismatched pad/product, rushed dealer or body-shop machine work | Focused LED and multiple viewing angles, especially on dark paint indoors | Refine with proper finishing polish and pad; may need a second step after initial correction if underlying swirls remain | Usually removable without repainting because the defect is often machine-induced surface marring | Stop if the holograms are gone but a deeper scratch pattern remains that no longer matches machine trails |
| Scratches beyond clear-coat depth; catches a fingernail, sharp line, may look white or stay visible from most angles | Dragged debris, contact damage, severe contamination under wash media | LED plus fingernail check on clean paint; inspect whether color distortion or exposed lower layers are present | Reduce only if safe; consider touch-up, acceptance, or repainting rather than chasing full removal | Partial improvement at best in many cases; some lines remain visible | Stop early if the scratch still catches a nail or if correction would require removing too much clear coat for a small cosmetic gain |
Can swirl marks be removed without repainting?
Yes, many swirl marks can be removed without repainting because they are usually surface defects in the clear coat. Polishing can permanently remove them when the defect depth stays within safe clear-coat limits. Repainting becomes the better answer when scratches are too deep, touch-up is needed, or correction would remove too much material.
When polishing is enough
Paint correction is presented as permanently removing swirl marks and scratches, and the process is described as machine polishing the paintwork on a car. That permanence applies when the damaged area is shallow enough that leveling the surrounding clear coat is still safe.
One-step versus two-step correction
A one-step correction combines meaningful defect removal with a finishing result in a single polishing stage. It is often the practical choice for moderate swirls, daily drivers, and owners who want a large visual gain without chasing every isolated defect.
A two-step correction uses a stronger cutting stage first, then a refining stage to improve clarity and remove haze from the initial cut. This is more common when heavy spiderwebbing, dealer-installed holograms, or harder paint requires more than one pass style.
Hand polishing: where it helps and where it does very little
Hand polishing can improve very light marring on small spots, especially on softer paint, but it is generally not equal to machine correction for widespread swirls. If an entire hood shows dense spiderwebbing under sun, hand work usually means slow progress and inconsistent leveling.
A common first-timer mistake is buying an aggressive hand compound for a whole black hood after seeing webbing under a parking-deck light. The result is usually sore arms, partial improvement, and an uneven finish, because the issue needed controlled machine polishing rather than more pressure.
Clear-coat safety sets the limit
Perfection is not always the right target. Clear coat is finite. The safest stop point comes when the remaining defects are too deep relative to the available film build, or when extra cutting would mostly improve a few isolated marks while increasing long-term risk on the panel.
What actually fixes them and what only hides them?
Machine polishing fixes swirl marks by leveling a thin surface layer of clear coat, while waxes and glazes mostly hide defects temporarily by filling or muting their appearance. Ceramic coating adds protection after correction, but it does not replace correction and will not permanently remove visible swirls underneath.
Paint correction removes or reduces the defect
Correction is the actual remedy for swirls in safe clear-coat depth. One service description lists an enhancement detail as a 1 day process, while another says paint restoration can take a minimum of 3 days and a full correction can average 3 to 4 days. That time difference reflects defect load, panel count, and finish target.
Those timelines also show why quick fixes rarely equal full correction. A single-stage improvement detail and a multi-day correction are not the same outcome, even if both improve gloss.
Wax and glaze are temporary
Wax and glaze can make swirls less visible by filling the edges or changing how light reflects, but they do not remove the damaged clear coat around the mark. After a few washes, the hidden defects often reappear because the scratches were never leveled.
Ceramic coating comes after correction
Ceramic coating is best treated as added protection after the paint is corrected to the level you want. It creates a glass-like shell over the finish, but it locks in whatever is underneath. If swirls remain before coating, they remain after coating too.
DIY, one-step, and professional outcomes
| Approach | Best use case | Typical result | Main limitation |
|---|---|---|---|
| DIY hand polishing | Very light isolated marring, small test spot, temporary improvement goal | Minor reduction or masking | Weak defect removal across larger panels; easy to mistake deeper defects for removable swirls |
| One-step machine polishing | Daily drivers with light to moderate wash marring | Strong visual improvement with good gloss | May leave deeper random scratches or some heavy webbing |
| Professional multi-stage correction | Dark paint, heavy defects, holograms, higher finish target | Highest defect removal potential within safe limits | Time, cost, and the fact that some deep defects should still be left, touched up, or repainted |
How do you stop swirl marks from coming back?
Swirl marks stop coming back when contamination control improves at every contact point: wash bucket, mitt, rinse water, drying towel, and towel laundry. The best prevention is not a product category by itself. It is a repeatable wash and drying process that keeps grit off the paint after correction.
The two-bucket wash method
Use one bucket with shampoo solution and a second bucket only for rinsing the mitt. After each section, rinse the mitt in the rinse bucket before loading fresh shampoo from the wash bucket. In some setups, grit guards add a useful layer of contamination control by keeping settled debris lower in the bucket.
Why a microfiber wash mitt beats a sponge
A microfiber wash mitt is preferred because it can pull dirt into the pile instead of pinning it flat against the paint. It still needs frequent rinsing. Once the mitt loads up with grit, the fiber advantage fades and the contact risk rises fast.
Safer drying matters as much as washing
Use a clean microfiber drying towel dedicated to automotive paint. Dry gently, and where practical, blot rather than wipe. If the towel falls on the ground, retire it from paint duty immediately until it is washed and rechecked for contamination.
Towel separation, washing, and retirement rules
- Keep paint towels separate from wheel, exhaust, engine-bay, and interior towels.
- Store drying towels in a closed bin or cabinet, not loose in the trunk.
- Wash microfiber without household fabric softener or dryer sheets.
- Inspect towels by hand before paint use; embedded grit means retirement from paint duty.
- Demote older towels to lower-risk jobs such as jambs or trim.
Picture a corrected burgundy hood after a perfect polishing session. The owner washes carefully, then grabs a “clean” towel that was dried with household laundry and stored beside wheel towels. The next morning sun shows fresh fine marring. The correction did not fail; the towel process did.
Frequently asked questions
What causes swirl marks on car paint?
Most swirl marks come from grit being dragged across the clear coat during washing and drying. Common causes include automatic brush car washes, dirty mitts, sponges, contaminated towels, rushed dealer prep, and wiping partly dirty paint. Drying technique and towel condition are frequent repeat offenders after correction.
Do car washes cause swirl marks?
Yes, many do. Automatic brush tunnels are far riskier than careful contact washing because the brushes can transfer contamination from many vehicles. Touch-free washes avoid brush contact, but swirl risk returns if the paint is then wiped with pressure while still carrying dirt or mineral residue.
What is the difference between swirl marks and scratches?
Swirl marks are usually shallow clear-coat micro-scratches that appear as webbing under bright light. A deeper scratch is more isolated, sharper, and more likely to catch a fingernail. That distinction matters because shallow swirls often polish out, while deeper scratches may only improve partly without touch-up or repainting.
Will wax or glaze remove swirl marks?
Wax and glaze usually do not remove swirl marks permanently. They can fill or mask light defects for a while, which improves appearance, but the underlying clear-coat scratches remain. Once the product wears off, the swirls often show again under sun or focused inspection lighting.
Can new cars already have swirl marks?
Yes. New cars can pick up marring during transport washing, dealer prep, lot maintenance, or quick machine polishing before delivery. That is especially obvious on black and other dark colors under direct sun. New paint can still need inspection and correction before any protective coating is applied.
What tools and wash method prevent swirl marks best?
Use the two-bucket wash method with one shampoo bucket and one rinse bucket, plus grit guards in processes that use them. Pair that with a microfiber wash mitt, a clean dedicated microfiber drying towel, frequent rinsing, light pressure, and strict towel separation so grit from wheels or laundry residue never reaches the paint.