What are swirl marks on car paint?
Swirl marks on car paint are small circular scratches in the clear coat. They scatter light, so the finish looks hazy or dull, especially on dark paint. If you ignore them, paint can start to look tired, and poor washing habits can add more clear-coat damage. This guide explains how to identify swirl marks, what causes them, and when they can be corrected versus only hidden.
How they show up in sunlight
They usually sit in the clear coat, the top protective layer over the colored paint. Because they are shallow, they often do not change the color itself. Instead, they break up reflections, so the surface looks cloudy in direct sun or under bright inspection lights.
How swirl marks look in direct sun
Swirl marks are easiest to see when sunlight hits the panel at an angle. On black or other dark paint, the surface may look like it has fine spiderweb lines or a gray veil over the gloss. Under softer light, the same panel can look much better.
That change is a clue. Swirls are a light-scatter problem, so the defect appears and disappears with lighting angle. If a mark only shows in harsh sun or under a handheld inspection light, the paint may be marred rather than permanently stained or oxidized.
Why they appear as haze on dark paint
Dark paint reflects direct light poorly once the clear coat is marked. The defects do not need to be deep to be visible; even very fine scratches can make black paint look dull. That is why black cars often look clean at a distance and tired up close.
Say your black hood looks fine in the garage but turns cloudy when you pull it into midday sun. That pattern points toward swirl marks, not dirt. The light source is simply revealing the clear-coat scratches that were already there.
Where they sit in the clear coat
Swirl marks usually sit in the clear coat, not in the color layer underneath. That matters because polishing can often level the clear coat enough to remove or reduce them. It also means a wash will not remove them once they exist.
Because the defect is in the top layer, repeated bad washing can create more of it. The goal is to stop adding new marring first, then decide whether the existing defects are light enough for correction.
What causes swirl marks on a car?
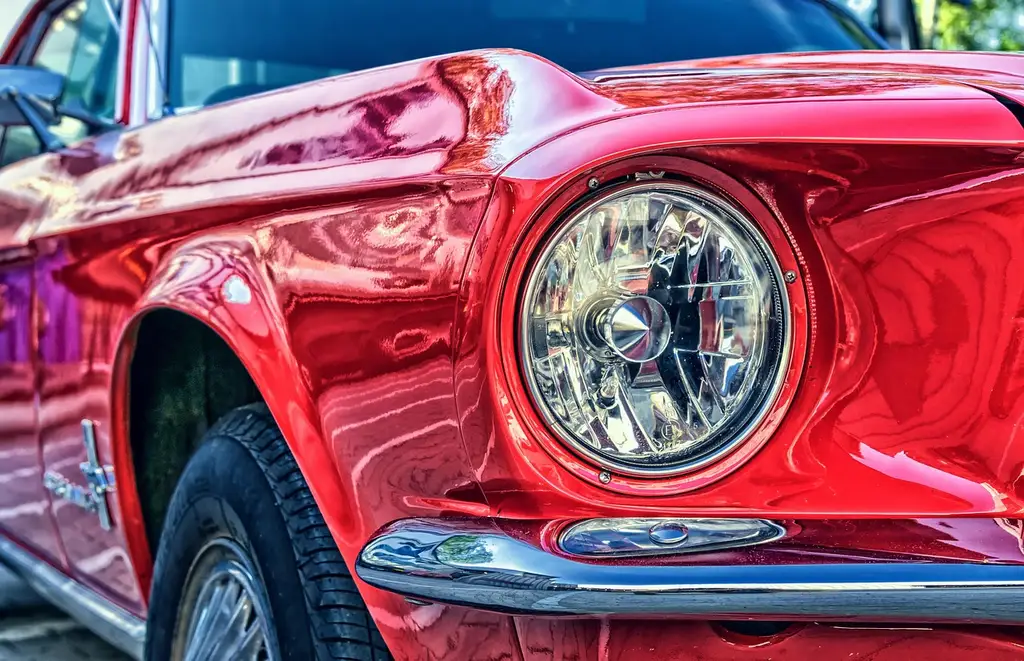
Swirl marks on a car usually come from contact that drags grit across the clear coat. Common sources include dirty microfiber towels, contaminated wash mitts or sponges, dust wiped off a dry panel, poor drying technique, and brush-style automatic car washes. Circular scrubbing makes the marks easier to notice.
The exact trigger is less important than the contact point. If a towel, mitt, sponge, or brush carries grit, it can leave fine scratches even when the rest of the wash routine looks careful.
Dirty microfiber towels and drying marks
Microfiber towels are often used for wash and drying steps because they are softer than many alternatives, but they still need to be clean. A contaminated towel can drag hard particles across the clear coat and leave fine swirls, especially during drying when pressure is concentrated on the paint.
Dry wiping is a common failure point. Dust that looks harmless can act like abrasive debris once it is moved across the panel. If a towel hits the floor or picks up trapped dirt, it should not go back on paint.
Wash mitts, sponges, and trapped grit
Wash mitts and sponges are contact media, so they can trap grit if they are dirty. Once that grit is inside the fibers or cells, each pass over the paint can create new marring. Separate wash media for upper and lower panels helps reduce contamination.
Lower sections of a vehicle usually hold more road film. If the same mitt is used from rocker panels to the hood, that grime can follow the mitt upward and mark cleaner panels.
Automatic car washes and circular scrubbing
Automatic car washes, especially brush-style units, are commonly reported as a source of visible marring. Risk depends on the equipment condition. A well-maintained wash is not the same as a worn tunnel with dirty brushes, but the contact process still carries more swirl risk than careful hand washing.
Circular scrubbing can make the issue more obvious, but the motion is not the only cause. The bigger problem is dragging grit through the clear coat. A rushed wash with the wrong towel can mark paint even if the motion looks gentle.
Swirl marks decision table
Use this table to sort the symptom first, then choose the next step. The same visual complaint can point to different issues, and the wrong fix can waste time or make the surface worse.
| Symptom | Likely cause | Best next step |
|---|---|---|
| Hazy black paint in sun | Swirl marks scattering light in the clear coat | Inspect under direct sun or inspection light, then consider correction |
| Marks after an automatic wash | Brush contact or contaminated wash equipment | Stop using that wash type and assess whether polishing is needed |
| Swirls still visible after waxing | Wax filled or masked the look, but the defect remains | Move from masking to polishing if the paint is safe to correct |
| New car with dealer-installed marring | Delivery prep, transport wipe-downs, or dealer wash marks | Document the issue, ask for a remedy, then decide on decontamination or correction |
| Haze that changes with viewing angle | Clear-coat light scatter rather than a fixed stain | Check in multiple light angles before judging severity |
| Light marks after a rushed dry | Towel drag, dust, or pressure during drying | Improve drying method and inspect whether light polishing will clear it |
| Marks that disappear in shade but return in sun | Fine swirls visible only under stronger light | Treat as a visibility issue from surface scratches, not as normal gloss loss |
| Defects that do not respond to washing | Already-formed swirl marks or another surface defect | Do not keep washing for a cosmetic fix; evaluate correction or professional help |
How do you tell swirl marks from other paint defects?
Swirl marks look different from water spots, oxidation, and ordinary reflection haze once you inspect them under the right light. Swirls are fine scratches that move with the viewing angle. Water spots are mineral deposits. Oxidation is a surface dulling process. Reflection haze can be normal on certain finishes.
The easiest way to separate them is to change the light source and the angle. If the defect follows the light and appears as fine circular or spiderweb-like scratches, swirls are likely. If it looks like spotting, chalkiness, or a flat cloudy film, look for another cause.
Swirls versus water spots
Water spots usually leave a more defined mineral mark, sometimes with a ring or residue pattern. Swirl marks do not look like dried droplets. They look like fine scratches that blur the reflection. If the panel has both, the spots may sit on top of swirl damage and make diagnosis harder.
Swirls versus oxidation
Oxidation tends to look like overall dullness or chalky fading, often over a larger area. Swirls are more directional and show up as fine marks in the clear coat. A polish may improve both, but the reason the paint looks dull determines the right correction path.
Swirls versus normal reflection haze
Some paints and shapes throw soft reflections even when they are healthy. That is not the same as marring. Normal reflection haze stays fairly consistent, while swirl marks become obvious under sun or inspection lighting and then fade as the angle changes.
A common first-timer mistake is calling every cloudy reflection a swirl. If the panel is only showing soft factory texture or a muted reflection, do not assume it needs heavy polishing. Inspect the surface before correcting anything.
Can swirl marks be removed, or only hidden?
Swirl marks can often be removed if they are shallow enough, but wax and glaze generally only hide the look. Existing swirls do not wash off, and a wax layer does not level the clear coat. True removal usually requires polishing or paint correction.
If the defects are light, a one-step polish may be enough. If the paint has deeper marks, more than one polishing stage may be needed. The right answer depends on the paint condition, the hardness of the clear coat, and how much material can be safely leveled.
What wax and glaze can do
Wax and glaze can make swirls less obvious by filling the fine scratches or changing how light reflects off them. That can improve gloss for a while. It does not erase the defect, so the marks often return once the fillers wear or wash away.
That is why wax is a temporary visual fix, not a repair. If the paint still looks hazy after a wash and a proper inspection, the surface likely needs polishing rather than another coat of product.
When polishing removes the defect
Paint correction is the machine polishing process used to remove swirl marks and light scratches. It works by leveling the clear coat slightly to erase imperfections. That same process can also reduce oxidation and other surface defects.
A one-step correction uses a single polishing stage for a large share of light defects. Multi-step correction uses two or more stages for deeper defects. On a harder clear coat, the pad and compound choice matter just as much as the machine.
Why some marks remain after correction attempts
Some swirls remain because the paint is harder, the pad is too mild, or the technique does not cut enough. A detailer may need a more aggressive pad and compound combination before refining with a finer polish. In some cases, the clear coat is too thin for aggressive removal.
A good detailer inspects under proper lighting and may measure clear coat thickness before correcting. That check helps set the limit. If the panel is already thin or heavily marked, a safer approach may leave some defects behind rather than chase perfection.
When is paint correction the right fix?
Paint correction is the right fix when the marks are in the clear coat and you want true defect removal, not temporary masking. It is also the better choice when haze keeps returning after washing or waxing. The safest route depends on paint thickness, defect depth, and your ability to inspect correctly.
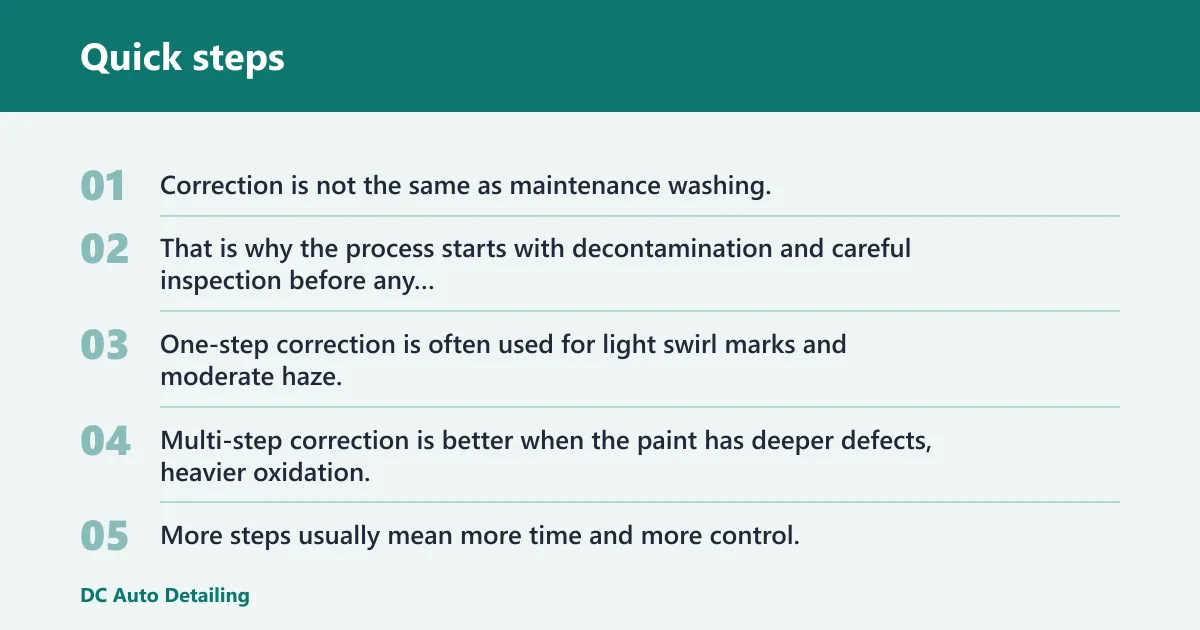
Correction is not the same as maintenance washing. A wash prepares the surface. Correction changes the surface. That is why the process starts with decontamination and careful inspection before any machine work begins.
One-step versus multi-step correction
One-step correction is often used for light swirl marks and moderate haze. Multi-step correction is better when the paint has deeper defects, heavier oxidation, or stubborn marring that does not clear with a single pass. More steps usually mean more time and more control.
A typical correction starts with washing and decontamination to avoid dragging grit across paint. From there, the surface is inspected under proper lighting, and the least aggressive method that will work is chosen. A correction can take on average 3 to 4 days when done correctly.
When DIY polishing is risky
DIY polishing can be risky when you do not know how much clear coat is available, or when the finish has already been heavily marred. Pad choice and technique limit how much defect removal is possible. Push too hard, and you can create haze or remove more clear coat than intended.
If the panel is near a sharp body line, repainted, or already thin, stop before guessing. The goal is not to chase every mark at any cost. It is to improve the finish without creating a new problem.
When to leave dealer-installed marring to a pro
New cars with dealer-installed marring are a special case. The vehicle may still be under the most straightforward complaint window, but the paint can also be fresh enough that the safest correction path needs inspection. Start with documentation, then ask whether the dealer will address the issue before anyone polishes it.
Suppose a new sedan arrives with visible swirls on the hood and trunk straight from delivery prep. If you correct it yourself first, you may give up the chance to have the defect addressed by the seller. If the finish is already thin or poorly documented, professional evaluation is the safer move.
How do you prevent swirl marks after correction?
Preventing swirl marks after correction starts with safer washing and drying habits. Clean microfiber towels, clean wash mitts or sponges, and low-contamination wash steps matter more than fancy soap. Once the clear coat is corrected, the goal is to avoid reintroducing grit or dry wiping.
Ceramic coating is often applied after correction for longer-term protection. If it goes on over existing defects, those defects are locked in under the coating. Protection should follow correction, not replace it.
Safer washing and drying habits
Use a wash method that keeps dirt off the paint as much as possible. Rinse often, do not rub dry dust across the surface, and treat lower panels as the dirtiest areas. Rushed drying is one of the fastest ways to add fresh swirls back to corrected paint.
Letting standing water evaporate is not a fix. That can leave spots. The better move is controlled drying with clean media and low pressure.
Keeping microfiber towels and wash media clean
Wash microfiber towels after they pick up dirt and keep them separated from the towels used on wheels or lower bodywork. Clean towels are part of the finish, not a minor detail. The same applies to wash mitts and sponges that have touched grit.
Do not reuse a dropped towel on paint. If a mitt or sponge feels gritty, retire it from paint contact until it has been fully cleaned. That one habit prevents a lot of avoidable marring.
Why ceramic coating goes on after correction
Ceramic coating is a protective finish applied after correction. It can help the paint resist future contamination and make washing easier, but it does not remove existing swirl marks. Applied too soon, it can lock visible defects under the coating and make them harder to address later.
The proper sequence is simple: inspect, clean, correct, then protect. That order gives the coating a clean surface to bond to and gives you the best chance of keeping the finish clear.
Frequently asked questions
What are swirl marks on car paint?
Swirl marks are fine surface scratches in the clear coat that scatter light and make paint look hazy or dull. They show up most on black, dark, and glossy paint, especially in direct sunlight or inspection lighting. They usually sit in the top protective layer, not the color coat underneath.
What causes swirl marks on car paint?
Swirl marks are usually caused by contaminated contact with the paint. Dirty microfiber towels, wash mitts or sponges that trap grit, dust wiped off a dry panel, poor drying, and brush-style automatic car washes are common sources. Circular scrubbing can make the damage easier to see.
What takes swirl marks off car paint?
Polishing or paint correction removes swirl marks from the clear coat. A wash will not remove them once they are there. Light defects may respond to a one-step correction, while deeper marks can need a multi-step process with more aggressive pad and compound choices.
Can you get swirl marks out of car paint?
Yes, many swirl marks can be removed if they are shallow enough and the clear coat still has safe correction room. A proper inspection under good lighting is important before polishing. If the paint is thin, heavily marred, or repainted, professional help is the safer path.
Do swirl marks go away with wax or glaze?
No. Wax and glaze can hide the look of swirl marks for a while, but they do not remove the defect. They change how light reflects off the surface, which can make the finish look better temporarily. Once the fillers wear off, the marks usually show again.