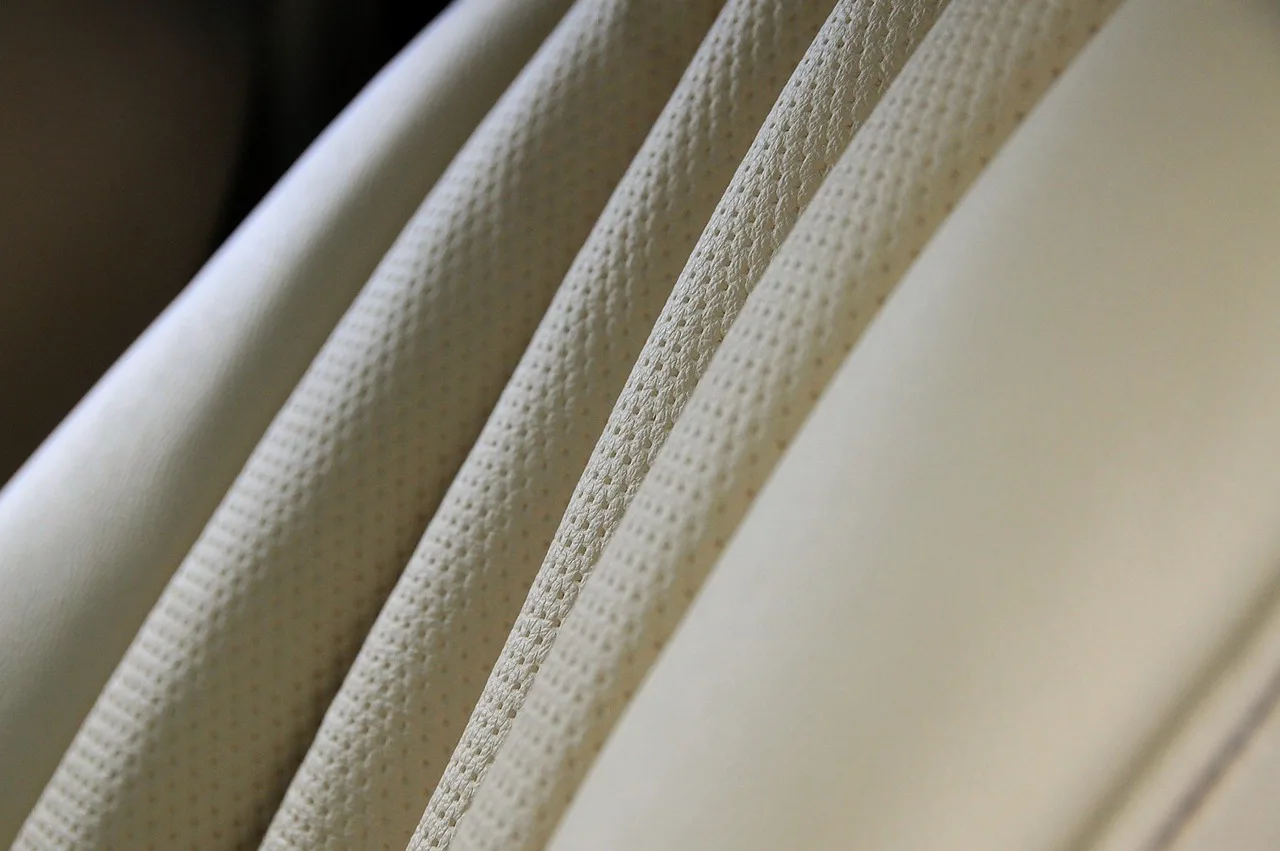
How to clean perforated leather seats without damage
Clean perforated leather seats with a barely damp microfiber, foamed leather cleaner, and immediate dry vacuum. If liquid has pooled or soaked through, stop and extract. Do it wrong, and cleaner can wick into the foam, leave rings, soften adhesive, and stain the seat below the perforations. This guide shows the safe DIY method, the moisture limits to watch, and the point where the spill is too deep for home care.
What makes perforated leather different?
Perforated car seats have small holes for airflow and less slipperiness, but those same openings can trap liquid, cleaner, crumbs, and body oils. That means you need tighter moisture control than on solid leather, and more caution than with leatherette or MB-Tex-style surfaces, which may not absorb liquid the same way.
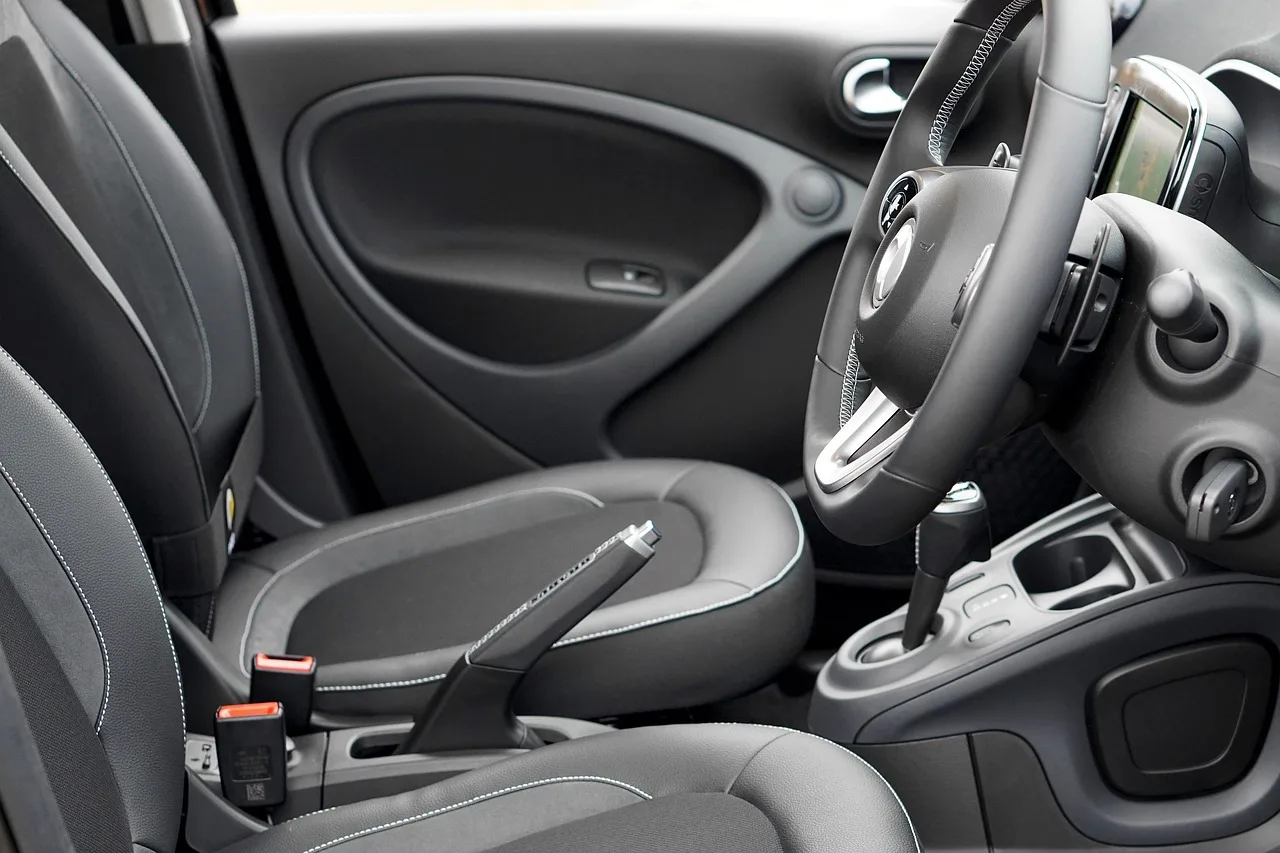
Leather seats also need special care compared with fabric seats. On perforated leather, the risk is not only the visible top layer; it is what happens after fluid passes through the holes and reaches the foam backing, stitching, or seat electronics.
How moisture behaves at the hole level
A light film on the surface is usually manageable, but standing liquid is not. Standing liquid is not. Once cleaner sits in the perforations, it can linger long enough to create visible stains, sticky residue, or odor if the area stays wet.
What you’ll need
- Vacuum with a soft brush attachment and a narrow crevice tool
- Microfiber towels, clean and lint-free
- Leather cleaner with a foam or low-moisture formula
- Soft-bristle brush, such as a horsehair or very soft nylon detailing brush
- Leather conditioner, unless your cleaner is a cleaner-conditioner combo
- Compressed air, optional and used lightly
- Painter’s tape, optional for protecting delicate trim during vacuuming
Can you vacuum perforated leather seats safely?
Yes, if you use a soft brush attachment and keep the tool moving. Vacuuming is the first step because dry debris can scratch the finish when cleaner is added. A narrow vacuum attachment helps with crumbs in seams and around perforations, and a soft brush or painter’s tape can reduce scuff risk near delicate spots.
Use the vacuum first
- Vacuum the seat first. Use the soft brush attachment over the seat face, seams, and perforations before any liquid touches the leather. A narrow attachment is better for crevices and tight stitching.
- Lift, don’t grind. Keep the nozzle just above the surface and make slow passes. Pressing hard can drag grit across the leather grain and around the hole edges.
Use compressed air only lightly
Compressed air is optional, not mandatory. If you use it, hold the nozzle a few inches away and use short bursts to dislodge loose crumbs from the holes. Do not blast close to the surface, because that can drive debris deeper or push moisture into the foam.
Use a foam-based or low-moisture leather cleaner, apply it to a microfiber towel or soft-bristle brush, and work one small section at a time. Do not spray directly into the seat as the default method. The goal is to clean the surface and hole edges without flooding the perforations.
- Spot-test the cleaner. Apply it to an inconspicuous area first and wait about 15 minutes before judging. Check for discoloration, roughness, or dye transfer before you touch the full seat.
- Load the towel, not the seat. Put cleaner on a microfiber towel or brush, then work from the towel to the leather. If the product is a foam cleaner, use enough to wet the applicator, not soak it.
- Agitate the grain lightly. Use a soft-bristle brush to loosen grime from the grain and the edges of the holes. A horsehair-style brush or similar ultra-soft detailing brush fits this job.
- Wipe dry immediately. Follow with a clean microfiber towel to remove loosened dirt and residue. Do not leave cleaner sitting in the perforations while you move on to another area.
- Add cleaner in 1 pass. If the first pass leaves oily residue or makeup in the holes, make one more light pass on the towel only, then recheck. Avoid stacking product layers, which can leave the surface tacky.
- Condition after cleaning. If the cleaner is not a conditioner combo, apply conditioner sparingly once the seat is dry. Wipe off excess so residue does not collect in the perforations.
Say your driver’s seat has sunscreen and body oil around the center perforations. A light foam cleaner on a microfiber towel can lift the film without flooding the holes, but a wet applicator will push the mess downward and leave a slick patch that catches dust.
Suppose a coffee drip lands on the seat bolsters and the droplets settle in the holes. Blot first, then clean the affected section with a towel rather than a direct spray. That keeps the spill from spreading into the foam backing.
Perforated leather damage check
Use this checklist before you decide whether the job stays simple or needs extraction or professional help. One or two check marks can still mean DIY is possible, but multiple red flags point to deeper contamination that a towel and brush will not reach.
| Yes/no check | What it means | Likely outcome |
|---|---|---|
| 1. Is the seat only dusty or crumb-covered? | Debris is on the surface and in open holes. | DIY spot-clean |
| 2. Is there no visible seep-through on the underside? | The spill likely stayed near the surface. | DIY spot-clean |
| 3. Does the area dry back to normal within a short time? | No lingering wet patch suggests limited absorption. | DIY spot-clean |
| 4. Is dirt stuck in the holes but the leather still feels firm? | The contamination is likely surface-level. | Advanced DIY with extraction |
| 5. Is there sticky residue inside the perforations? | Sticky product often needs vacuum-assisted cleanup. | Advanced DIY with extraction |
| 6. Is there dye transfer from clothing or trim? | Transfer can cling in the holes and take more time. | Advanced DIY with extraction |
| 7. Did the spill include makeup, oil, or sunscreen? | These products can lodge in the perforations. | Advanced DIY with extraction |
| 8. Is the odor still present after drying? | Odor suggests residue below the surface. | Professional detailing/upholstery |
| 9. Can you feel dampness in the foam backing? | Liquid has moved beyond simple wipe-up range. | Professional detailing/upholstery |
| 10. Are seams split or lifting? | Cleaner can enter deeper and weaken the area. | Professional detailing/upholstery |
| 11. Is the seat heated or power-adjusted near the wet area? | Electrical parts raise the risk of damage. | Professional detailing/upholstery |
| 12. Did excess moisture leave a visible stain? | The surface has already been over-wet. | Professional detailing/upholstery |
DIY spot-clean means the contamination sits on top and the seat dries normally. Advanced DIY with extraction means you need a stronger vacuum pass and more careful moisture control. Professional detailing/upholstery is the right call when odor, seep-through, seam damage, or heated-seat concerns are involved.
What if cleaner or a spill got into the foam?
If the cleaner or spill has reached the foam, stop adding liquid and switch to removal. Surface wiping will not pull moisture back out of the padding, and more product can spread the stain or keep the area damp long enough to invite mildew.
Signs the spill stayed on the surface
The area feels only slightly damp, dries without a ring, and does not smell musty. Dirt is visible in the holes, but the seat below them still feels normal and firm.
Signs the spill reached the backing or wiring
Look for seep-through, lingering odor, sticky residue in the holes, split seams, or a wet patch that remains after drying. If a heated-seat connector or wire area is involved, stop and use professional help. Electrical parts and trapped moisture do not mix well.
If that didn’t work, the next move is controlled extraction, not more cleaner. A wet-dry extractor can help pull contamination back out of the perforations, though it is best avoided if there is electrical risk or split stitching.
Common mistakes
- Spraying directly onto the seat. Spraying directly onto the seat can be the fastest way to over-wet perforations. Put cleaner on the towel or brush instead.
- Using the wrong cleaner. Avoid alcohol, bleach, ammonia, and acetone in homemade solutions. Strong solvents can dry, discolor, or strip the finish.
- Scrubbing with abrasive pads. They can mark the grain and open the door to deeper wear.
- Skipping the final dry pass. Perforated holes can retain cleaner, so a final vacuum pass helps remove leftover moisture and residue.
- Conditioning too heavily. Leather conditioner helps prevent cracks from dryness, but excess product can collect in the holes and feel slick.
How to avoid future buildup
Wipe spills quickly, vacuum the seat during regular cabin cleaning, and keep oily products off the surface when possible. The less residue that reaches the holes, the less often you need a deeper cleanup.
Frequently asked questions
How do I clean perforated leather seats without damaging the holes?
Vacuum first, then use a foam or low-moisture leather cleaner on a microfiber towel, not directly on the seat. Work one section at a time, brush lightly with a soft-bristle brush, and dry the area right away so cleaner does not sit in the perforations.
What should I use to clean car leather seats with perforations?
A soft microfiber towel, a soft-bristle brush, and a leather cleaner made for low-moisture use are the safest basics. If the seat is dry and cleanable, a conditioner can follow after the surface has fully dried, with excess wiped off immediately.
Should I use compressed air on perforated leather seats?
Only as an optional helper. Hold it a few inches away and use short bursts to move loose debris out of the holes. Do not use it as a substitute for vacuuming, and do not blow close enough to force moisture deeper into the seat.
Can I spray leather cleaner directly on perforated seats?
That should not be the default method. Direct spraying can send cleaner into the holes and foam backing. Apply product to a microfiber towel or brush instead, then use a dry towel and a final vacuum pass to remove residue.
What cleaners should I avoid on leather car seats?
Avoid bleach, ammonia, acetone, and alcohol-heavy formulas, especially in homemade mixes. Skip abrasive pads and anything that leaves a heavy wet film. A leather foam cleaner is usually a safer choice because it stays on the surface more.