How to clean leather seats in a car
Use a pH-balanced leather cleaner on a microfiber towel, clean one panel at a time, and dry immediately; for perforated seats, put cleaner on the towel first, not on the seat itself. Too much liquid, residue, or scrubbing can stain the hide, clog perforations, and leave shiny spots. This guide shows how to match the method to coated leather, perforated leather, and faux leather while avoiding damage and streaking.
What kind of seat do you have?
Choose the right seat type first
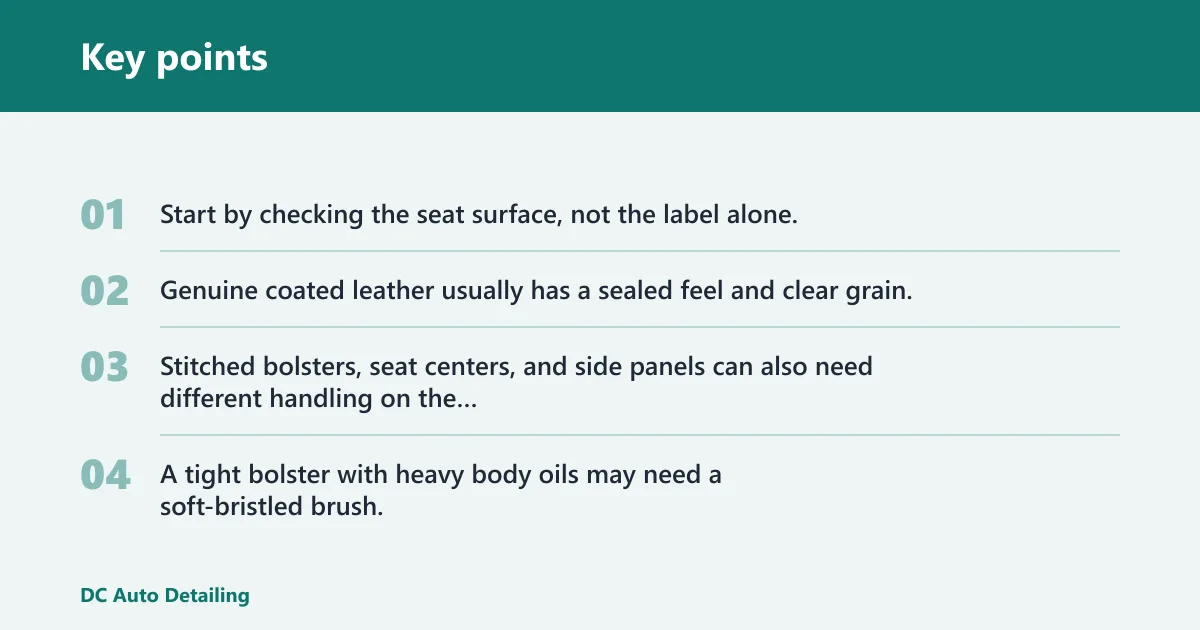
Start by checking the seat surface, not the label alone. Genuine coated leather usually has a sealed feel and clear grain; synthetic leather and faux leather often feel more uniform and can tolerate different cleaner-and-conditioner products; perforated seats need less liquid because the holes can trap cleaner and moisture.
Stitched bolsters, seat centers, and side panels can also need different handling on the same seat. A tight bolster with heavy body oils may need a soft-bristled brush, while a flat panel may only need a microfiber cloth and a light pass of cleaner.
Leather seat method table
| Seat type | Safe cleaner form | Spray directly or onto cloth? | Brush type | Drying step | Top mistake to avoid |
|---|---|---|---|---|---|
| Genuine coated leather | pH-neutral leather cleaner | Onto microfiber cloth or brush | Soft-bristled brush, including boar hair detailing brush for seams | Wipe dry with a clean microfiber cloth, then air-dry fully | Flooding the panel with liquid |
| Synthetic leather | Leather-safe cleaner made for automotive trim; many owners use a 3-in-1 cleaner/conditioner if the label allows it | Onto cloth first | Soft-bristled brush only when soil is stuck in texture or seams | Buff off residue until the surface feels dry | Leaving greasy residue that makes the seat slick |
| Perforated leather | pH-neutral leather cleaner in very small amounts | Always onto cloth or brush, never into the holes | Very soft brush or boar hair detailing brush used lightly | Blot dry and let the seat dry completely before conditioning | Spraying into perforations or letting cleaner pool in holes |
| White leather | pH-neutral leather cleaner with dye-safe microfiber | Onto cloth first | Soft-bristled brush for seams, stitching, and stains | Dry at once and inspect for streaks before moving on | Using a dark or dyed towel that transfers color |
| Sticky leather | pH-neutral leather cleaner, repeated in light passes | Onto cloth first | Soft-bristled brush for body oils, sunscreen, and tacky residue | Multiple dry wipes until the surface no longer feels tacky | Adding more product before removing the first layer of residue |
How do you clean leather seats at home?
Clean leather seats at home by vacuuming first, applying a leather-safe cleaner to a microfiber cloth, wiping one section at a time, and drying the surface before moving on. That order keeps grit from scratching the seat and reduces the chance of streaks, shiny patches, and trapped cleaner.
Vacuum before any liquid touches the seat
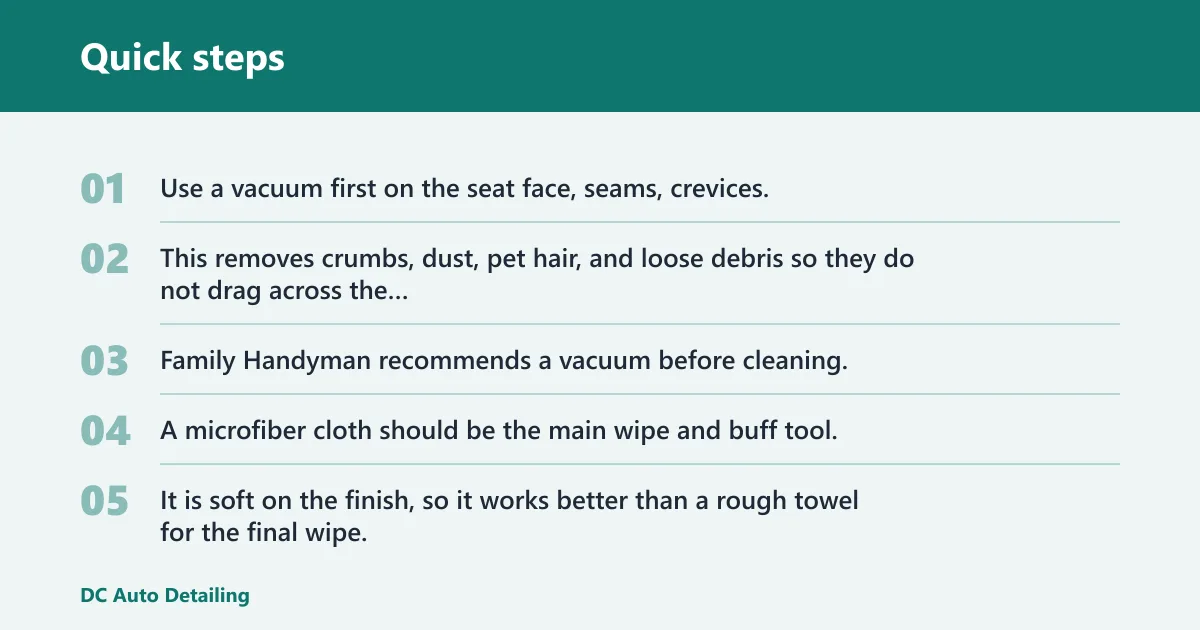
Use a vacuum first on the seat face, seams, crevices, and the edge where the cushion meets the bolster. This removes crumbs, dust, pet hair, and loose debris so they do not drag across the finish during wiping. Family Handyman recommends a vacuum before cleaning.
A microfiber cloth should be the main wipe and buff tool. It is soft on the finish, so it works better than a rough towel for the final wipe. Keep one clean, dry cloth ready for residue removal.
Apply cleaner to the cloth or brush
For most coated leather, put a small amount of pH-neutral leather cleaner onto the microfiber cloth or onto a soft-bristled brush, then work the panel gently. Do not flood the surface. The same source recommends a boar hair brush for the job, and that brush is useful for seams and light agitation.
Wipe in small sections. If soil sits in stitching or textured grain, use the brush lightly, then follow with a dry microfiber pass. The goal is to lift dirt, not soak the seat.
Dry and inspect before you continue
Dry each section right after cleaning. A clean, dry microfiber cloth removes leftover cleaner and helps spot streaks before they set. Family Handyman estimates the task takes 1 to 2 hours and lists beginner complexity for the project; a careful pace is part of that range.
If the seat still feels tacky, stop and wipe again with a dry cloth. Sticky residue means there is still cleaner or soil on the surface.
How do you clean perforated leather seats?
Perforated leather needs very light liquid use because the holes can trap cleaner and moisture. Apply product to the cloth or brush first, use only enough to loosen dirt, and dry the seat fully before any conditioner goes on. ManMadeDIY warns that perforated or nicked leather needs extra caution with liquids.
Use a low-liquid workflow around holes
Check for holes before cleaning. ManMadeDIY recommends that step, and it matters because liquid can sit inside the perforations longer than it sits on the surface. Clean the flat sections first, then move carefully around the holes with a barely damp microfiber cloth.
If the seat has ventilated holes or a dense perforation pattern, treat the holes as a no-flood zone. Spray on the cloth, wipe across the surface, and do not press cleaner into the openings.
Agitate lightly, then dry completely
For stubborn dirt near perforations, use a soft-bristled brush or a boar hair detailing brush with short, gentle strokes. Keep the brush moving across the surface rather than poking into the holes. Afterward, blot the area and let it dry fully.
Suppose a ventilated driver seat has sunscreen residue along the seat cushion and a row of small holes near the center panel. A light wipe can clear the surface film, but heavy spraying can drive product into the holes and leave the seat damp for too long.
How do you clean white leather seats?
White and light-colored leather show staining faster, so product choice and towel color matter more. Use dye-safe microfiber, work in small sections, and stop as soon as the surface looks clean. Light interiors also make streaks and whitening easier to spot, which is useful during the final wipe.
Choose towels that will not transfer color
White leather needs a clean microfiber cloth that will not bleed dye. Avoid dark towels that may transfer color when they get damp. Keep one cloth for cleaning and a second one for dry buffing so residue does not smear back across the seat.
Handle dye transfer, oils, and sunscreen carefully
White seats can show transfer from blue jeans, dark clothing, sunscreen, and body oils. Clean these marks with a pH-neutral leather cleaner and a soft brush only where needed. If a mark lightens after the first pass, stop and dry the area instead of adding more liquid.
A common first-timer mistake is chasing one faint blue stain on a white bolstered seat with repeated wet passes. That can leave a darker wet edge around the original mark and make the rest of the panel look streaky.
How do you handle stubborn stains and sticky residue?
For sunscreen, body oils, food grease, and dye transfer, begin with a light cleaner pass and gentle brushing in the stained area only. If the residue stays sticky after wiping, repeat with less liquid rather than more pressure. When a stain has reached stitching or seams, stop before the area gets saturated.
Work from residue type, not just from the stain color
Sunscreen and body oils usually leave a slick film, while food grease can leave a darker patch and dye transfer can leave color on the surface. Use a pH-neutral leather cleaner, then a soft-bristled brush if needed. Wipe clean with microfiber, and inspect under good light before repeating.
If residue sits in a seam, use the edge of a microfiber cloth or a boar hair detailing brush to lift it. Keep the brush light. Heavy scrubbing can scuff the finish and push grime deeper into stitching.
Know when DIY should stop
Stop and consider professional detailing if the seat is cracked, nicked, heavily stained through the grain, or still sticky after repeated light passes. The same source notes that leather can harden and crack if neglected, and more liquid is not the answer when the finish is already weak. Persistent whitening, clogged perforations, or greasy residue are also signs to stop.
When should you condition leather seats?
Condition after the seat is fully dry, and only if the seat material calls for it. The same source recommends a leather conditioner or 3-in-1 product, while Springfield Chrysler Auto Mart recommends an OEM-approved leather conditioner and says conditioner helps prevent cracking. Match the product to genuine or synthetic material.
Use conditioner as a finishing step, not a fix
Conditioner can help replace lost oils and reduce dryness, but it does not remove grime or repair damage. Apply only after cleaning and drying, and use a thin coat. Too much conditioner can leave greasy buildup, attract dust, and make a seat feel slick.
For synthetic leather or faux leather, read the product label closely. Some seat materials tolerate a 3-in-1 product, while others do better with a cleaner only. The wrong conditioner can leave a film that looks shiny and feels sticky.
Keep the finish matched to the seat type
Genuine coated leather and synthetic leather do not always want the same final step. A seat with a sealed leather topcoat may need periodic conditioning; a faux-leather seat may only need cleaning and a residue-free finish. If the product leaves the seat oily, it is the wrong choice for that surface.
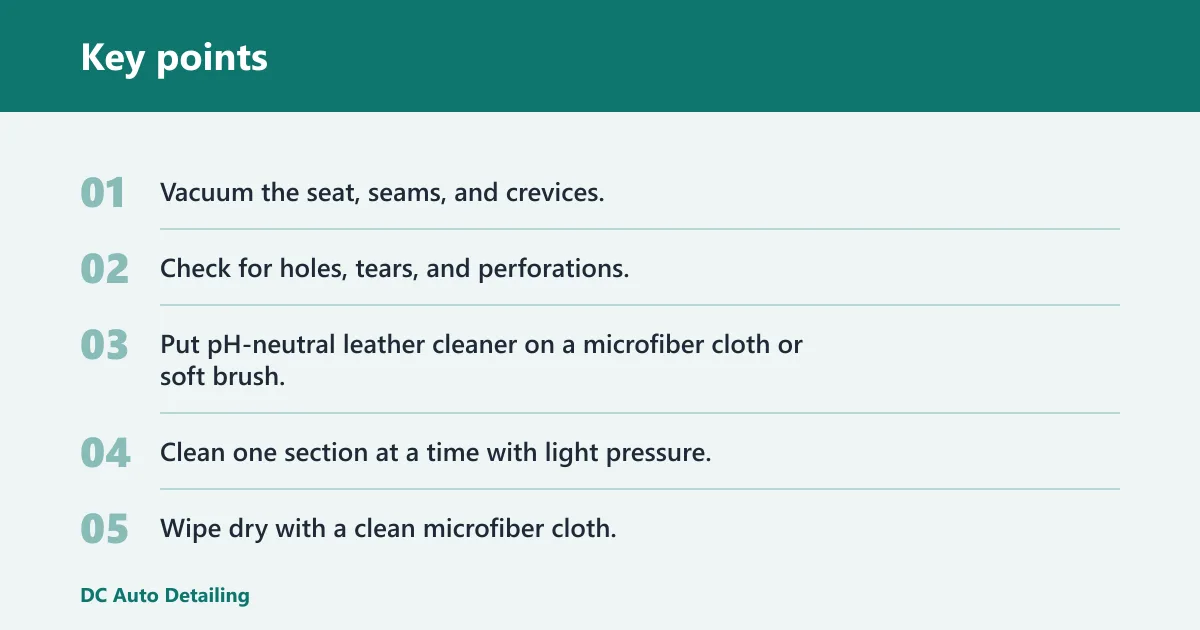
- Vacuum the seat, seams, and crevices.
- Check for holes, tears, and perforations.
- Put pH-neutral leather cleaner on a microfiber cloth or soft brush.
- Clean one section at a time with light pressure.
- Wipe dry with a clean microfiber cloth.
- Inspect for streaks, residue, and trapped cleaner.
- Condition only after the seat is fully dry and only when the material calls for it.
Frequently asked questions
How do I clean leather seats in a car without damaging them?
Vacuum first, use a pH-neutral leather cleaner, and apply it to a microfiber cloth rather than spraying the seat heavily. Work one panel at a time, wipe seams gently, and dry immediately. That method reduces scratch risk, residue, and water trapped in stitching or perforations.
What should I use to clean leather car seats?
Use a vacuum, a microfiber cloth, a pH-neutral leather cleaner, and a soft-bristled brush for seams or stubborn soil. For deeper texture, a boar hair detailing brush can help. Keep the cloth clean and dry for the final wipe so residue does not stay behind.
Can I clean leather car seats with household products?
Skip household cleaners unless the seat maker specifically approves them. Avoid bleach, ammonia, abrasive pads, all-purpose sprays, and untested kitchen mixtures. Those products can dry out the finish, leave streaks, or create sticky residue that attracts dust and makes the seat look patchy.
How do I clean leather car seats with perforations or holes?
Use very little liquid and never spray directly into the holes. Put cleaner on the cloth first, wipe gently across the surface, and use a soft brush only with light pressure. Then blot dry and let the seat dry completely before conditioning or driving.
How do I clean white leather seats in a car?
Use dye-safe microfiber cloths, a pH-neutral leather cleaner, and careful section-by-section wiping. White seats show dye transfer, sunscreen, and body oils quickly, so inspect under good light after each pass. Dry fully to avoid streaks, whitening, and visible residue lines.
Should I condition leather seats after cleaning?
Conditioning makes sense after the seat is clean and fully dry, especially on genuine leather that looks dry or dull. Use a product matched to the seat material and keep the coat thin. Overconditioning can leave greasy buildup, attract dust, and make the seat feel slick.