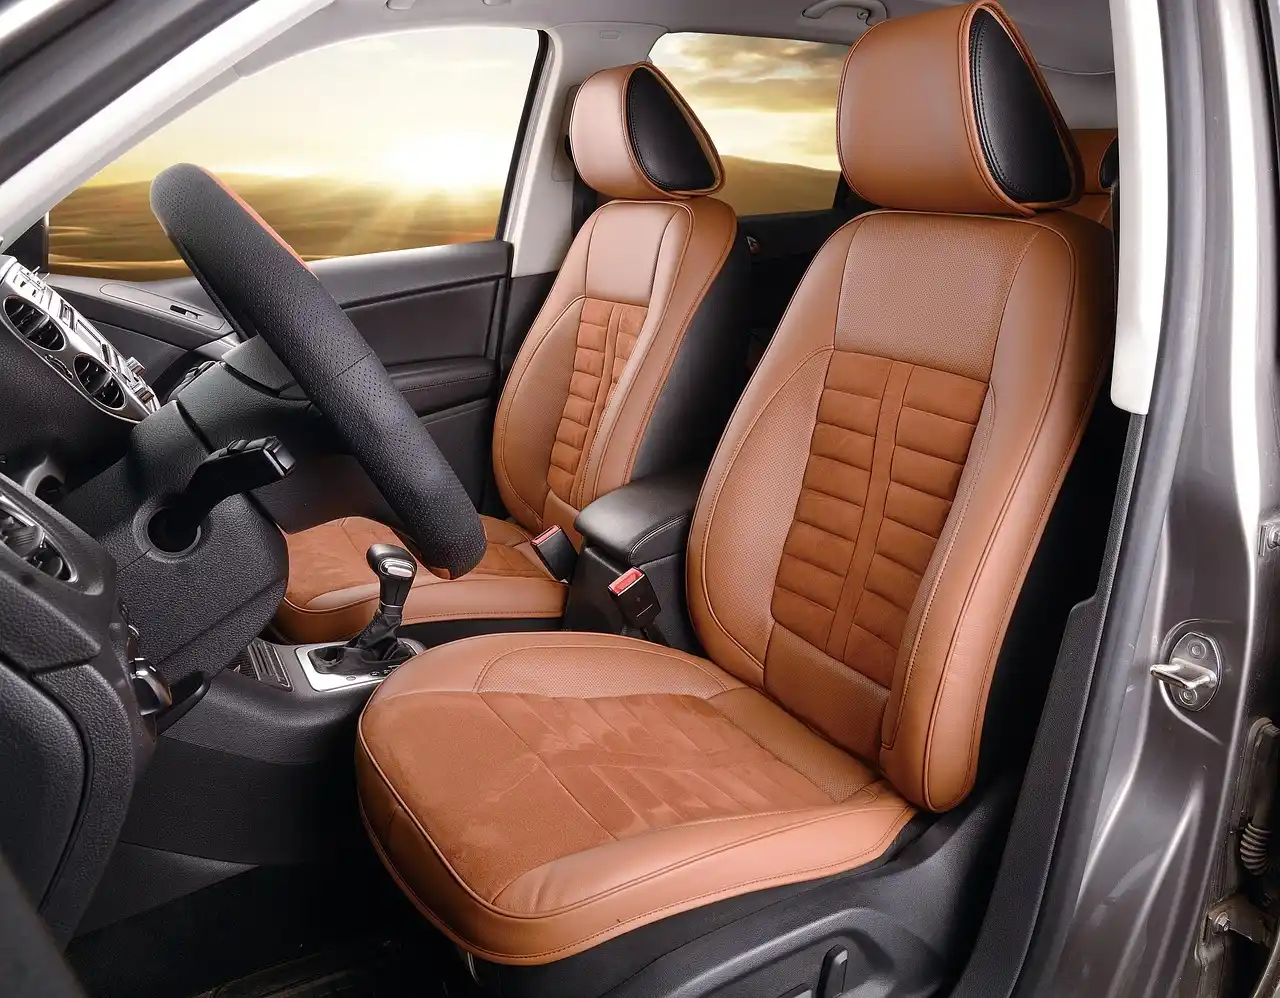
Leather seats: How to clean, protect, and restore
Clean leather seats by identifying the surface first: if water darkens it within 10 seconds, treat it as aniline or semi-aniline; if it beads, use a coated-leather cleaner, light agitation, and a water-based protectant. The wrong product can stain absorbent leather, clog perforations, leave slippery residue, or dry the finish until it cracks. This guide maps the leather-type decision tree, then the safe clean, protect, and restore workflow for coated, semi-aniline, perforated, and synthetic seats.
That split matters because coated or pigmented leather is the most common modern car-seat surface, and its urethane top layer changes what good care actually looks like. On most late-model interiors, cleaning and surface protection matter more than adding oils. On absorbent leather, the balance can shift.
The job is beginner-friendly for most owners, usually takes 1 – 2 hours for a full set of seats, and commonly falls in the $15 – $80 range depending on what you already own. The target is straightforward: remove abrasive grit first, clean with low moisture, then choose either conditioner or protectant based on the actual seat material.
What type of leather do you have in your car seats?
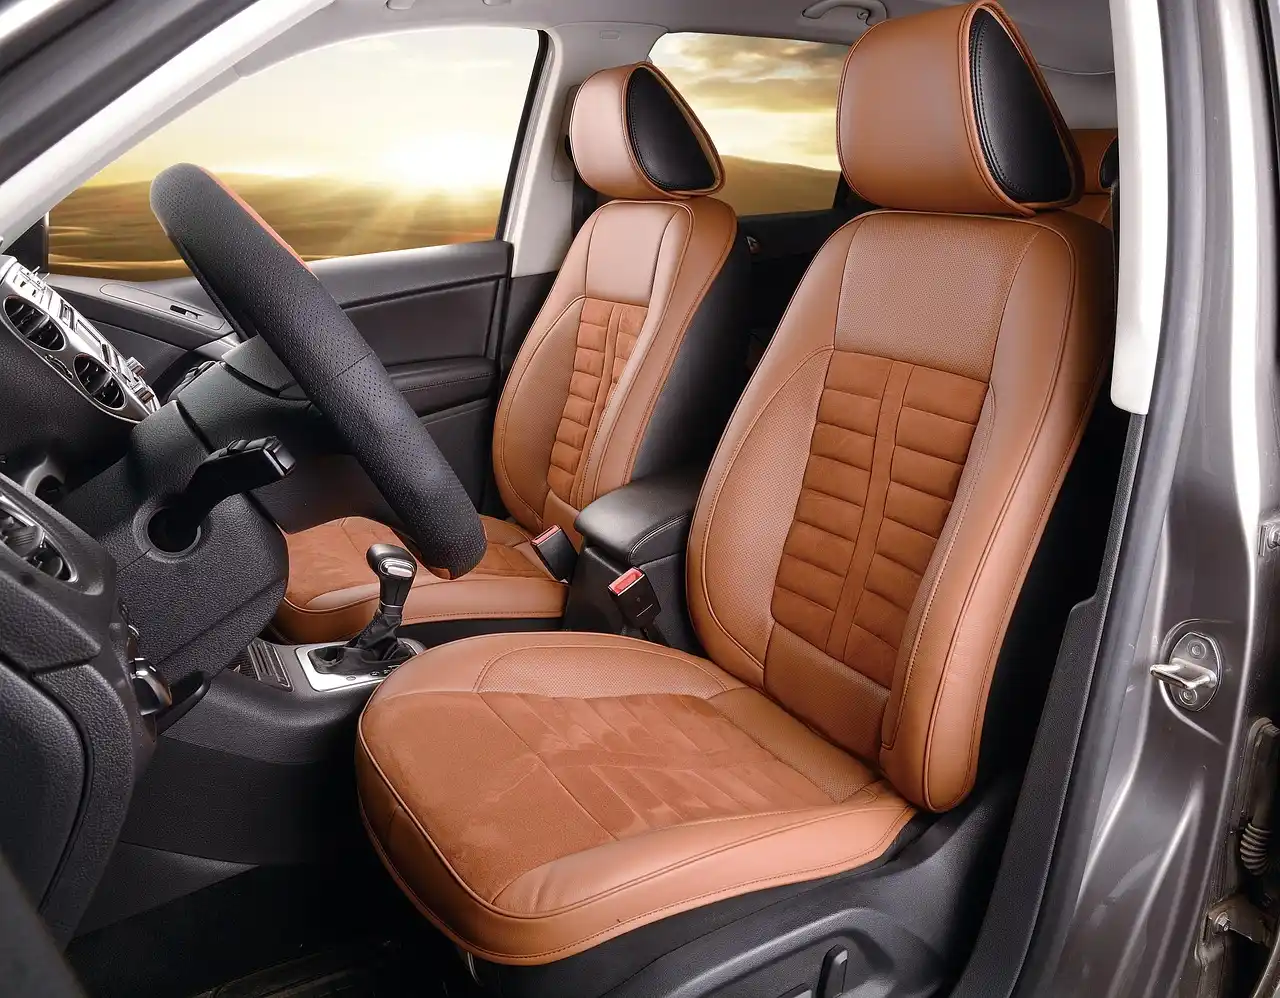
Identify the seat surface before buying any cleaner, conditioner, or protectant. If water beads, the seat is usually coated or pigmented leather. If a tiny test drop darkens the surface within about 10 seconds, treat it as semi-aniline or full aniline leather. Synthetic leather follows a different aftercare path.
Coated or pigmented leather
This is the most common automotive leather type. It usually has a protective urethane layer over dyed leather, which is why spills often stay on the surface instead of soaking in right away.
A quick check is the water bead test. Place a tiny drop on a hidden spot. If it stays rounded and does not darken the leather, a coated-leather cleaner and a non-greasy surface protectant are the safer match.
These seats often show wear first on the outer bolster, driver seat base, seam edges, headrest, and the front edge where legs slide across. Friction, body oils, sunscreen, and dark-clothing dye transfer build gloss and grime on top of the finish before the leather underneath is the real problem.
Semi-aniline and full aniline leather
These surfaces are more absorbent. Semi-aniline leather has some protective treatment, but it still reacts more like natural leather than typical coated automotive seats. Full aniline is the most sensitive and stains fastest.
If a hidden test spot darkens within 10 seconds, use a pH-balanced leather cleaner very sparingly and do not assume a coated-leather sealant is safe. A conditioner may help after cleaning, but only if the product is clearly intended for uncoated or absorbent leather.
Do not chase stains aggressively on these surfaces. Fast rubbing, heavy foam, and repeated wet passes can spread discoloration or leave tide marks.
Synthetic leather
Synthetic leather, often sold under vinyl or leatherette names, can look close to genuine leather but does not need traditional leather conditioning. It still benefits from careful cleaning, low-residue protection, and UV defense.
Use an automotive interior cleaner labeled for vinyl, leatherette, or synthetic trim. Skip oil-heavy conditioners. A surface protectant that dries to a non-sticky finish is usually the better fit.
Perforated panels, bolsters, seams, and headrests
Seats are rarely one simple surface. Perforated center panels, smooth bolsters, stitched seams, textured grain, and headrests all collect dirt differently and need different pressure levels.
Perforations trap liquid and residue. Seams trap grit. Bolsters take friction from entry and exit. Headrests collect hair products, skin oils, and sunscreen. Treat those areas as separate care zones even on the same seat.
Suppose the center insert is perforated but the side bolsters are smooth and glossy from jeans. Clean the insert with the least moisture possible, then spend more brush work and wipe-off effort on the bolster where surface buildup is heavier.
Leather seat care decision table
| Leather type | Safest cleaner/protection choice | Red-flag mistakes to avoid |
|---|---|---|
| Coated/pigmented leather | pH-balanced automotive leather cleaner with microfiber towels or a soft brush, followed by a water-based leather protectant or sealant with UV and abrasion focus | Using heavy conditioner by default, leaving oily residue on the urethane finish, scrubbing with stiff brushes, using bleach, ammonia, or alcohol-heavy cleaners |
| Semi-aniline leather | Spot-tested pH-balanced cleaner used lightly, then a thin conditioner only if labeled for semi-aniline or uncoated leather and only after full drying | Assuming it behaves like coated leather, over-wetting, aggressive stain work, applying sealants meant only for coated surfaces without checking compatibility |
| Full aniline leather | Minimal-moisture, spot-tested cleaner designed for absorbent leather, followed by a matching conditioner if the surface feels dry | Strong stain removers, repeated rubbing, household wipes, soaking the panel, trying to “scrub out” deep dye transfer or ink |
| Perforated leather | Vacuum with brush attachment, optional compressed air, low-moisture cleaner on towel or brush rather than direct spray, then careful drying before any aftercare product | Spraying product into holes, over-saturating foam, leaving residue in perforations, skipping final dry wipe, ignoring vented-seat openings |
| Synthetic leather | Automotive-safe cleaner suitable for vinyl or leatherette, then a non-greasy interior protectant with UV focus | Treating it like absorbent leather, applying oil conditioner, using solvent-heavy stain removers, leaving slick dressing behind |
| When to stop DIY | Escalate to a leather repair specialist when there is peeling topcoat, torn seams, deep cracks, persistent color loss, or stains that will not lift after safe cleaning | Adding stronger chemicals, wetting the seat more each round, sanding, using magic erasers, or trying to hide finish failure with more conditioner |
What you’ll need
Tools and materials
- Vacuum with brush attachment for seams, stitching, crevices, and seat tracks
- Compressed air if perforations hold grit
- Several clean microfiber towels, including a dry towel for final buffing
- pH-balanced leather cleaner made for automotive interiors
- Soft-bristle detailing brush for grain, seams, and texture
- Optional boar hair brush for deeper cleaning where the leather type allows gentle agitation
- Leather conditioner matched to semi-aniline or full aniline leather, if needed
- Leather protectant or sealant for coated leather or synthetic surfaces
Product rules that prevent damage
Use a pH-balanced leather cleaner and spot-test it on a hidden area before broad cleaning or stain work. Keep bleach, ammonia, and alcohol-heavy mixes away from leather and synthetic seat surfaces. Those formulas can alter the finish, dull color, or leave the surface dry and grabby.
Multiple microfiber towels matter more than one large towel. One should carry cleaner, one should lift residue, and one should stay dry for the final buff. That cuts the chance of pushing grime back into grain and seams.
How do you clean leather seats without damaging them?
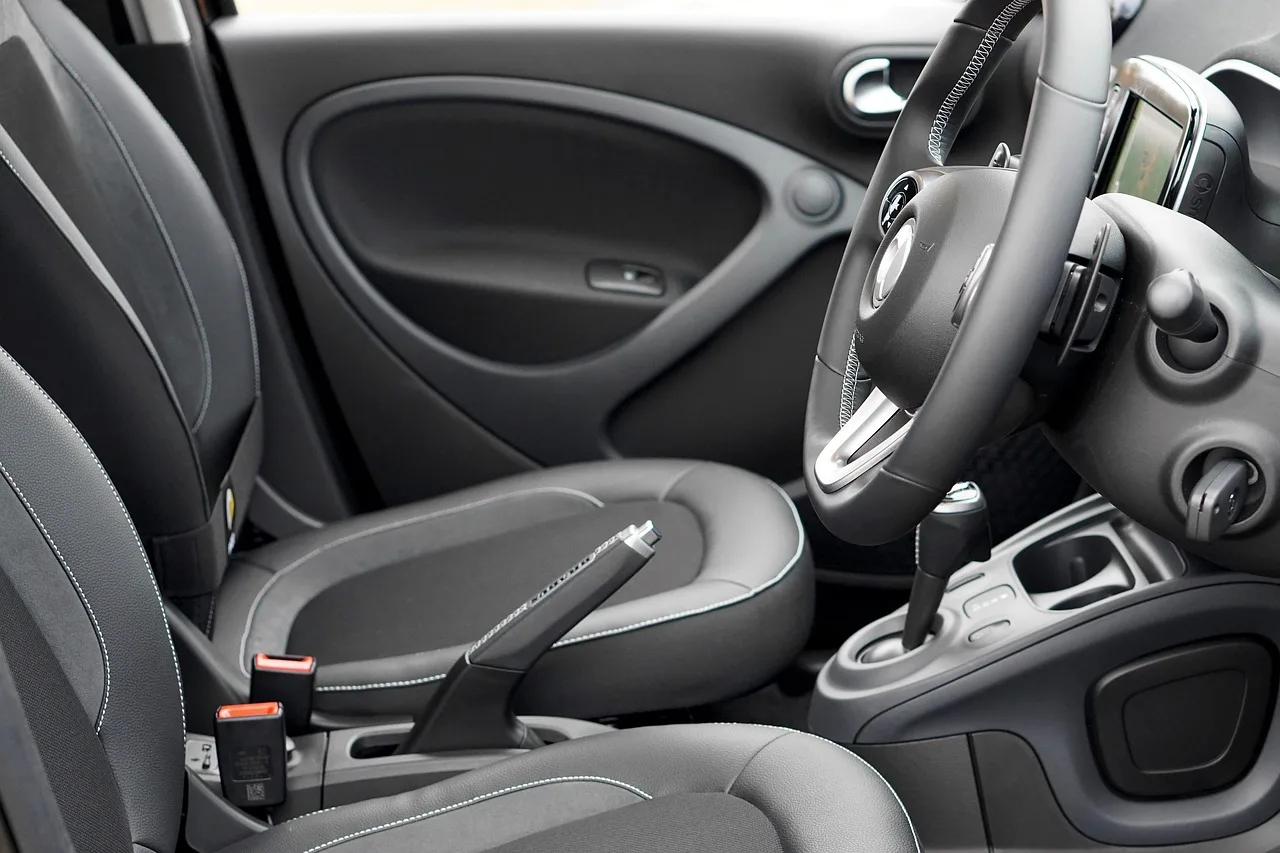
Clean leather seats safely by removing grit first, then using a pH-balanced cleaner with controlled moisture, light agitation, and fast residue removal. Work panel by panel, not seat by seat. Dry the surface fully before deciding whether it needs conditioner, protectant, or nothing else.
Safe cleaning workflow
- Inspect the surface. Check whether the seat is coated, semi-aniline, full aniline, or synthetic before opening any product. Look closely at the bolster, seat base, headrest, and perforated inserts because those zones often show the clearest clues about finish type and wear.
- Vacuum debris first. Use a vacuum with a brush attachment on seams, stitching, crevices, and around perforations. This reduces abrasion during wiping, and it matters because trapped grit can scratch the finish once moisture turns it into paste.
- Spot-test the cleaner. Apply a small amount to a hidden area using a microfiber towel, then wipe dry and check for darkening, tackiness, or color lift. Stop if the finish changes or if the test area stays wet-looking after wipe-off.
- Apply cleaner indirectly. Put cleaner on the towel or brush, not directly onto the seat, especially near seams, switches, and seat-mounted airbag areas. This keeps product control high and lowers the chance of liquid reaching holes and stitching.
- Agitate gently. Use a soft-bristle detailing brush with short, light passes on grain, texture, seams, and shiny body-oil spots. Do not bear down, the goal is to loosen embedded dirt, not scour the topcoat.
- Wipe residue promptly. Follow each small section with a clean microfiber towel to remove loosened grime before it settles back into the grain. Rotate towels often because a loaded towel spreads residue and can leave streaky gloss.
- Dry and reassess. Let the seat dry fully, then inspect under good light. If the seat feels clean and neutral, move to protectant for coated leather, conditioner for suitable absorbent leather, or stop if no aftercare is needed.
Where most damage starts
Damage often starts before the cleaner touches the seat. Grit left in a seam, repeated scrubbing on a glossy driver bolster, or flooding a perforated insert causes more trouble than a mild cleaner used correctly.
A common first-timer mistake is cleaning the whole seat with one damp towel until the towel turns gray and the leather turns shiny. At that point the towel is carrying dirt, body oil, and leftover cleaner across every panel, especially the headrest and outer bolster.
How do you clean perforated leather seats safely?
Perforated leather generally needs low-moisture cleaning because liquid and residue can settle below the visible surface. The safe method is vacuum first, apply cleaner to the towel or brush instead of the seat, wipe each section dry, and inspect the holes before using any protectant or conditioner.
Moisture control and hidden residue
Perforated seats need careful vacuuming and drying. The risk is not only visible staining. Cleaner that disappears into the holes can stay trapped, attract dirt, and later leave the seat tacky or streaked.
Use less product than you think you need. A damp towel cleans; a wet towel loads the perforations. If the holes look darker after cleaning, they may still be holding moisture or residue.
Cleaning around perforations, seams, and vented-seat areas
- Vacuum the insert. Use the brush attachment with light contact so the tool does not catch perforation edges. If grit is visible inside the holes, add short bursts of compressed air while vacuuming to lift debris out instead of pushing it deeper.
- Dampen the towel. Apply the pH-balanced cleaner to a microfiber towel or soft brush until just damp. Never spray cleaner straight into the perforations, seams, switches, or vented-seat openings.
- Brush with light pressure. Work across the perforated panel in short strokes so loosened grime moves onto the towel. Keep the brush nearly dry, heavy foam is hard to remove from the holes.
- Blot and wipe dry. Use a second microfiber towel to lift residue immediately, pressing lightly over the perforations instead of dragging hard across them. This step removes product before it can settle below the top surface.
- Check the holes closely. Inspect under angled light for white residue, wet dots, or cleaner trapped at seam lines. If any remain, use a dry towel and more vacuuming before applying aftercare.
Drying before aftercare
Do not put conditioner or protectant on a perforated seat that still feels cool or damp. Trapped moisture dilutes the next product and can leave a gummy finish around the holes.
Picture a vented driver seat with a small shiny patch on the front edge. Clean that patch first, wipe it dry, and wait until the perforations look uniform again before touching the rest of the insert. One small damp zone is enough to cause residue problems later.
Do leather seats need conditioner or protectant after cleaning?
After cleaning, coated leather usually benefits more from a surface protectant or sealant than from added oils, while semi-aniline and full aniline leather may need conditioner if they are dry and the product matches the leather type. Apply any aftercare thinly and buff off all residue.
When coated leather needs surface protection
Most modern automotive leather is coated, so a protectant or sealant is often the better post-cleaning choice. The finish already creates the barrier. What it needs is UV help, reduced friction, and a non-greasy sacrificial layer that does not attract dust.
Choose a water-based product that dries clean. If it leaves the seat slick, shiny, or sticky, it is the wrong finish for a driver seat.
When absorbent leather may need conditioning
Semi-aniline and full aniline leather can benefit from conditioner, but only after the surface is fully dry and only when the formula is intended for that material. A thin application can help reduce dryness and cracking on leather that actually absorbs and loses moisture.
Do not assume every genuine leather seat wants conditioner. Coated leather often does not improve with heavy oiling because the finish blocks absorption while the excess stays on top.
How to apply a thin coat without residue
- Confirm the leather type. Choose protectant for coated or synthetic surfaces, and conditioner only for leather types that can benefit from it. This is the main fork in the care routine.
- Apply a light coat. Put a small amount on a clean microfiber applicator or towel and spread it thinly over one panel at a time. A visible wet film is too much for many automotive seats.
- Keep seams and holes light. Use less product around perforations, stitching, and panel edges where buildup is hard to remove. Wipe those areas again with a separate towel before they dry.
- Buff off residue. Follow with a dry microfiber towel until the seat feels clean, not slick. If the towel drags because the product is still wet, wait briefly and buff again rather than adding more.
How do you remove stains from leather car seats?
Stain removal should follow a risk ladder: dry debris removal first, then mild cleaner, then targeted repeat passes, then stop before the finish is damaged. Dye transfer, oils, sunscreen, and food usually respond to careful surface cleaning. Ink and persistent color loss are where DIY often becomes risky.
Dye transfer from jeans and dark clothing
Dye transfer usually appears on the outer bolster and seat base where friction is highest. Start with normal cleaning using a pH-balanced leather cleaner, a microfiber towel, and light brushing. Repeat in small sections rather than scrubbing harder.
If the stain lightens but does not disappear, stop before the finish turns dull. On coated leather, stubborn blue or black transfer can mean the dye has bonded to the topcoat or the topcoat is already compromised.
Body oils, sunscreen, and shiny buildup
These are common on headrests, arm-contact points, and the front edge of the driver seat. They usually create gloss and tackiness before they create obvious discoloration.
Use the least aggressive method first: vacuum, apply cleaner to a towel, brush lightly if texture is holding grime, then wipe dry. Several controlled passes are safer than one saturated pass.
Ink, food spills, and other high-risk stain cases
Ink is a high-risk DIY stain because strong removers can strip finish faster than they remove the mark. Food spills vary; greasy residues may need repeated mild cleaning, while colored spills can stain absorbent leather quickly.
Say your child drops a dark berry snack on a semi-aniline rear seat and it leaves a palm-sized mark. Blot first, clean with a lightly damp microfiber towel and pH-balanced cleaner, then stop if the color spreads or the leather darkens unevenly.
When stain removal becomes a repair issue
If a stain will not lift after safe cleaning, or if the area shows finish loss, peeling, color fade, cracking, or a rough edge around the stain, the problem is no longer routine cleaning. That is especially true for ink on absorbent leather and for dye transfer on worn bolsters.
A repair specialist is the right next step for peeling topcoat, torn seams, deep cracks, and color transfer that remains after mild cleaning. More chemical strength is rarely the answer once the finish is failing.
Why do leather seats get sticky after cleaning?
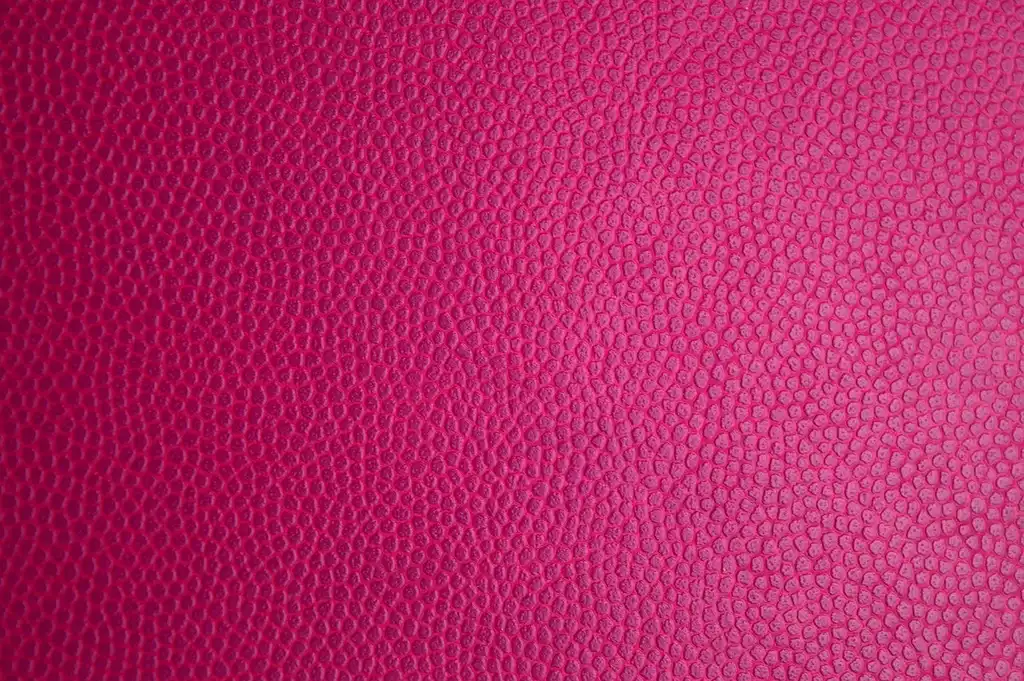
Leather seats usually get sticky after cleaning because too much product was left on the surface, the wrong product was used for the leather type, or residue stayed in grain, seams, or perforations. Coated leather is especially prone to tackiness when conditioner or dressing sits on top.
Overconditioning and incompatible products
Sticky seats are often over-conditioned seats. On coated leather, oil-heavy products cannot absorb well through the finish, so they stay on top and collect dust. That is why protectant is often more relevant than conditioner on modern interiors.
Another cause is using a cleaner-conditioner combination on seats that mainly needed surface cleaning. If the finish already has body oils on it, adding more product can turn dull grime into a slick film.
Cleaner buildup in grain, seams, and perforations
Foamy product left in textured grain or around stitching dries into residue. Perforations make the problem worse because trapped cleaner resurfaces slowly and leaves dark or glossy dots.
If the seat feels sticky only in the center insert, suspect trapped product. If the outer bolster is sticky too, suspect overapplication across the whole panel.
How to correct tacky seats
- Stop adding products. Do not pile conditioner, dressing, or more protectant onto a sticky seat. Extra product usually makes coated surfaces worse.
- Re-clean lightly. Use a small amount of pH-balanced cleaner on a microfiber towel to lift the leftover film. Work one small section at a time and wipe dry immediately.
- Clear texture and seams. Use a soft brush with very light agitation in grain, stitching, and perforation edges where residue hides. Follow with vacuuming or a dry towel to remove loosened material.
- Buff to a dry feel. Finish with a clean, dry microfiber towel until the surface feels neutral rather than slick. If tackiness remains after proper wipe-off, the product may be incompatible with the seat finish.
How often should you clean and protect leather seats?
Leather care should follow how the vehicle is used, where it is parked, and what the seats are made from. A daily driver in strong sun needs more frequent cleaning of oils and dye transfer than an occasional-use garage-kept car. Perforated seats also need closer residue control.
Cadence by use pattern and climate
Daily drivers collect friction wear, body oils, and clothing dye fastest on the driver seat base, outer bolster, and headrest. Vehicles parked outside in hot sun also need more attention because UV and heat speed fading and surface dryness.
Dry climates can make absorbent leather feel brittle sooner. Humid climates can hide residue problems longer because seats stay slightly tacky after over-application. The right schedule depends on what the seat is exposed to, not one universal calendar.
Simple maintenance schedule by leather type
- Coated or pigmented leather: Wipe light grime as it appears, deep-clean when the driver bolster or headrest starts looking glossy, and use a non-greasy protectant after cleaning as needed.
- Semi-aniline leather: Clean gently at the first sign of soil and condition only when the leather is dry and the product is specifically compatible.
- Full aniline leather: Use the least frequent and least aggressive cleaning routine. Fast response to spills matters more than routine product use.
- Perforated seats: Inspect holes, seam lines, and vented areas often because residue control is the main maintenance issue.
- Synthetic leather: Clean as needed and use surface UV protection rather than leather conditioner.
Common mistakes to avoid
High-risk errors
- Using one universal routine for coated, semi-aniline, full aniline, and synthetic seats
- Spraying cleaner directly into perforations, seams, switches, or seat-mounted airbag areas
- Using bleach, ammonia, alcohol-heavy mixes, all-purpose degreasers, or household wipes
- Using rough cloths or stiff brushes that can scratch the finish
- Applying conditioner to wet leather
- Assuming more conditioner means better protection
- Leaving residue in grain, stitching, or perforations
- Trying to clean away peeling topcoat, deep cracks, or torn seams instead of escalating to repair
What actually prevents cracking and fading
Cracking and fading are driven by sun, friction, skin oils, dirt abrasion, and delayed cleanup of spills and dye transfer. Prevention is less about saturating the leather and more about keeping the surface clean, reducing UV exposure, and using the right aftercare for the leather type.
For coated leather, that usually means surface protection with a dry-touch product. For absorbent leather, it means cautious cleaning and occasional compatible conditioning when the leather is truly dry.
Frequently asked questions
How do I clean leather seats in a car without damaging them?
Identify the leather type first, vacuum seams and crevices, spot-test a pH-balanced automotive leather cleaner, and work with microfiber towels and light brush agitation. Clean small areas, wipe residue quickly, and let the seat dry fully before applying protectant or conditioner. Low moisture prevents most DIY mistakes.
What should I use to clean leather car seats?
Use a pH-balanced leather cleaner made for automotive interiors, clean microfiber towels, and a soft-bristle detailing brush for grain and seams. An optional boar hair brush can help with deeper cleaning. Avoid bleach, ammonia, alcohol-heavy mixes, and household chemicals that can change color, finish, or feel.
How often should leather car seats be cleaned and conditioned?
There is no single schedule that fits every car. Daily drivers, sun-exposed interiors, and high-friction driver seats need more frequent cleaning than occasional-use vehicles. Condition only when the leather type benefits from it. Coated seats often need regular cleaning and surface protection more than repeated conditioning.
What should I avoid using on leather car seats?
Avoid bleach, ammonia, alcohol-heavy cleaners, all-purpose degreasers, solvent-heavy stain removers, rough cloths, stiff brushes, and direct spraying into perforations or seams. Do not use oil-heavy conditioner on synthetic leather, and do not assume coated leather needs heavy conditioning after every cleaning.