Foam cannon: How to use it for a safer car wash
Use a foam cannon as a pre-wash: coat the car, let the foam dwell 3-5 minutes out of sun, rinse top to bottom, and stop there only if the paint looks clean and feels smooth through a thin plastic bag. Done poorly, dried foam can leave residue, and dragging leftover grit across the paint can add swirls. This guide covers setup, soap mix, dwell time, rinse technique, and when a mitt wash is still required.
What you’ll need
- Pressure washer
- Foam cannon with bottle, lance or wand connection, and matching quick-connect fitting
- Correct nozzle and orifice for the pressure washer and cannon setup
- Car wash soap or snow foam, preferably pH-neutral or wax-safe
- Clean water for the foam cannon reservoir
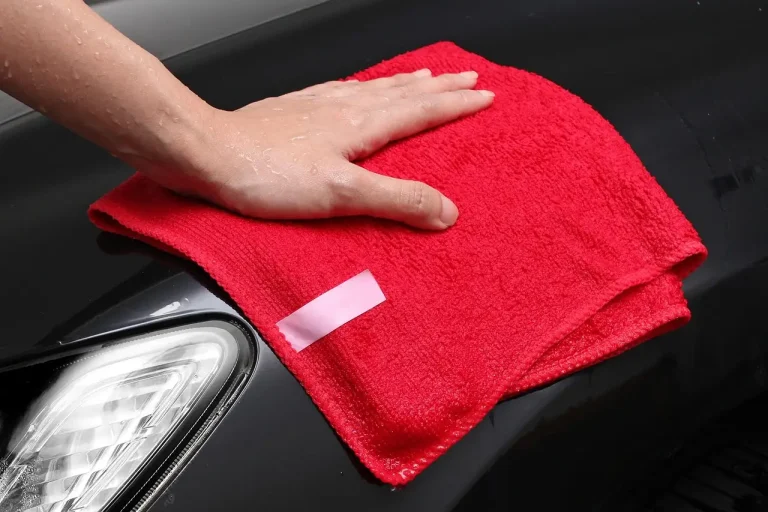
- Wash mitt, preferably microfiber
- Two wash buckets
- Grit guards for the buckets
- Drying towel or blower
- Thin plastic bag for the post-rinse contamination check
Why a foam cannon is a pre-wash tool
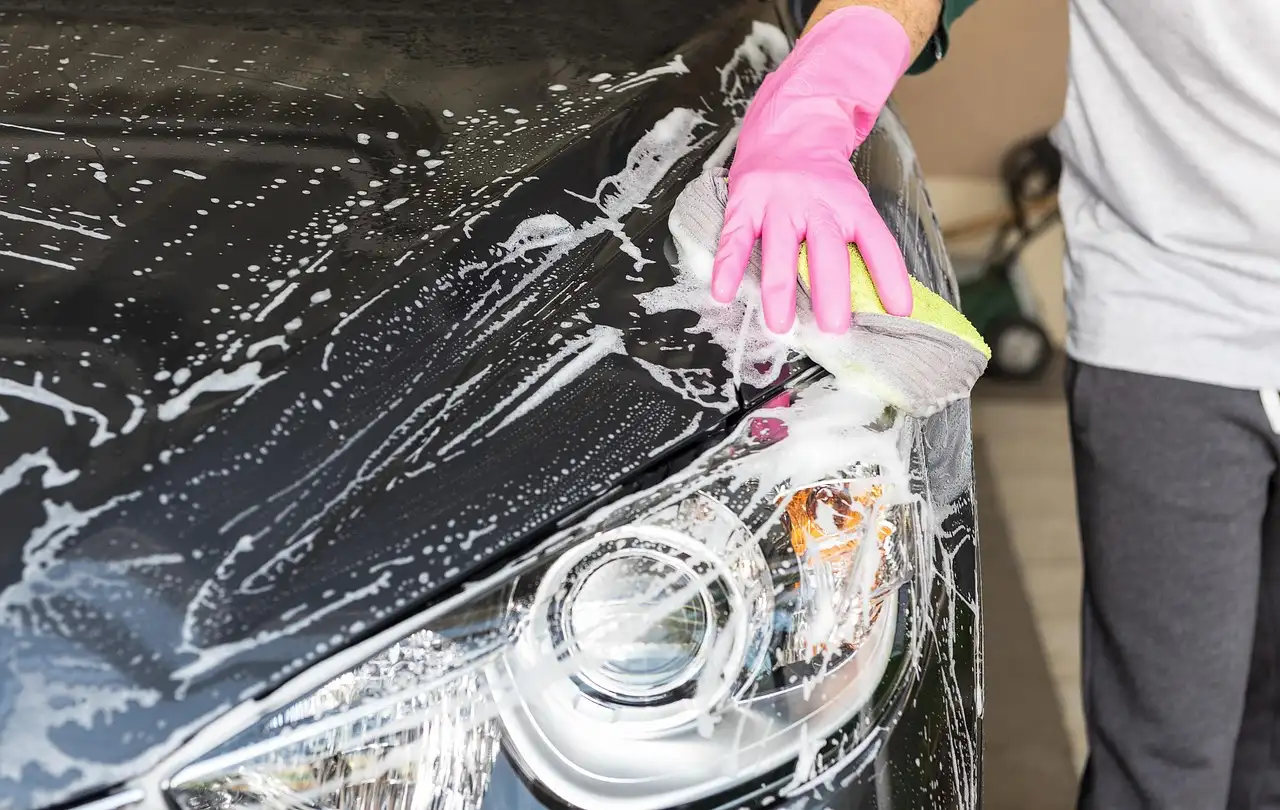
A foam cannon mounts to a pressure washer, pulls soap and water from its bottle, mixes them with air inside the cannon body, and sprays that solution through the lance or wand as clinging foam. That matters because the safety benefit comes before your hand ever touches the paint.
Foam removes loose dust, fresh road grime, and some traffic film well enough to cut the amount of grit left for a mitt to drag. Snow foam is a pre-wash, not a full wash. Its job is to soften and carry off loose contamination so the rinse removes more before any contact wash begins.
What it cannot do well by itself is remove bonded grime. Bug remains, winter salt residue, oily road film, and the heavy dirt packed into rocker panels and behind wheels usually remain after the rinse. If those are still there, a contact wash is still the safer next step.
Foam is best treated as stage one in a five-stage routine: pre-rinse, foam, dwell, rinse, inspect, then either dry or continue to a hand wash and final drying. A foam cannon pre-soak is the practical best practice because it reduces the dirt left for the wash mitt.
What makes foam safe or risky on paint?
Foam is safest when it is used on cool panels, left on the paint long enough to soften loose grime, and rinsed before it dries. It gets risky when a hot hood flashes the soap dry, when weak foam runs off too quickly, or when stubborn dirt is mistaken for clean paint.
Dirt type matters more than foam thickness
Loose dust on upper panels is low-risk contamination. Thick grime on lower doors, rear bumper corners, and the hatch area is different because it carries more abrasive material. That is why the same foam dwell can be enough on the roof but still fall short behind the front wheels.
Picture a silver SUV with light garage dust on the hood but dark splatter along the rocker panels after rain. The hood may be ready for a rinse-only finish, while the lower panels still need a mitt. One variable changed: dirt level by panel.
Cool panels beat dramatic foam
Time on the panel matters more than foam volume alone. A thinner blanket that stays wet for the full dwell window does more useful cleaning than a thick layer that starts drying in direct sun after a minute or two.
The practical dwell window is about 2-5 minutes, with 3-5 minutes often used as a target before washing or rinsing. The hard rule is simple: if foam starts to dry or leave patchy edges, rinse it off at once, because soap residue on paint turns a safe pre-wash into extra cleanup. Shade, a cool surface, and a steady rinse pattern matter more than chasing the densest possible output.
Soap, water, and machine output work together
Soap chemistry, water hardness, and pressure-washer output all change how the foam looks and how long it clings. Many home setups start with electric pressure washers, and those can work very well when the cannon, nozzle, and soap are matched correctly.
Most consumer foam cannons work reasonably well around 1,000-1,500 PSI. PSI is not the whole story, though. Higher flow usually improves foam consistency, while hard water can flatten suds and some soaps are simply formulated better for foam cannons than others.
Lubricity matters if a mitt wash follows. A pH-neutral or wax-safe soap is the safe default because it is less likely to strip existing wax or sealant, and it is usually the right starting point for maintained paint and protected finishes. Some products are made specifically for foam cannons and tend to rinse more predictably at their labeled dilution ranges.
How do you set up a foam cannon correctly?
Set up starts with compatibility, not soap. Confirm that the foam cannon fits the pressure washer’s quick-connect, lance, wand, and nozzle arrangement, then mix water first and soap second in the reservoir, and start with the label dilution before making small, measured adjustments.
Pressure washer compatibility and nozzle checks
The cannon must match the machine at the connection point and at the working output. Check the quick-connect fitting first, then confirm that the cannon is intended for the washer’s pressure range and that the installed orifice suits the machine. A mismatch can cause weak foam, pulsing, or poor draw from the bottle.
A foam cannon is different from a foam gun. A foam gun attaches to a garden hose adapter, while a foam cannon uses a pressure washer to create denser foam through stronger air and water mixing.
What order should you mix soap and water in a foam cannon?
Water goes in the reservoir first, then car wash soap. That order reduces excess sudsing while filling, makes it easier to see the actual liquid level, and helps the cannon pull a more even mixture once the bottle is attached to the lance or wand.
Follow the product label because dilution varies by strength. Dilution ratios typically range from 1:20 to 1:64, and a common starting mix is 1-2 ounces in a 32-ounce bottle. Some reservoirs are described as taking 3 to 5 ounces of soap before topping with water, but label strength should still decide the final mix.
Suppose a label gives a broad range and the first pass looks watery. Add 0.5 ounce of soap, remix, and recheck on one panel rather than doubling the concentration at once. That keeps troubleshooting tied to a single change.
Choosing a starting soap
Use a car wash soap or snow foam, not a household cleaner. Any car soap will not work equally well in a foam cannon. Some products foam easily but lack the lubricity wanted for a follow-up mitt wash, while others rinse clean but need a stronger mix or better water to stay on the panel.
How do you use a foam cannon safely?
Rinse first, then foam, then let it dwell within the safe window, rinse again, and inspect before deciding whether to stop or continue with a mitt. That order lowers scratch risk because loose grit is removed before soap touches the paint and before any contact washing starts.
- Park in shade. Work on cool panels and avoid direct sun. If the hood or roof feels hot, wait or move the car because drying foam leaves residue and shortens useful dwell time.
- Check the connections. Lock the foam cannon onto the lance or wand, confirm the quick-connect is seated, and verify the nozzle and orifice are appropriate for the pressure washer. Most consumer foam cannons work reasonably well around 1,000-1,500 PSI, but correct hardware matching still matters.
- Mix the reservoir. Add water first, then soap, following the label ratio. A common starting mix is 1-2 ounces in a 32-ounce bottle, and many products fall somewhere in the 1:20 to 1:64 range.
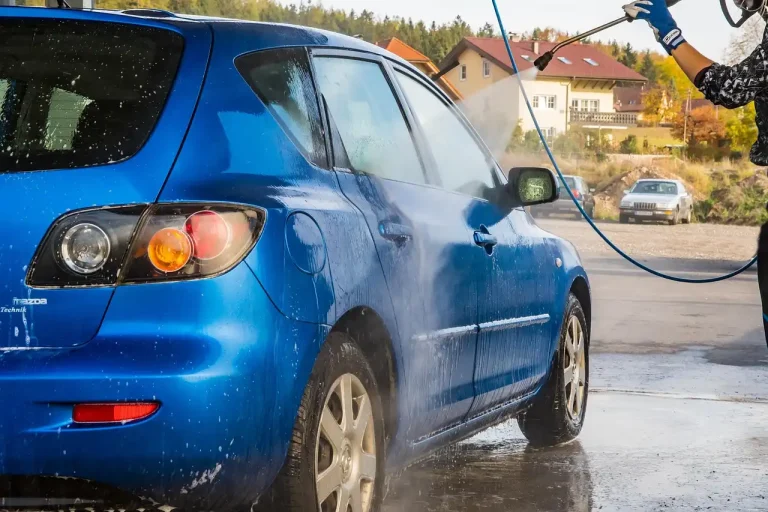
- Pre-rinse top to bottom. Rinse the whole vehicle before foaming, starting at the top and moving down. This removes loose grit before soap contacts the surface and lowers the chance of dragging abrasive debris during any later mitt wash.
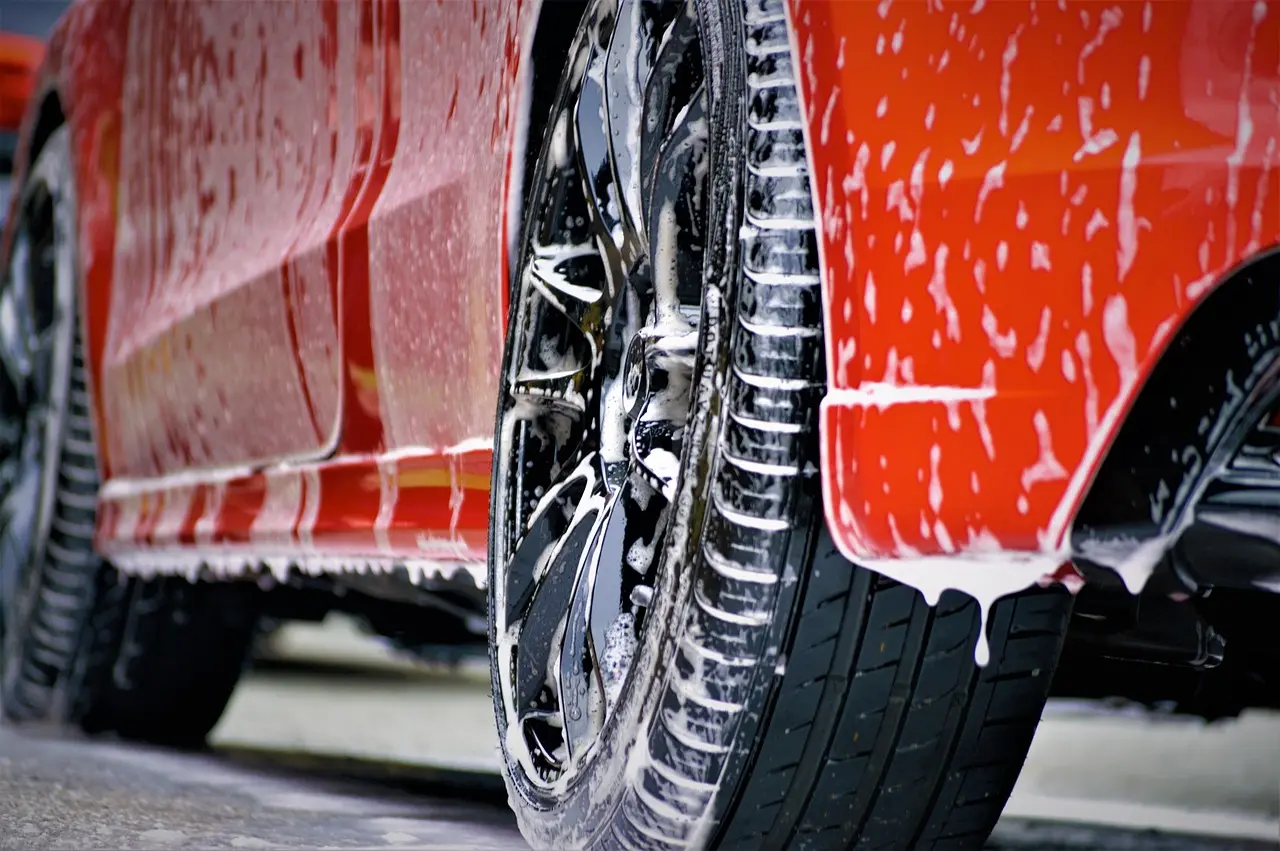
- Foam from top down. Apply an even coat to paint, glass, and trim, then give extra attention to bug-prone front surfaces and the dirtier lower panels. Uniform coverage matters more than a shaving-cream look.
- Let it dwell. Let the foam sit about 3-5 minutes before washing or rinsing, staying within a broader 2-5 minute practical window. Watch the surface, not the clock alone, if sections start drying, rinse immediately.
- Rinse thoroughly. Rinse top to bottom again so the runoff carries loosened contamination down and away. Be methodical around mirrors, badges, lower doors, and the rear hatch area where soap and grime tend to collect.
- Inspect before touching. Look for remaining road film, bug residue, salt haze, and dark buildup on lower panels. Then use a thin plastic bag over fingertips on a clean wet section; if the surface still feels rough, contamination remains and a mitt wash is usually the next step.
- Choose rinse-only or mitt wash. Stop at drying only if the paint looks clean after rinsing and feels smooth through the bag check. Continue to a contact wash if grime remains, especially on rocker panels, bumpers, or bug-hit front areas.
- Dry the surface. Use a blower or a microfiber drying towel after the final rinse. Prompt drying helps prevent water spotting, especially on glass, dark paint, and horizontal panels.
Say your car was driven once in dry weather and now has only a faint gray film on the hood and roof. After the pre-rinse, foam dwell, and final rinse, the bag check feels smooth and the paint looks uniform, so rinse-only and dry is a reasonable stop point.
When a foam cannon is worth buying
A foam cannon makes the most sense if you wash your car regularly, want a stronger pre-soak, and already own a pressure washer. The supporting article breaks down when that setup is worth the cost, when a foam gun is the better buy, and when a simple bucket wash is enough. It also explains how foam helps loosen loose dirt before you touch the paint, which matters because the pre-wash stage can reduce rubbing and make the rest of the wash safer.
If you are deciding between a foam cannon and a cheaper alternative, this foam cannon guide helps you avoid paying for equipment that will not improve your routine.
Foam cannon safety matrix
| Dirt level | Panel temperature | Soap type | Dwell time | Foam quality | Next action |
|---|---|---|---|---|---|
| Light dust on upper panels | Cool | pH-neutral snow foam | 3-5 minutes | Even coverage, stays wet | Rinse-only if paint looks clean and feels smooth through a thin plastic bag |
| Road film on doors and rear bumper | Cool | Wax-safe foam cannon soap | 3-5 minutes | Moderate cling, slow runoff | Mitt wash after rinse |
| Bug splatter on front bumper and mirrors | Cool | pH-neutral foam with good lubricity | 3-5 minutes | Good cling on vertical panels | Mitt wash after rinse; bugs rarely clear fully by foam alone |
| Winter salt and gray residue | Cold to cool | Wax-safe foam cannon soap | 3-5 minutes | Even foam, steady sheeting on rinse | Mitt wash after rinse, including lower panels and rear hatch |
| Hot hood with light dirt | Hot | Any safe wash soap | Do not dwell | Starts drying quickly | Stop and re-rinse after cooling; do not continue on hot paint |
| Weak foam on lightly dirty paint | Cool | Foam-cannon-specific soap | 2-3 minutes if staying wet | Thin, fast runoff | Stop and re-rinse, then adjust soap by 0.5 ounce or check water hardness and washer output |
| Drying foam in sun or wind | Warming | Any safe wash soap | Cut short immediately | Patchy, crusting edges | Stop and re-rinse at once; move to shade before another pass |
| Heavily contaminated lower panels | Cool | pH-neutral or wax-safe soap with good lubricity | 3-5 minutes | Foam darkens as it carries grime downward | Mitt wash after rinse using two buckets and grit guards |
When should you continue with a mitt wash?
You should continue with a mitt wash when the rinse leaves visible film, bug residue, salt haze, or roughness that can still be felt through a thin plastic bag. Foam lowers the dirt load first, but it does not replace contact washing for bonded or stubborn contamination.
Contamination that usually needs contact washing
Road film, bug remains, winter salt residue, and grime packed into lower panels usually survive the pre-wash stage. Those soils cling more tightly than loose dust and often need light mechanical action from a microfiber wash mitt.
That does not mean aggressive scrubbing. The goal is to remove what the foam softened, with as little pressure and as few passes as possible.
How to pair foam with the two-bucket method
The two-bucket method is part of the safer hand-wash stage. One bucket holds soap solution, the other holds rinse water. Grit guards sit in the bottom to help keep debris below mitt level instead of letting it circulate back onto the paint.
- Fill both buckets. Put wash solution in one bucket and plain rinse water in the other. Install grit guards if the buckets accept them.
- Load the mitt lightly. Take soap from the wash bucket and work one small section at a time. Start at the top because those panels usually carry less grit.
- Use straight passes. Move the microfiber mitt in straight lines rather than circles. Straight-line motions tend to leave less visible marring than circular scrubbing if any fine debris remains.
- Rinse the mitt often. After each section, rinse the mitt in the rinse bucket before going back to the soap bucket. This is the part many rushed washes skip, and it is where reintroducing dirt often starts.
- Save lower panels for last. Wash rocker panels, bumpers, and behind-wheel areas at the end. They hold the heaviest contamination and should not be the first areas touched with a clean mitt.
Final rinse and drying
After the mitt stage, rinse thoroughly from the top down again. Then dry with a microfiber drying towel or a blower. Blowing water from badges, mirror caps, trim edges, and lug recesses helps prevent drips that later spot the finish.
Common mistakes
Foaming a dry, gritty car first
Skipping the pre-rinse leaves more abrasive material in place for the foam and later for the mitt. Always pre-rinse top to bottom before soap touches the car.
Using thick foam as the only goal
Dense foam can look promising, but cling alone does not prove better cleaning. If the product dries fast, slides off immediately, or leaves film after rinsing, focus on panel temperature, dwell time, water hardness, soap choice, and machine output before blaming the cannon.
Letting foam dry on the paint
This is the fastest way to turn a safe pre-wash into extra cleanup. If foam starts drying, stop and re-rinse right away. Then cool the panel or move into shade before trying again.
Assuming foam replaces the mitt every time
Foam cannon washing cannot replace the two-bucket method on every wash. Lower panels, bug-hit fronts, and winter grime still need contact washing after the pre-soak.
Overloading the soap mix
More soap does not automatically produce better cleaning. If the mix is weak, adjust in measured steps of 0.5 ounce and retest on one section. Large jumps make it hard to tell whether the real issue was dilution, hard water, or pressure-washer output.
Using the same mitt pressure everywhere
A common first-timer mistake is washing the lower doors with the same mitt pressure used on the roof. The lower half of the vehicle carries more abrasive dirt. More pressure there raises marring risk instead of fixing the contamination.
If that didn’t work
If the rinse still leaves a dull film or roughness after a correct pre-rinse, proper dwell, and a careful mitt wash, move up the ladder in this order: check the soap label and dilution, confirm the cannon fitting and orifice match the pressure washer, try softer water if available, then reserve the remaining contamination for a separate decontamination step rather than more scrubbing.
That last point matters on neglected paint. A foam cannon and mitt are wash tools, not a cure for bonded fallout, tar, or severe contamination. If the bag test still feels rough after washing, stop before extra pressure creates avoidable marring.
Frequently asked questions
How do you use a foam cannon to wash a car safely?
Pre-rinse first, apply foam top to bottom, let it dwell about 3-5 minutes without drying, then rinse top to bottom and inspect. Stop at drying only if the paint looks clean and feels smooth through a thin plastic bag. Otherwise continue with a mitt wash using two buckets.
How long should foam dwell on paint before rinsing?
A practical window is about 2-5 minutes, with 3-5 minutes being a common target before washing or rinsing. The exact time depends on temperature, shade, and how the foam behaves on the panel. If any section starts drying, rinse immediately rather than waiting out the clock.
Should you rinse the car before or after foaming?
Both, in that order. Pre-rinse first to remove loose grit before soap touches the paint, then rinse again after the dwell period to carry loosened dirt off the surface. In both rinses, start at the top and move down so runoff does not re-soil cleaner panels.
Do you still need a wash mitt after using a foam cannon?
Usually yes when road film, bug residue, winter salt, or dirty lower panels remain after the rinse. A microfiber wash mitt is still needed for bonded or stubborn grime. Use straight-line passes, rinse the mitt often, and pair it with the two-bucket method and grit guards.
What PSI does a foam cannon need to work well?
Most consumer foam cannons work reasonably well around 1,000-1,500 PSI. Many electric pressure washers fall into that home-use range and can work well when matched to the cannon, nozzle, and soap. Foam quality still depends on flow, water hardness, orifice size, and product chemistry.