What is a dual action polisher and what is it used for?
A dual action polisher moves the pad in two motions, rotation plus orbital travel, so it can remove light to moderate defects with less burn-through risk than a rotary. That makes it a strong first machine for DIYers. Used the wrong way, it can haze paint, miss defects, or leave you with a tool that is too mild for deeper correction. This guide explains what it does, which jobs it fits, when to choose another method, and how to match it to paint condition.
What is a dual action polisher?
A dual action polisher is a machine that spins the pad while the pad also travels in a small orbit. That dual motion spreads heat and lowers the chance of severe holograms or clear-coat damage compared with a rotary. Many product listings call it a random orbital polisher. Industry guidance from detailing manufacturers generally describes DA motion as safer for everyday correction because the contact pattern is less concentrated than a fixed-rotation tool.
The pad still does real work. Rotation plus pad movement creates friction, which lets the machine remove light defects and level a thin layer of clear coat when you pair it with the right pad and product. The speed setting matters because the same tool can do gentle wax spreading, moderate polishing, and more aggressive defect removal at different settings. Follow the machine manual and product instructions rather than treating one speed as universal.
How the random orbit motion works
In a DA, the pad does not stay locked into one fixed spin the way a rotary does. The orbit changes the contact pattern across the paint, which is why the machine is easier to control on curved panels and body lines. That does not make it risk-free. Pressure, pad choice, product choice, and edge contact still matter. Clear-coat safety is improved by spreading work over a wider area, not by eliminating technique requirements.
Soft paint can haze fast if the pad is too aggressive. Hard paint can resist correction if the pad and compound are too mild. Both situations are common, and both are solved by matching the setup to the defect instead of assuming one pad will do everything. Paint-testing guidance from detailing manufacturers consistently recommends starting with the least aggressive combination that can still correct the finish.
What is a dual action polisher used for?
A dual action polisher is used for waxing, polishing, buffing, and light paint correction. It is also useful for headlight restoration, trim-safe painted panels, and motorcycle bodywork when the surface is suitable and the pad stays away from sharp edges, unpainted plastic, and high-risk trim. The machine is most useful when the goal is improvement without the heat and risk profile of a rotary.
For protection work, the DA spreads wax, sealant, or a paint sealant evenly and quickly. For correction work, it removes light swirls, dealer-installed haze, oxidation, and some towel marks. It is not the right answer for every scratch or every panel defect. If the defect is deep enough to catch a fingernail, a DA may improve it but often will not fully remove it.
Waxing and sealant application
Yes, you can wax a car with a dual action polisher. Use a soft finishing foam pad, low speed, and light pressure so you spread the product without forcing it into seams. This is one of the easiest jobs for a DA, and it is where the tool often saves time. For apply-only work, manufacturers generally recommend a finishing pad and minimal pressure to avoid unnecessary abrasion.
Waxing and correction are different jobs. Waxing applies protection. Polishing removes defects. Keep those separate in your head, because a finishing pad with wax is not the same setup as a cutting pad with compound.
Polishing and light paint correction
A DA is a strong fit for light to moderate correction. It can reduce swirl marks, soften oxidation, and clean up haze left by poor washing or dealer prep. For many cars, that means a one-step or two-step process instead of a heavy-cut workflow. The usual rule is to begin mild, inspect the panel, and only increase aggression if the test spot shows a real improvement.
Suppose a black sedan has wash swirls and light dealer haze, but no deep isolated scratches. A foam polishing pad with a medium polish at a moderate speed setting is often the sensible first try. If the defects remain after a few slow passes, step up the pad or product before reaching for a more aggressive machine. Always verify results in strong light before changing the whole process.
Buffing headlights and trim-safe areas
A DA can buff headlights, but use caution around edges and plastic housings. A small pad or a reduced contact area helps control heat. On painted motorcycle fairings and other trim-safe areas, the same rules apply: keep speed and pressure modest, and stop if the pad starts grabbing an edge. Headlight work is especially sensitive because plastic can haze quickly if overheated.
It can also help on fresh repainted panels, but only after the paint has cured enough for machine polishing. Repainted clear coat can be softer than factory paint, so start mild. Fresh work is easier to mar, and it can load pads quickly. Fresh paint should be checked against the refinisher’s cure-time guidance before machine polishing begins.
How does DA motion reduce paint-damage risk?
A DA reduces risk because its orbital travel disperses friction and heat instead of concentrating both in one fixed line of rotation. That makes it less likely to leave holograms or create a localized hot spot, especially on curved panels. The safer finish comes from distributed contact, but the tool still needs correct pad choice, clean pads, and light-to-moderate pressure.
That lower-risk motion is why many manufacturers and detailers recommend a dual action polisher as the first correction machine. It is more forgiving on edges, body lines, and softer clear coat than a rotary. It is not damage-proof, though. Excess pressure, dirty pads, and too many passes in one area can still create haze or heat-related problems.
What is the difference between a dual action polisher and a rotary polisher?
A rotary polisher uses one single rotary motion. It cuts faster, creates more heat, and carries a higher burn risk than a dual action polisher. A DA is usually the safer choice for beginners, while a rotary is better when fast, aggressive correction is required and the operator knows how to control heat. The difference is not just speed; it is also the size of the margin for error.
The difference shows up in the finish and in the margin for error. A rotary can remove deep defects more quickly, but it is easier to leave holograms and to damage edges. A DA gives more finish control and a wider safety window, especially on clear coat, but it may stall or cut too slowly on hard defects. If the goal is a safer first pass, the DA is usually the better choice.
Motion, heat, and burn risk
The rotary pad keeps spinning on one axis, so heat builds in a small area faster. The DA’s orbit spreads that load. That is why clear coat is generally less exposed to concentrated heat with a DA, although pressure and pad choice can still cause damage. Manufacturer guidance on machine polishing consistently emphasizes avoiding edge dwell, excess pressure, and dry pad work, since those raise the chance of haze and damage regardless of tool type.
When a rotary is the better tool, the job is usually deeper correction, faster defect removal, or heavy leveling after sanding marks. That is outside the normal beginner range and should be treated as a separate skill set. If the panel already needs aggressive leveling, the more controlled path is often rotary work by an experienced operator or a pro detailer.
Pad and compound matching
Pad and compound choice should follow paint condition, not habit. Foam pads are the safer starting point. Microfiber pads cut harder than foam and finish smoother than wool. Wool pads remove defects fastest, but they also raise heat and finish risk. Compounds should match that same scale, from finishing polish to medium polish to cutting compound. A reputable starting strategy is to choose the least aggressive pad-product pair that still corrects the panel.
Backing plate size matters too. Consumer tools commonly use a 5-inch or 6-inch backing plate. A 5-inch plate gives more control and is easier around curves. A 6-inch plate covers more area and can move faster on larger panels. Neither choice fixes the wrong pad-product match. Backing-plate selection should be based on panel shape and control, not on the assumption that larger always means better.
Foam, microfiber, and wool pads
Foam pads come in cutting, polishing, and finishing versions, and color is often used to signal aggressiveness. The exact color map changes by brand, so check the label instead of guessing. In general, finishing foam is for wax and light glaze work, polishing foam is for moderate correction, and cutting foam is for firmer defects. Pad labeling from major manufacturers is more reliable than a color-only shortcut.
Microfiber pads sit between foam and wool. They are a useful middle ground for one-step correction because they cut better than foam while finishing smoother than wool. Wool pads are the most aggressive of the three and are better for heavy correction, but they leave less room for error. More aggression can mean faster removal, but it also increases the chance of haze and the need for a refining step.
Cutting, polishing, and finishing compounds
A finishing polish is for minor haze and refining after heavier work. A medium polish is a good first step on moderate swirls and dealer-installed marring. A cutting compound is for oxidation, heavier swirls, and tougher defects, but it can leave haze that needs a second refining step. Product labels and manufacturer charts usually place these in a progression from least to most abrasive.
Use the least aggressive product that can still do the job. On soft paint, even a mild compound can bite hard. On hard paint, a finishing polish may barely move the defect. Paint condition decides the starting point. When the finish is uncertain, start with a small test spot and inspect under strong light before escalating.
DA polisher decision matrix
Use this matrix to match paint condition to pad, compound, speed, and escalation. The settings below are practical starting ranges, not fixed rules. If the paint is very soft, very hard, or freshly repainted, make one change at a time and check the result after a small test section. Follow the machine manual, product label, and paint condition together rather than relying on a universal speed chart.
| Paint condition | Defect severity | Pad type | Compound type | Machine speed range | Expected result | When to stop and escalate |
|---|---|---|---|---|---|---|
| Soft clear coat with light wash swirls | Light | Foam finishing or polishing pad | Light polish | Mid-low speed used for correction on that machine | Noticeable swirl reduction with good finish clarity | Stop if haze appears or the pad starts grabbing edges |
| Hard clear coat with light swirls | Light | Foam polishing pad or microfiber pad | Medium polish | Mid speed used for correction on that machine | Moderate correction; may need a second pass | Stop if defects remain after two slow section passes |
| Oxidized clear coat on neglected paint | Moderate | Microfiber pad | Medium polish or light cutting compound | Mid speed used for defect removal on that machine | Oxidation removal with clearer gloss | Stop if the pad loads up fast or the finish stays chalky |
| Dealer-installed haze on a new vehicle | Light to moderate | Foam polishing pad | Finishing or medium polish | Low to mid speed | Haze reduction and improved clarity | Stop if you see micro-marring from too much pressure |
| Soft black paint with towel marks | Light | Foam finishing pad | Finishing polish | Low speed | Light refinement and less visible marring | Stop if the pad hops on curves or leaves fresh haze |
| Moderate swirl marks on a daily driver | Moderate | Microfiber pad or foam cutting pad | Medium polish | Mid speed | Strong one-step correction on many panels | Stop if the clear coat starts looking dry or cloudy |
| Heavy swirl marks with shallow scratches | Moderate to heavy | Microfiber pad | Cutting compound | Upper-mid speed used for correction on that machine | Improved defect removal, likely follow-up polish needed | Stop if the pad stalls or the scratch is still clearly visible |
| Heavy defects on fresh repainted panels | Heavy | Foam polishing pad, then microfiber only if needed | Finishing or medium polish first | Low to mid speed | Safe cleanup of light defects without overcutting | Stop if the paint is soft enough to mark from light pressure |
| Severe etching or deep scratches | Heavy | Wool or microfiber, only with caution | Cutting compound | Upper-mid speed used for correction on that machine | Partial reduction at best | Stop if the defect is still tactile or clearly through the clear coat |
| Trim-safe gloss panels and headlight lenses | Light to moderate | Foam finishing or polishing pad | Finishing or medium polish | Low to mid speed | Clarity improvement with lower risk | Stop if the edge geometry makes the pad bounce or catch |
A common first-timer mistake is chasing one deep scratch with a foam pad and a mild polish for too long. The result is wasted product, hot paint, and no real progress. If the scratch is still visible after a proper test spot, the job may need a heavier compound, a different machine, or wet sanding followed by refinement. If the defect catches a fingernail, the decision often shifts from polishing to repair planning.
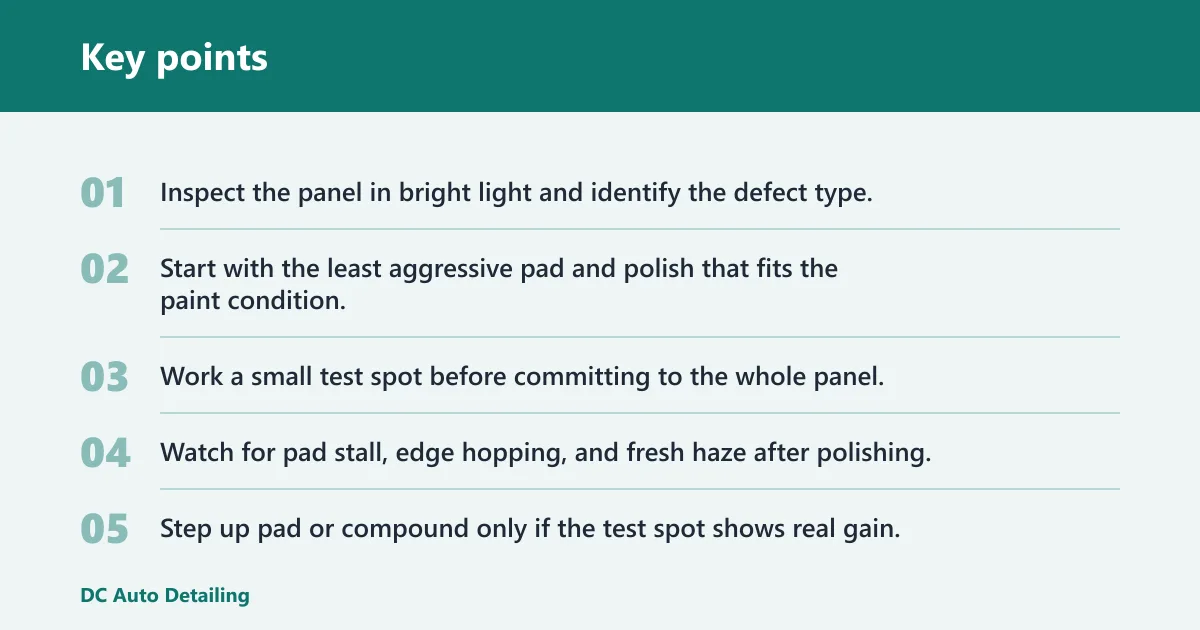
- Inspect the panel in bright light and identify the defect type.
- Start with the least aggressive pad and polish that fits the paint condition.
- Work a small test spot before committing to the whole panel.
- Watch for pad stall, edge hopping, and fresh haze after polishing.
- Step up pad or compound only if the test spot shows real gain.
- Stop if the defect is deeper than the clear coat or if heat builds too fast.
Can a beginner buy a DA kit?
Yes. A beginner can buy a DA kit, and a kit is often easier than piecing together a machine, pads, and compounds one by one. The value is in compatibility: the pads fit the backing plate, the compounds suit the included pads, and you can start with one known setup instead of guessing. A kit is most useful when it supports gradual learning instead of forcing aggressive correction from day one.
That said, a kit is only useful if the contents match your paint and your goals. A package built around cutting pads may be excessive if you only need wax application and light cleanup. A kit with only soft finishing pads may be too mild for oxidized paint. Matching the kit to the car’s condition matters more than chasing a long feature list.
What belongs in a starter kit
Start with the machine, a backing plate that matches the pad size, one finishing foam pad, one polishing foam pad, one microfiber pad, and at least one finishing polish plus one medium or cutting product. A variable speed dial is important, and many consumer DAs use multiple speed settings. The machine should also feel controllable at low speed for wax and sealant work and stable enough for moderate correction.
Beginner-friendly specs should focus on control, not hype. For most users, the most useful buying criteria are a comfortable grip, a reliable speed control, a pad size that matches the panels you want to correct, and a manufacturer-supported pad-and-product system. Avoid over-weighting wattage claims or quoted top speed alone, because those numbers do not tell you how the tool behaves under real load.
Why a kit can be simpler than piecing parts together
A kit reduces guesswork on compatibility and gives you a cleaner starting point for learning pad behavior. That matters because the same tool can wax one day and cut the next. A 5-inch plate gives more control around bumpers and mirror caps, while a 6-inch plate can cover larger doors and hoods more quickly. The best starter setup is usually the one that is easiest to control and easiest to keep consistent.
The main mistake is buying too much aggression too early. Heavy pads and compounds can remove defects faster, but they also make pad stall, edge damage, and towel-marring more likely if the finish is not checked carefully between passes. Build from a mild setup and escalate only when the test spot proves it is necessary.
Frequently asked questions
Is a dual action polisher safe for clear coat?
It is generally safer for clear coat than a rotary polisher because it spreads heat and lowers the chance of immediate burn-through. It is still possible to damage clear coat with too much pressure, the wrong pad, or too much time on one spot. Safety depends on technique, panel condition, and stopping when the paint starts to haze or heat up.
Can you wax a car with a dual action polisher?
Yes. Use a finishing foam pad, low speed, and light pressure so the tool spreads the wax or sealant evenly without forcing extra cut into the paint. This is one of the easiest jobs for a DA, and it is a good use of the machine’s gentle side. Protection work should stay separate from correction work.
Can a dual action polisher remove swirl marks?
Yes, it can remove or reduce many swirl marks, especially light to moderate ones. The result depends on paint hardness, pad choice, and compound choice. Soft black paint often needs a gentler setup, while harder clear coat may need a microfiber pad and a stronger polish or compound. If the mark remains tactile, polishing may only reduce it rather than remove it.